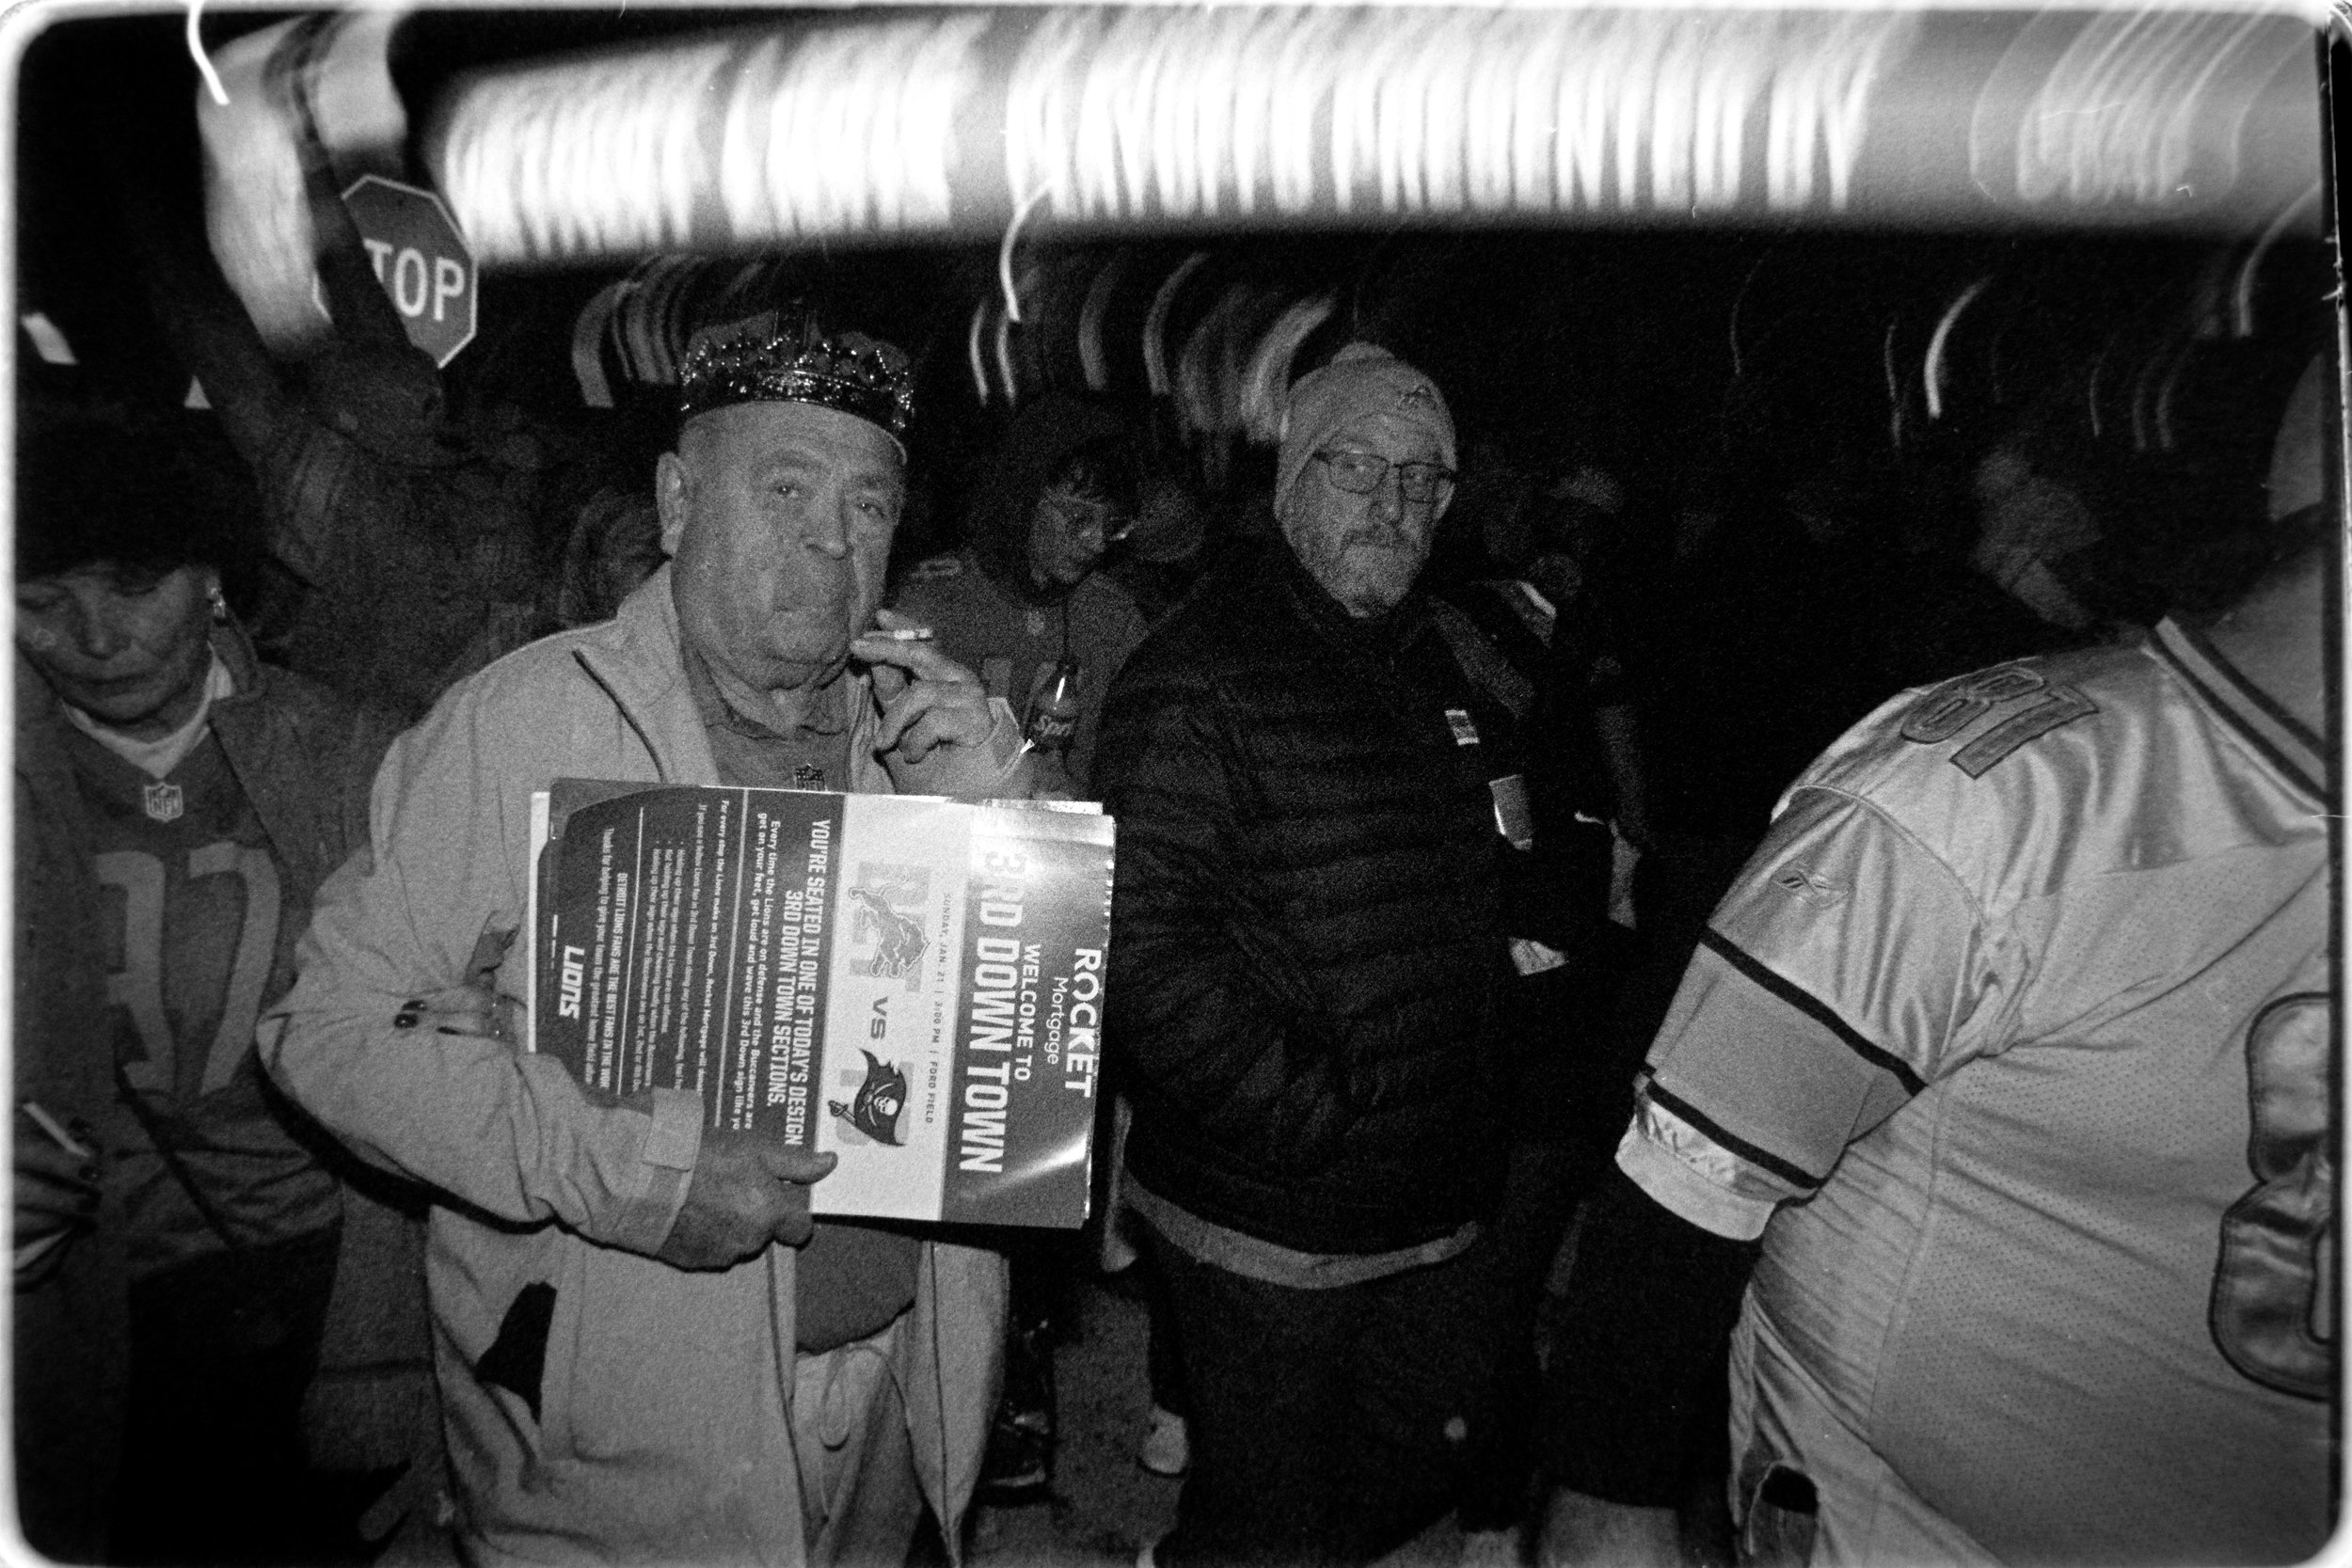
On Sunday, January 21st the Detroit Lions were to play their second home playoff game of the 2023-24 season at downtown Detroit's Ford Field. Just the previous weekend the team had exorcised the demon of the longest playoff win drought in the NFL. In a fashion befitting of this group of players, they did it against Matthew Stafford and the Rams team he left Detroit for, winning a Super Bowl in his first year in L.A. It was 1992 the last time the Lions found themselves in this position.

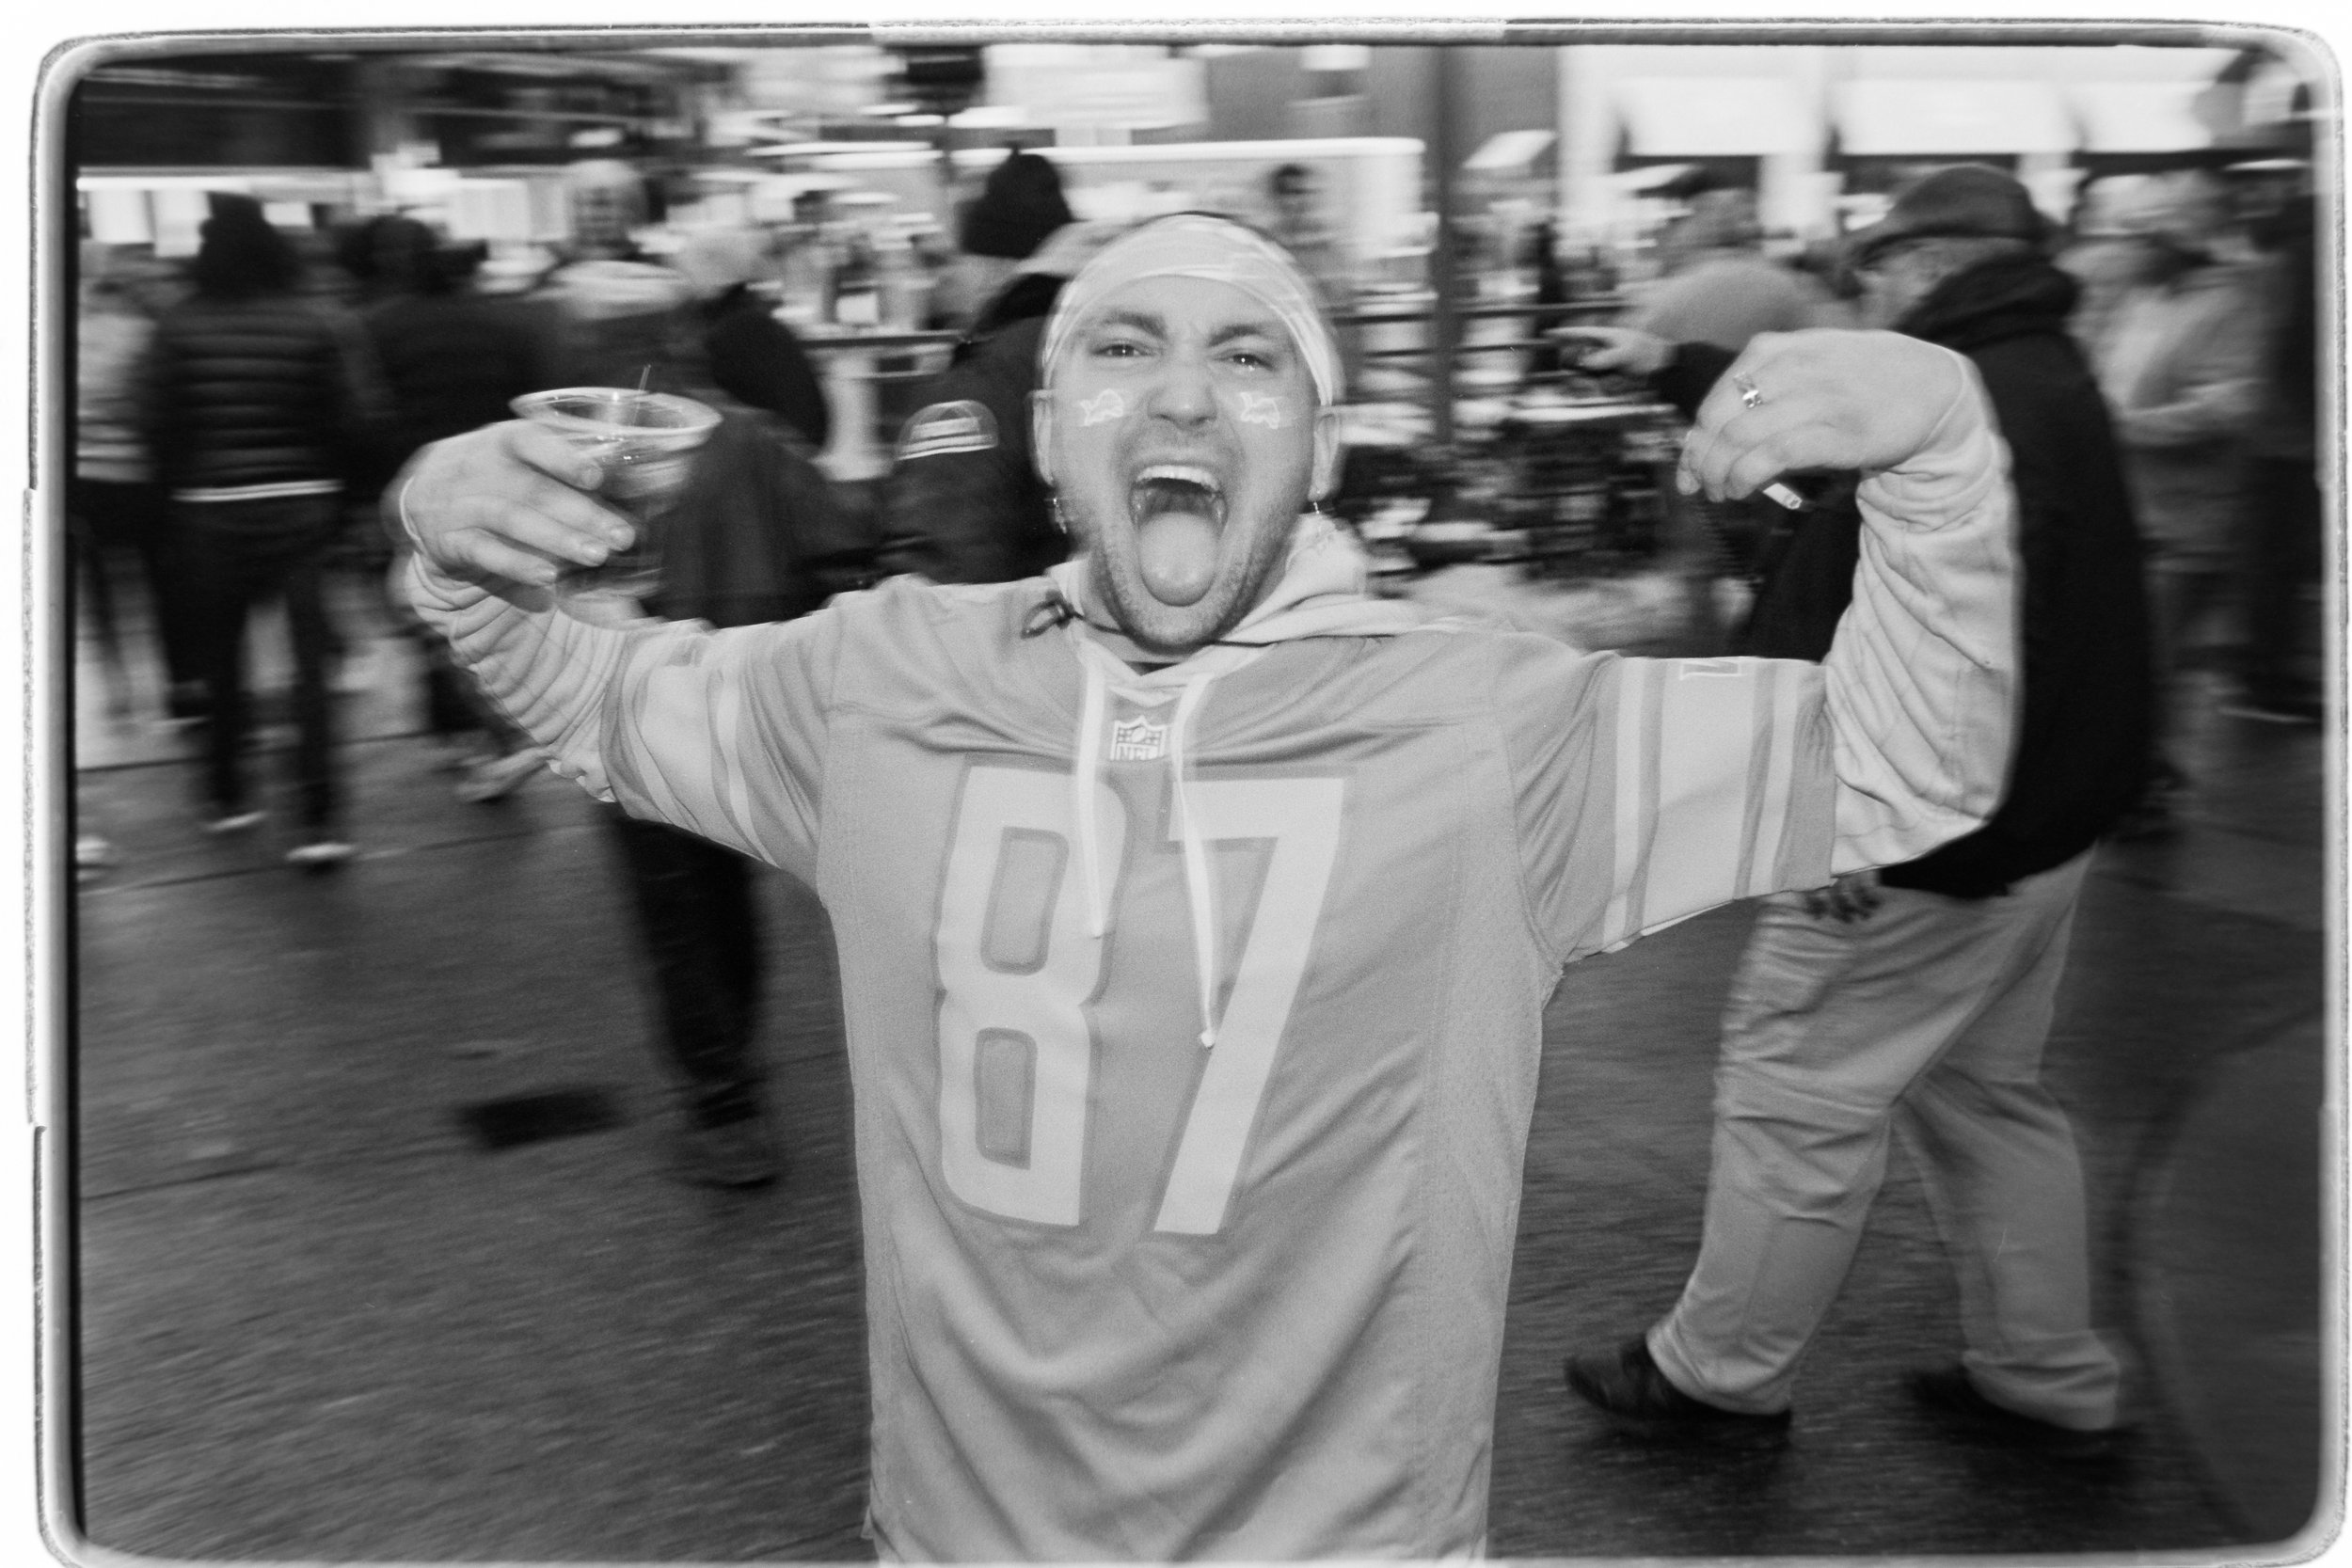
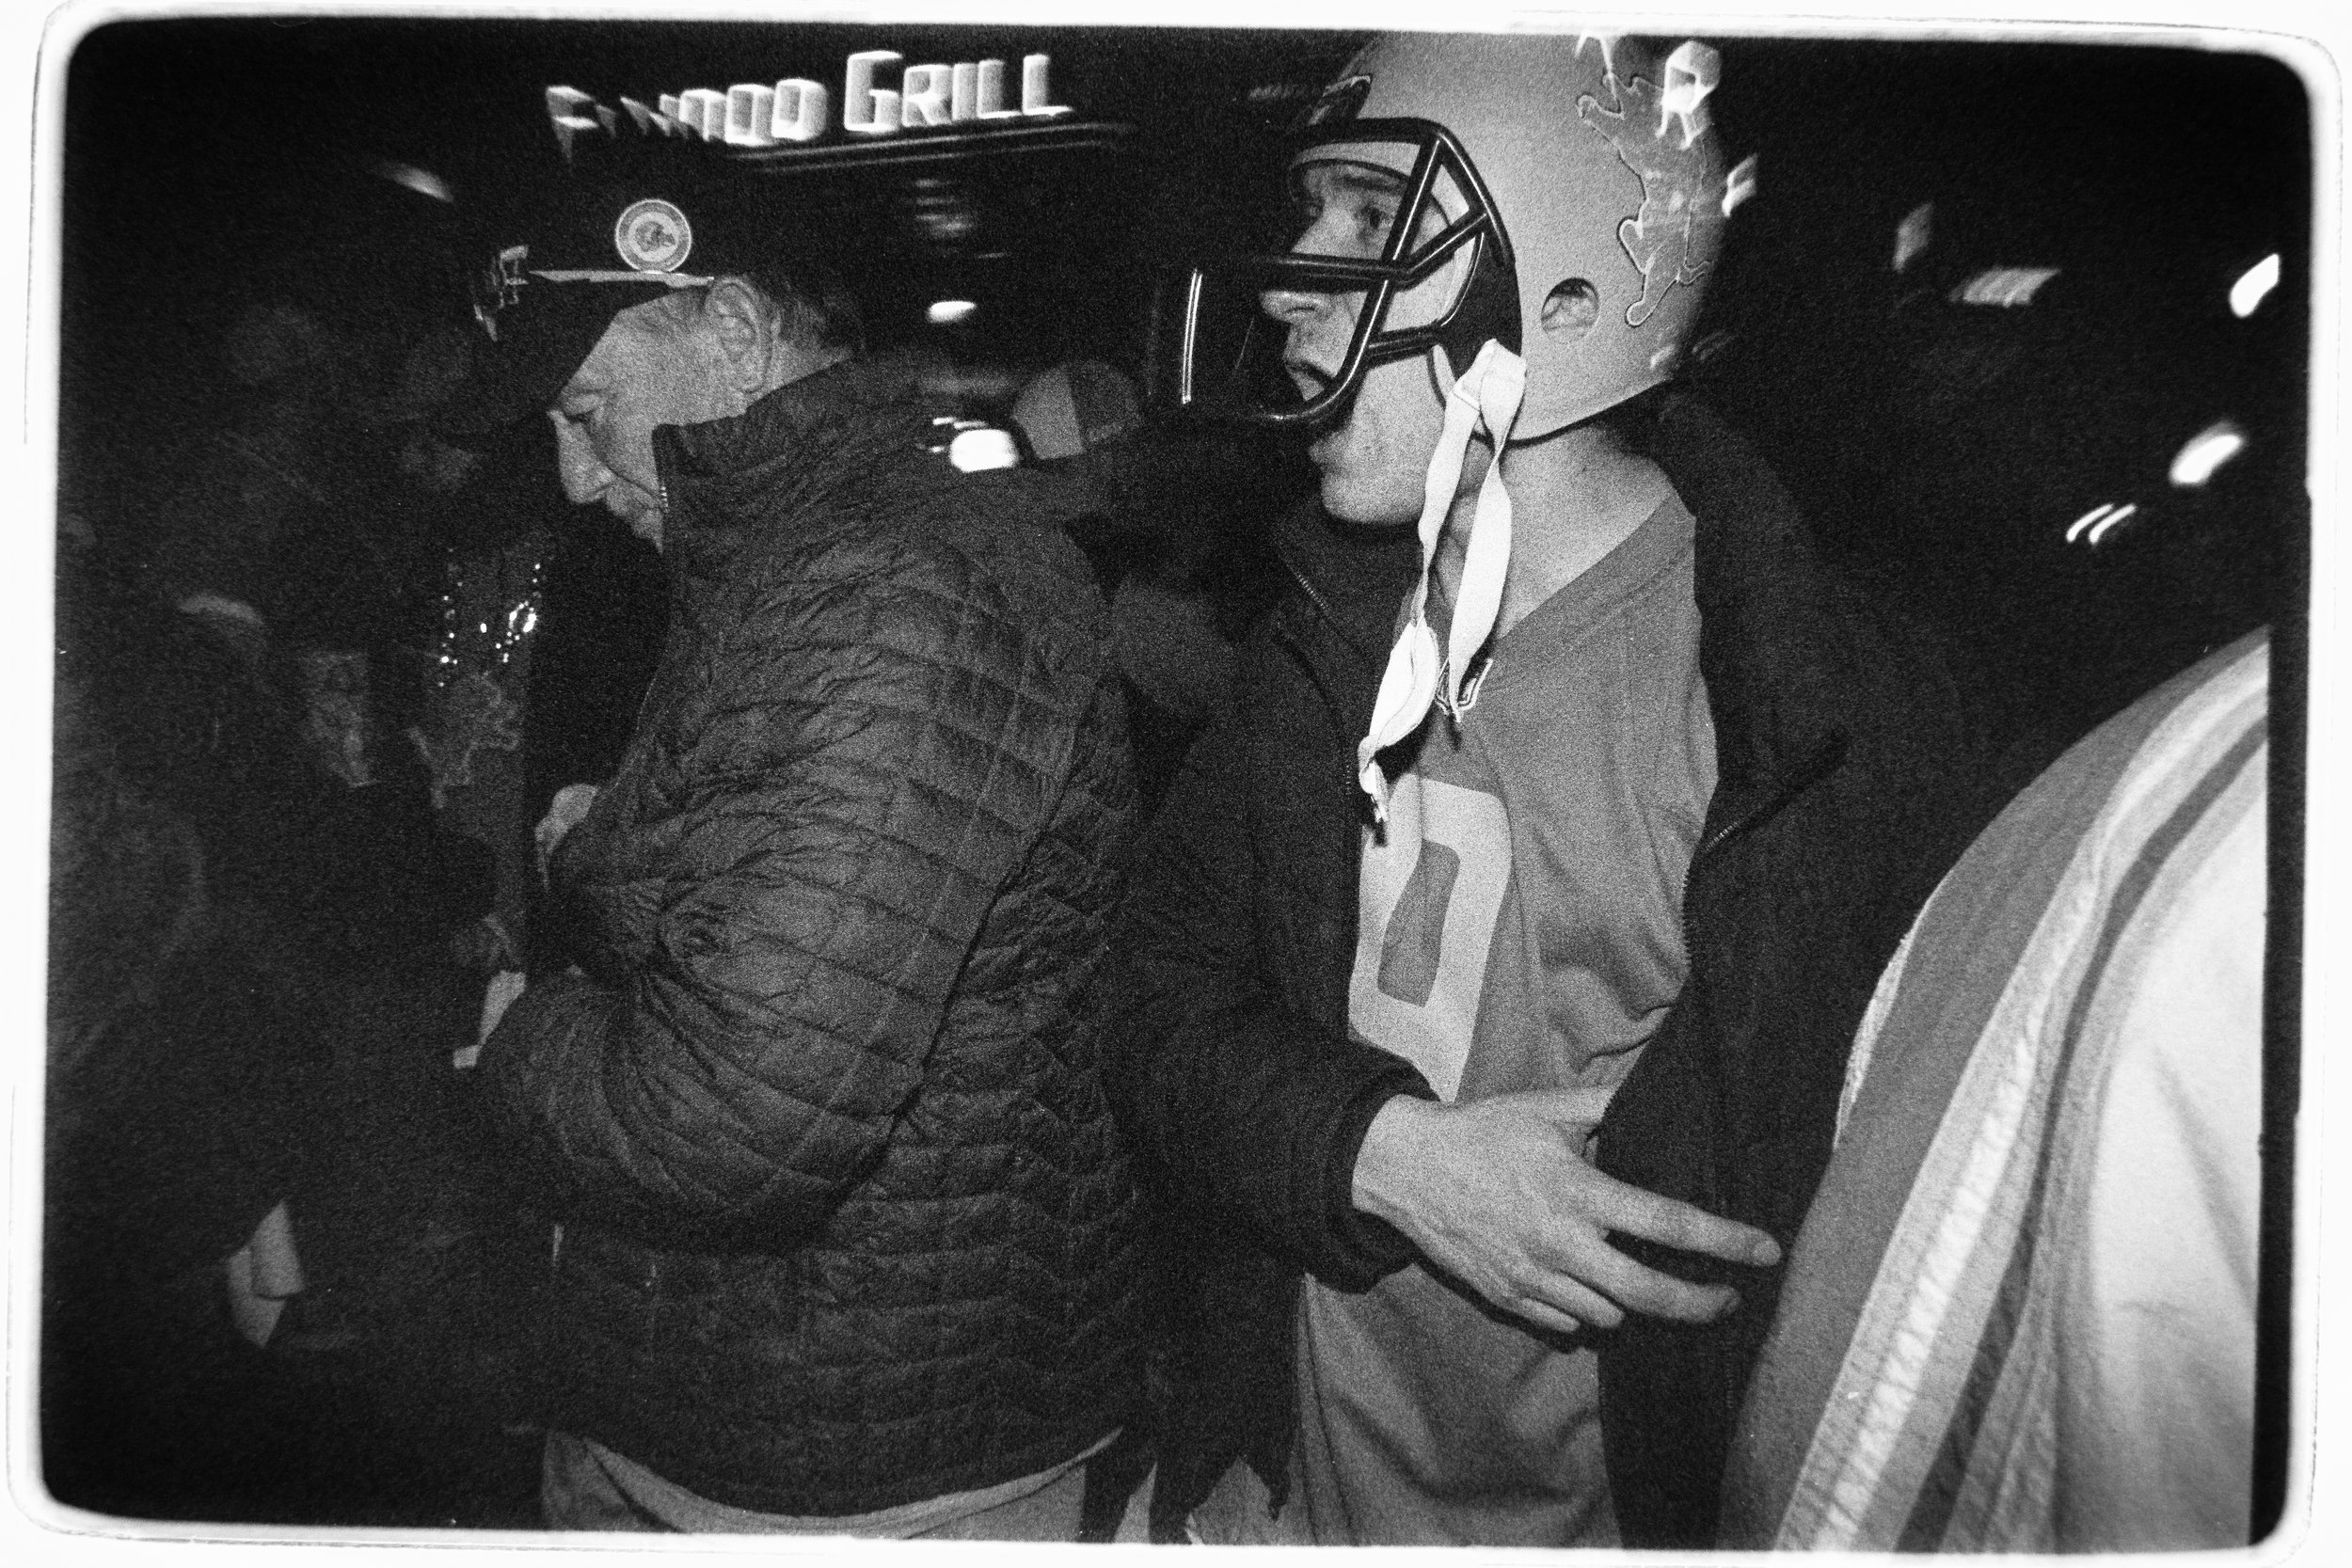
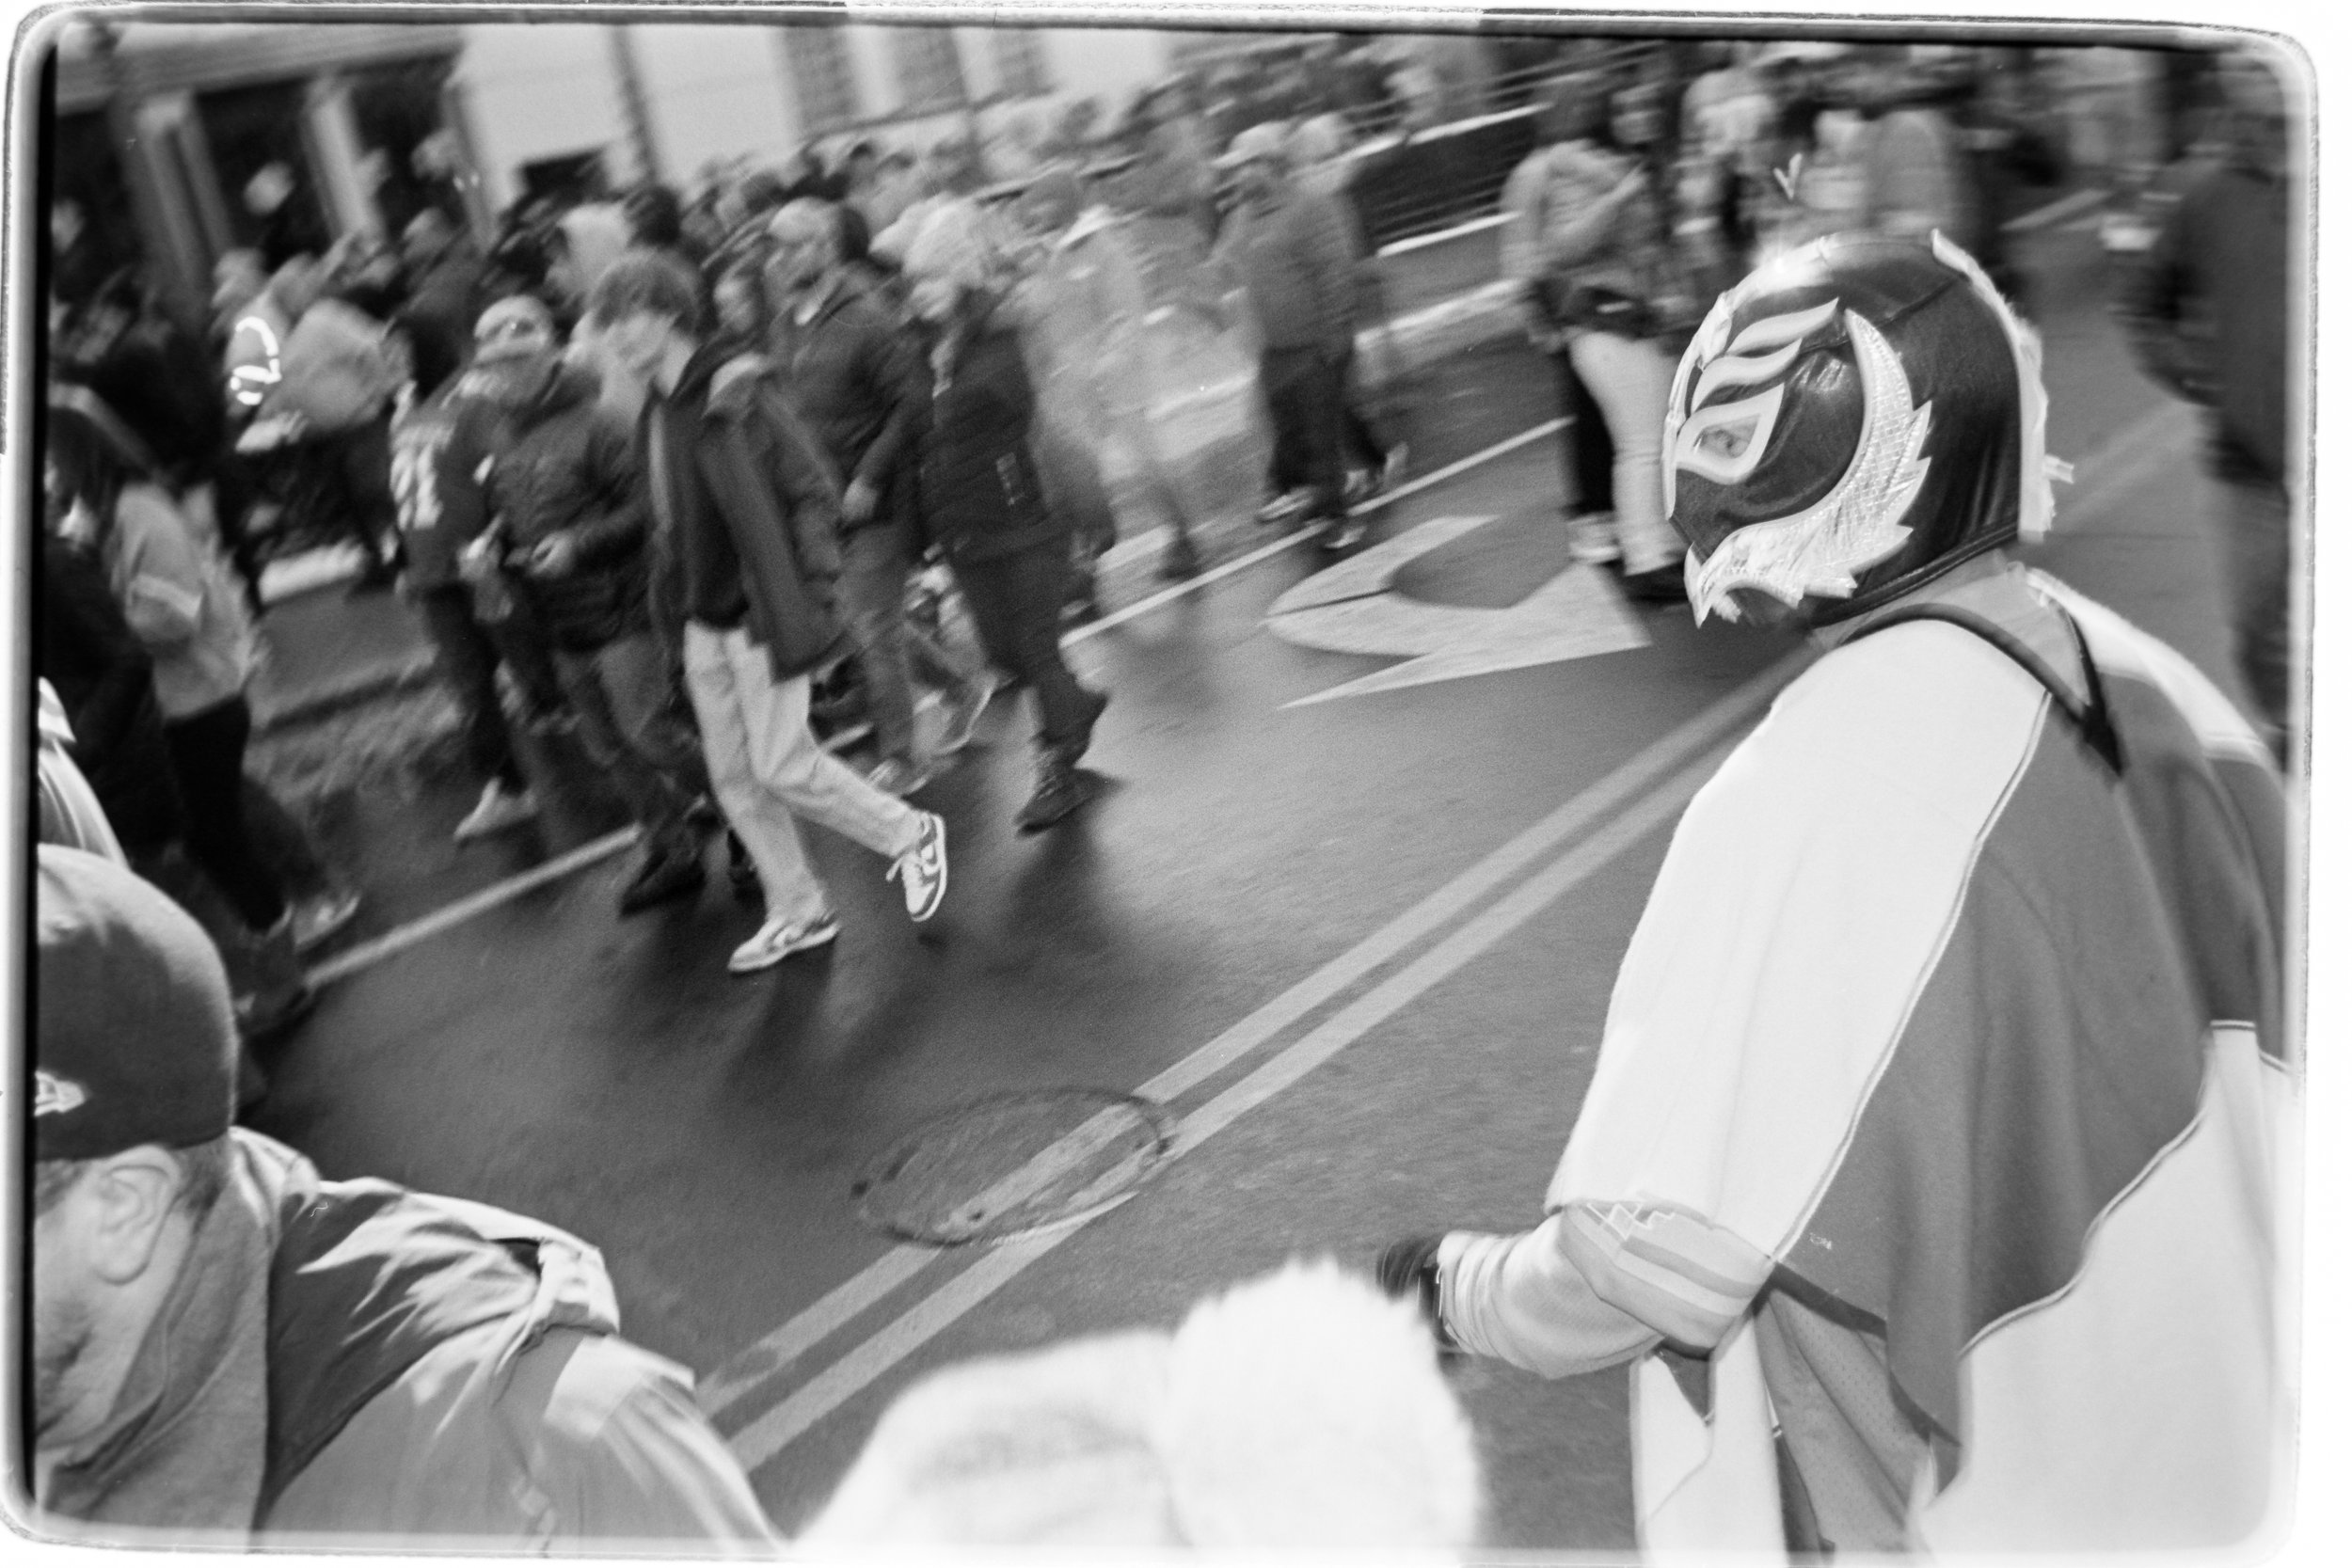
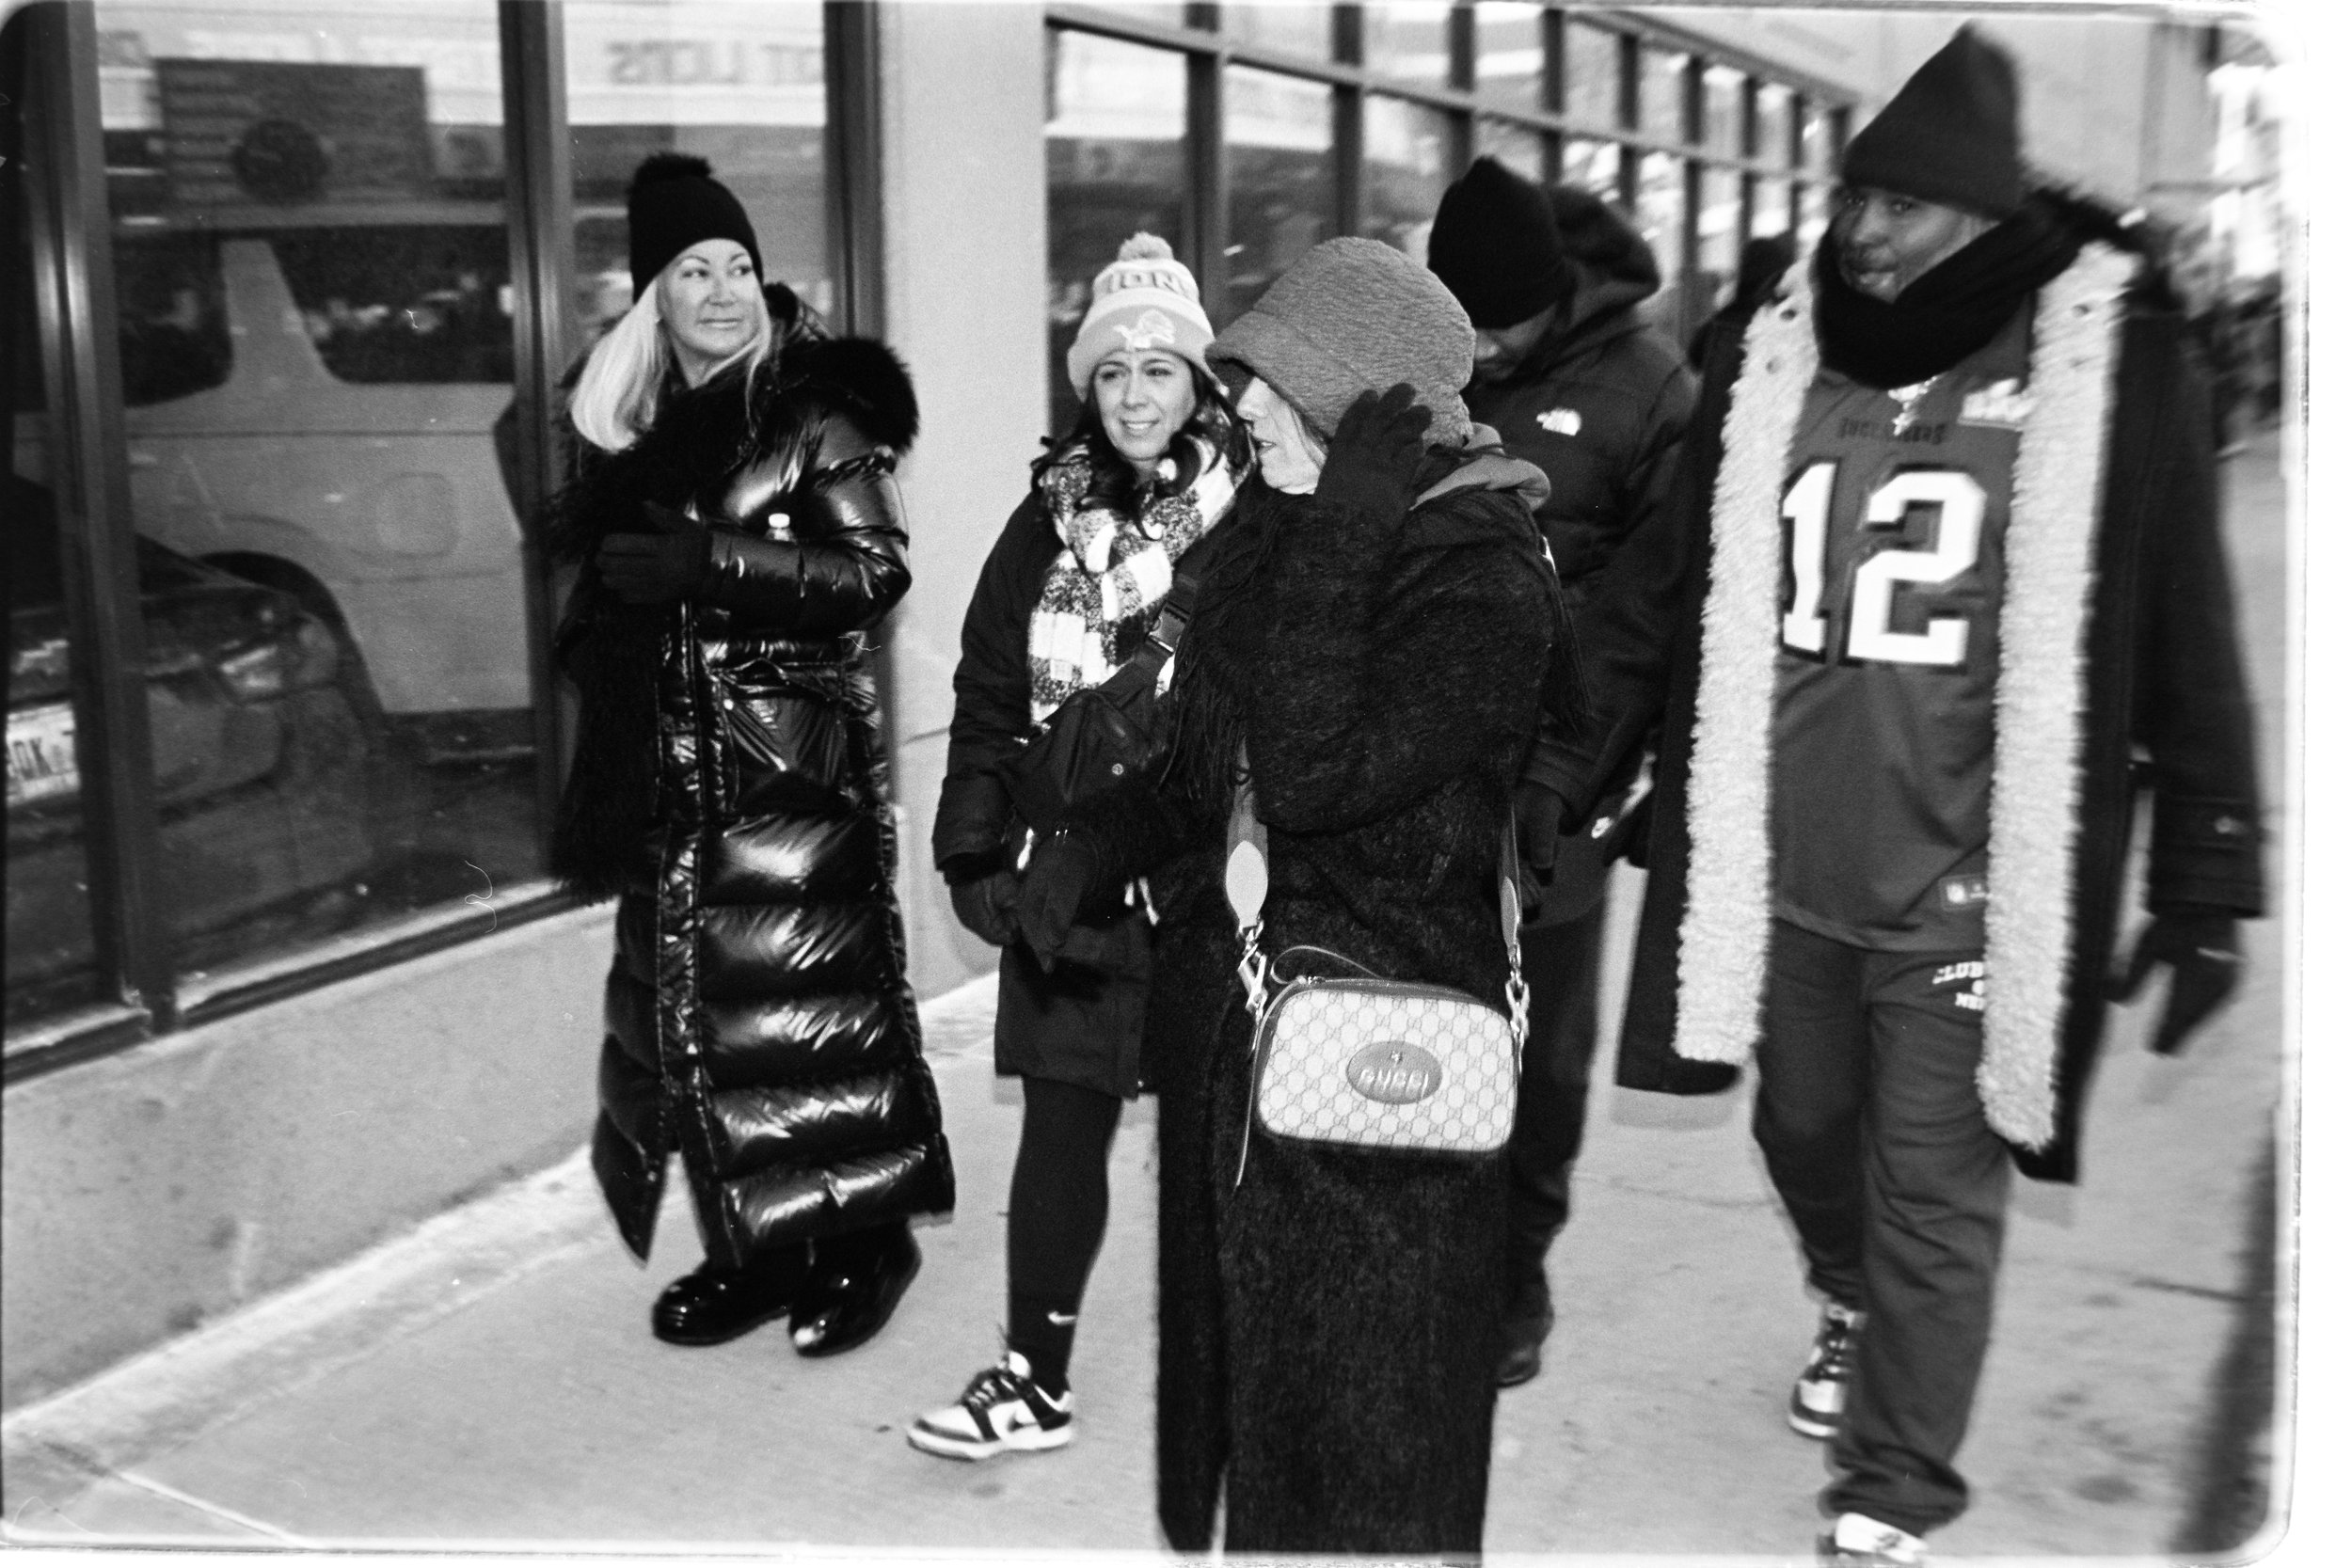
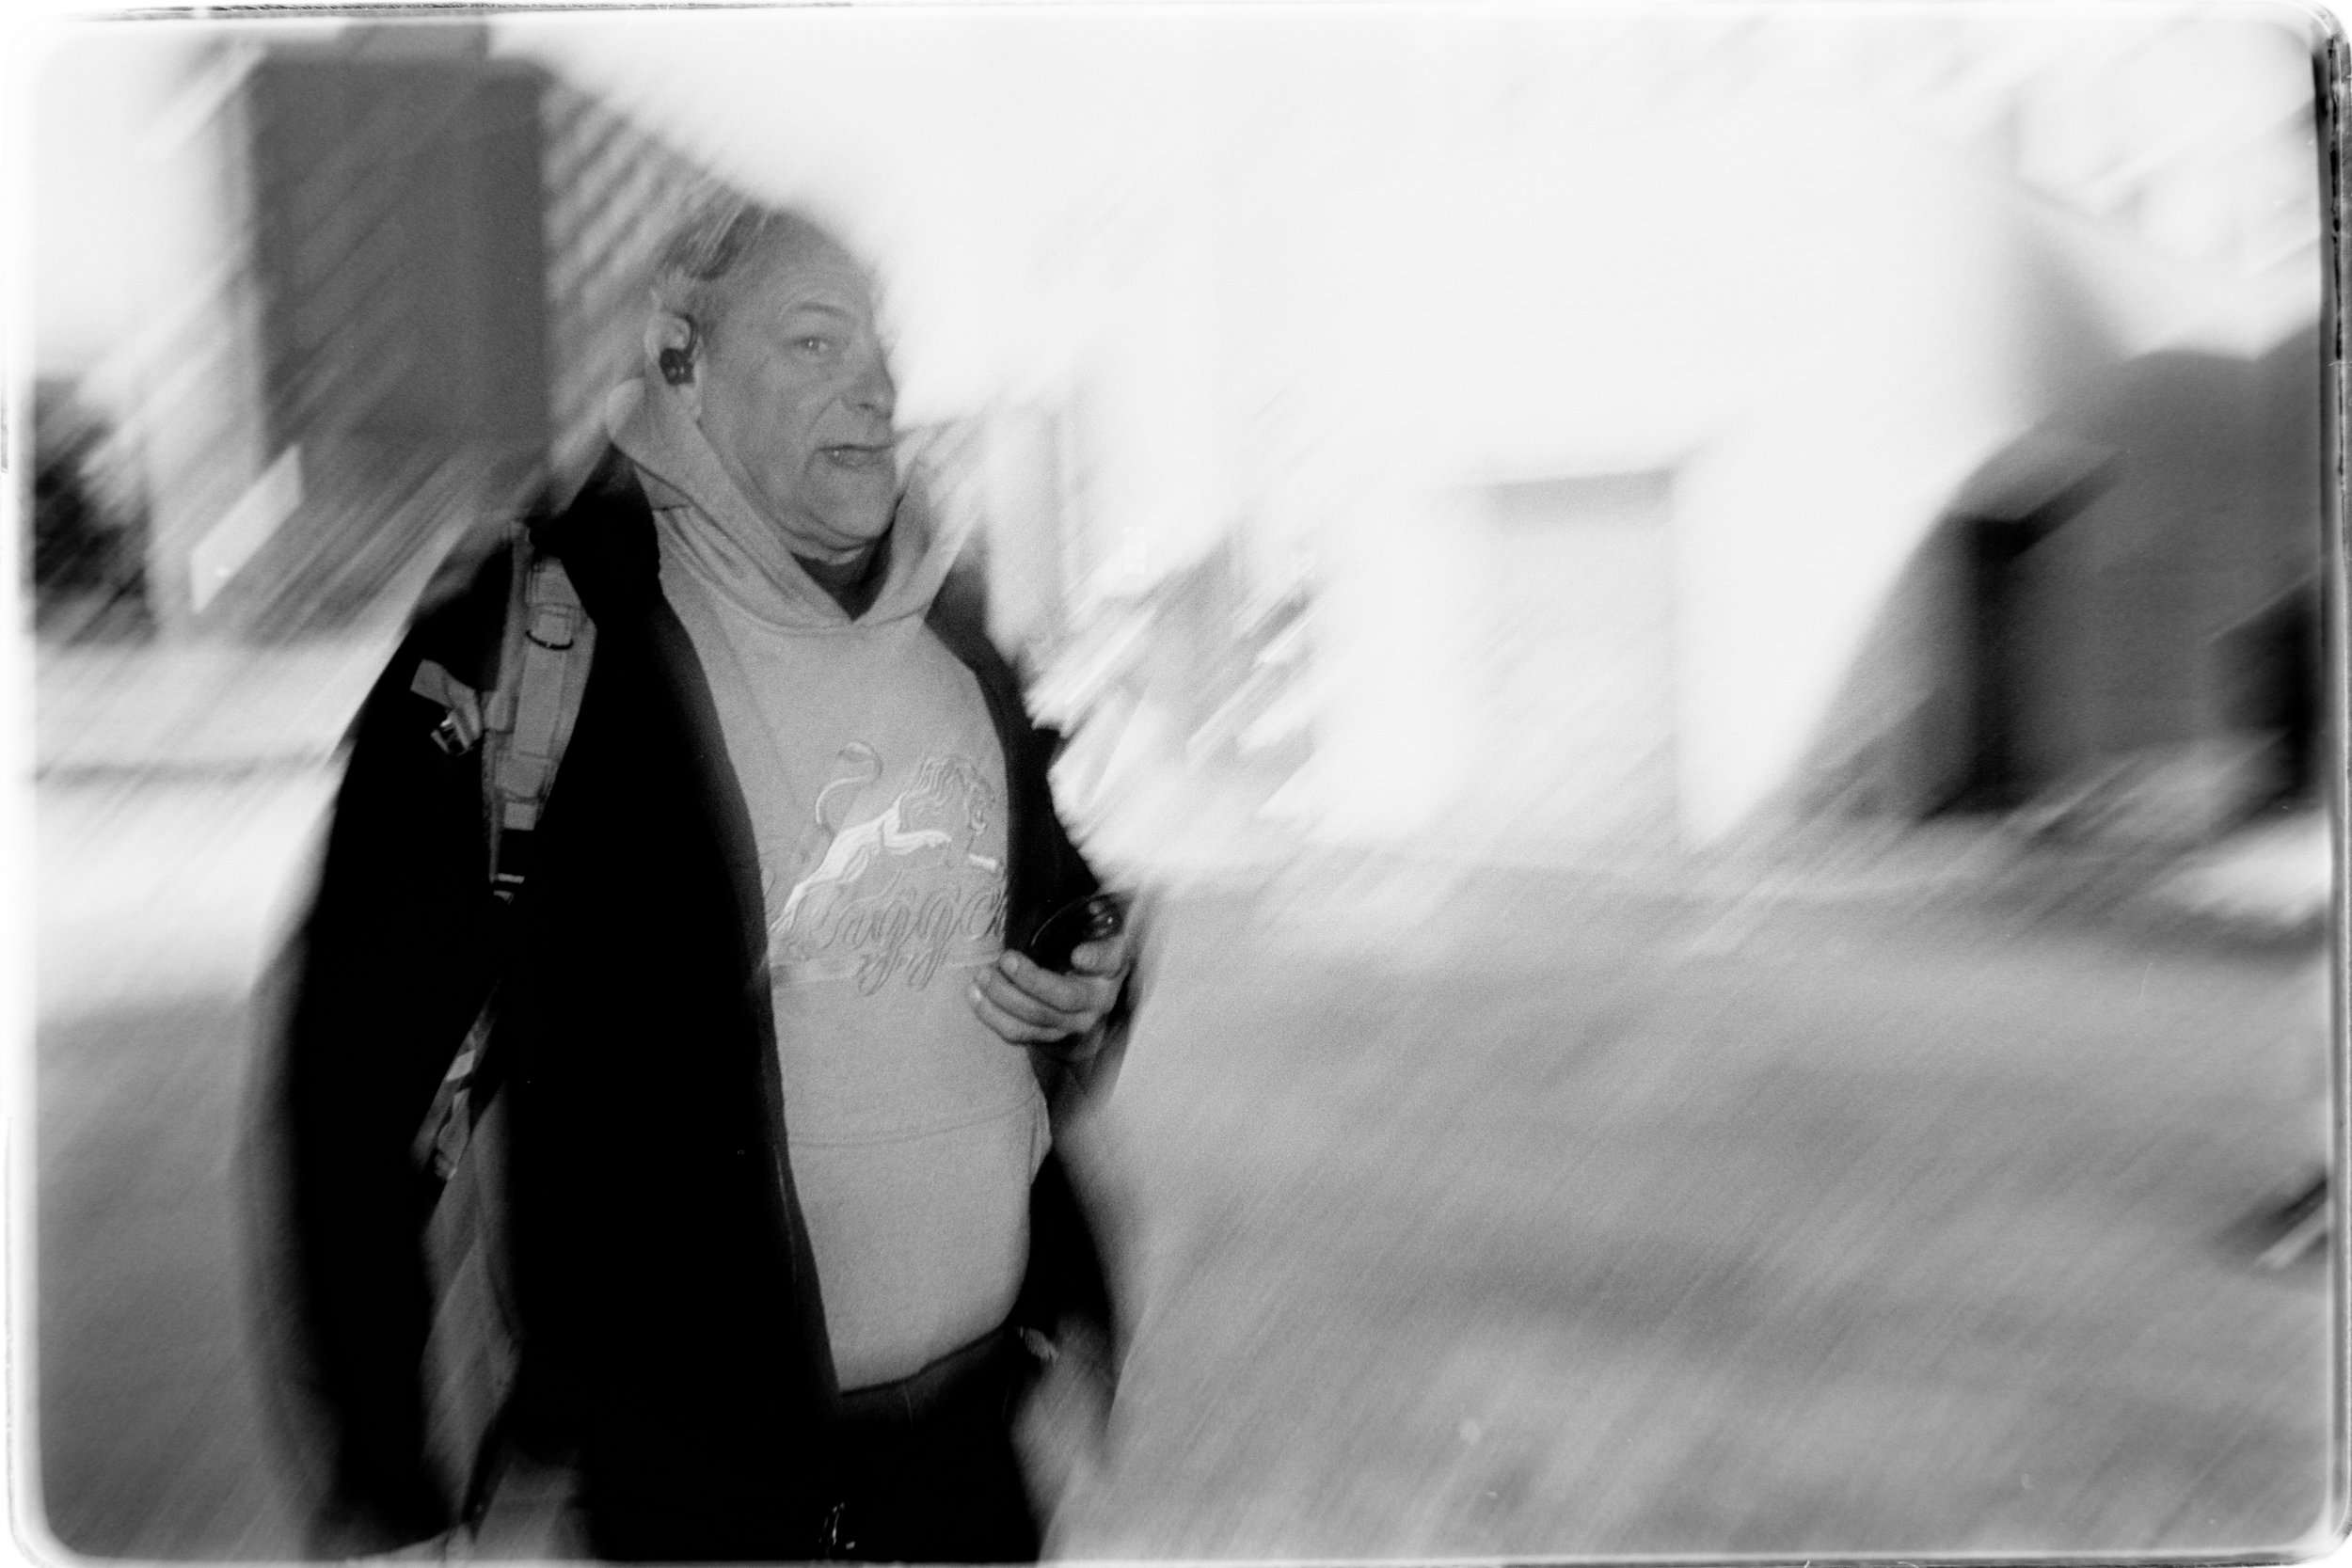
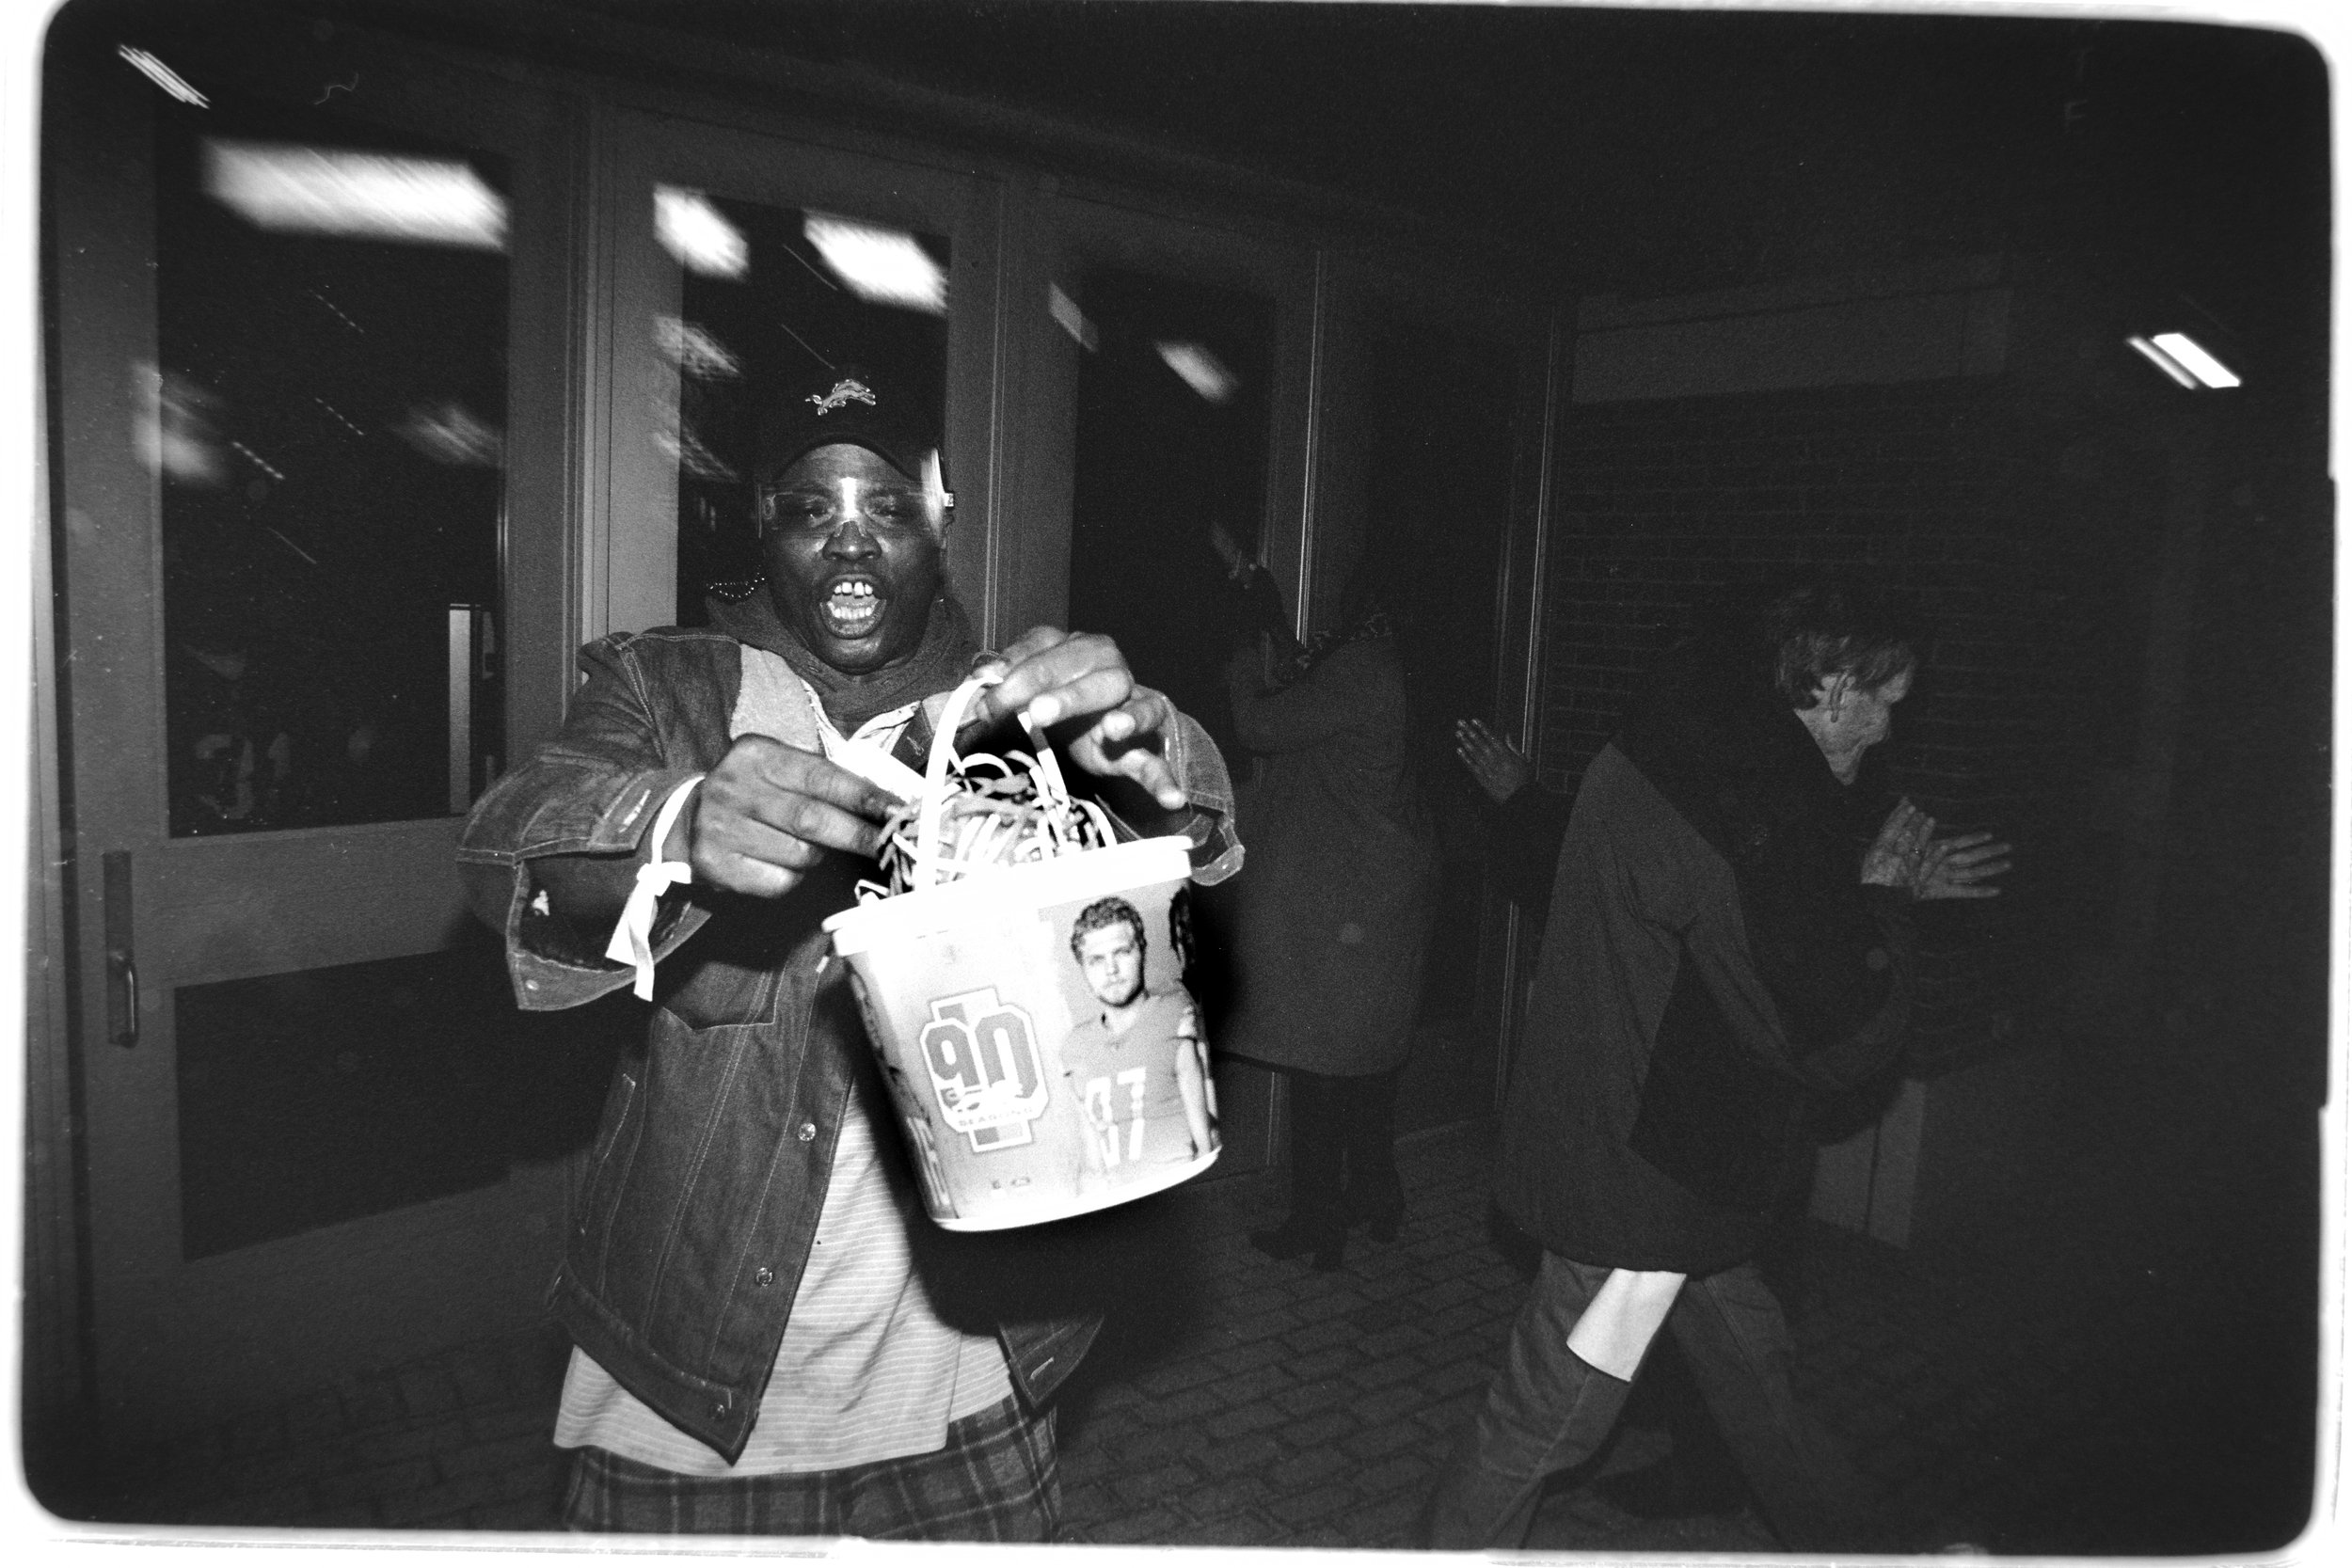
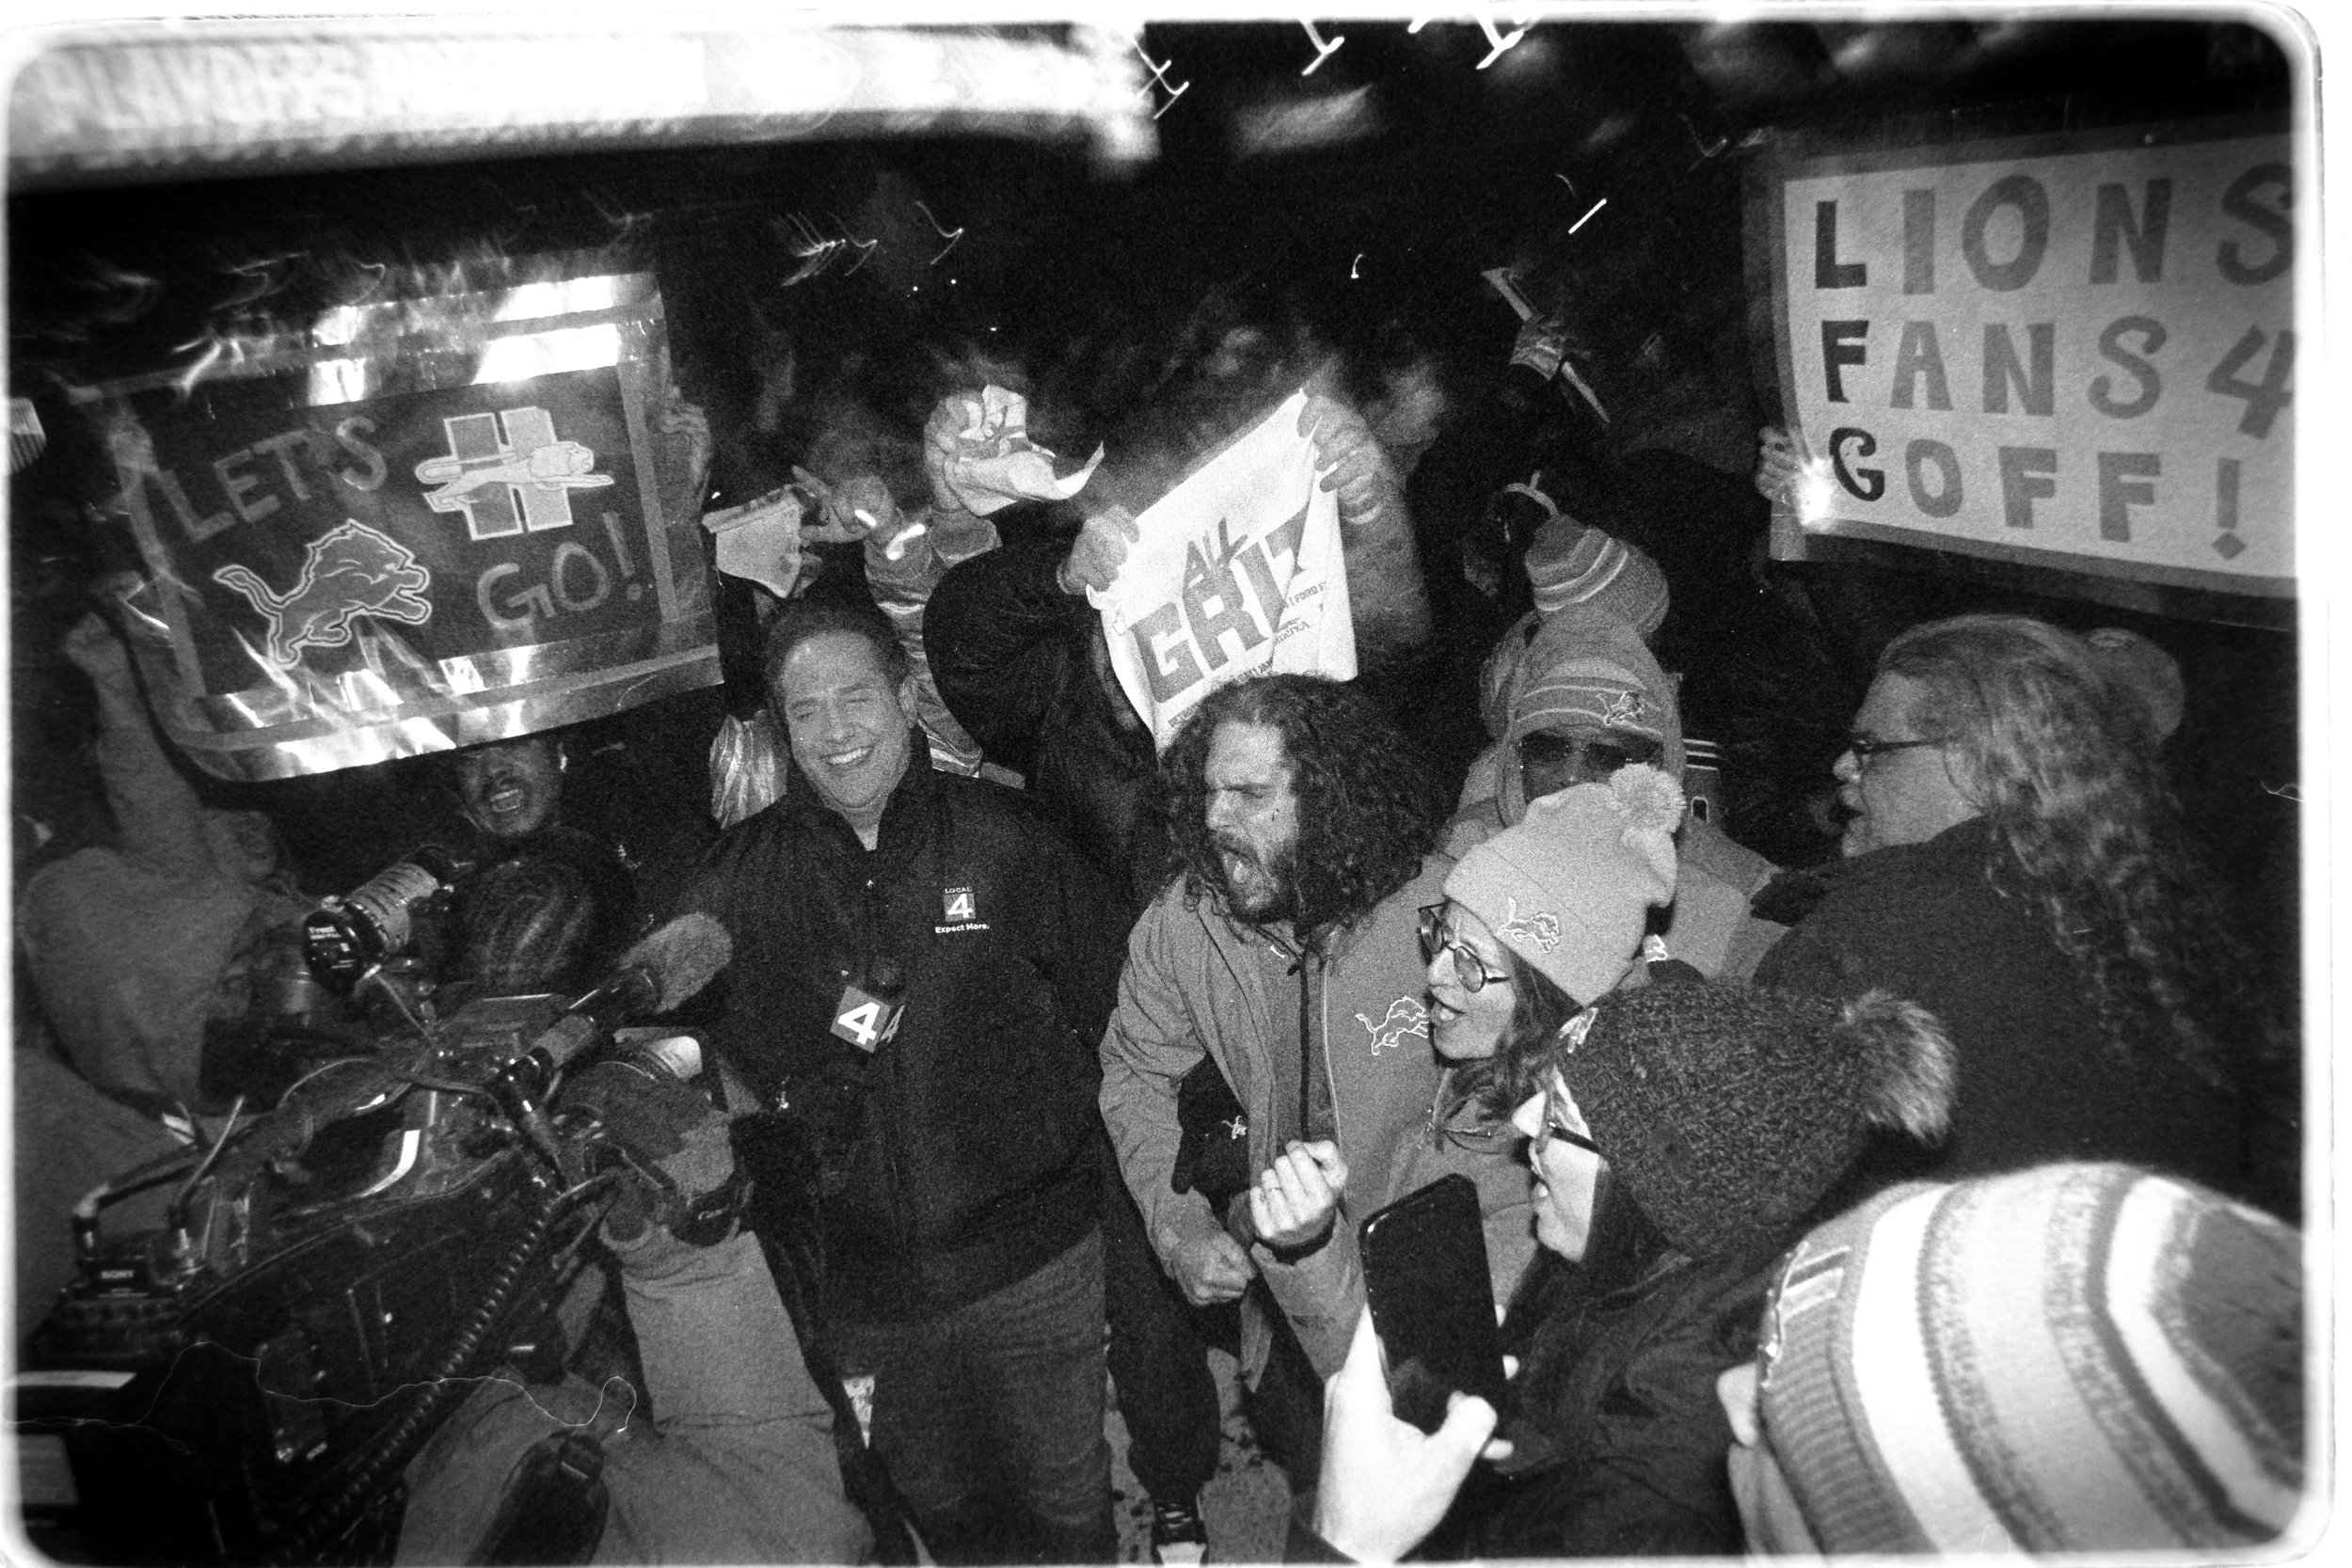
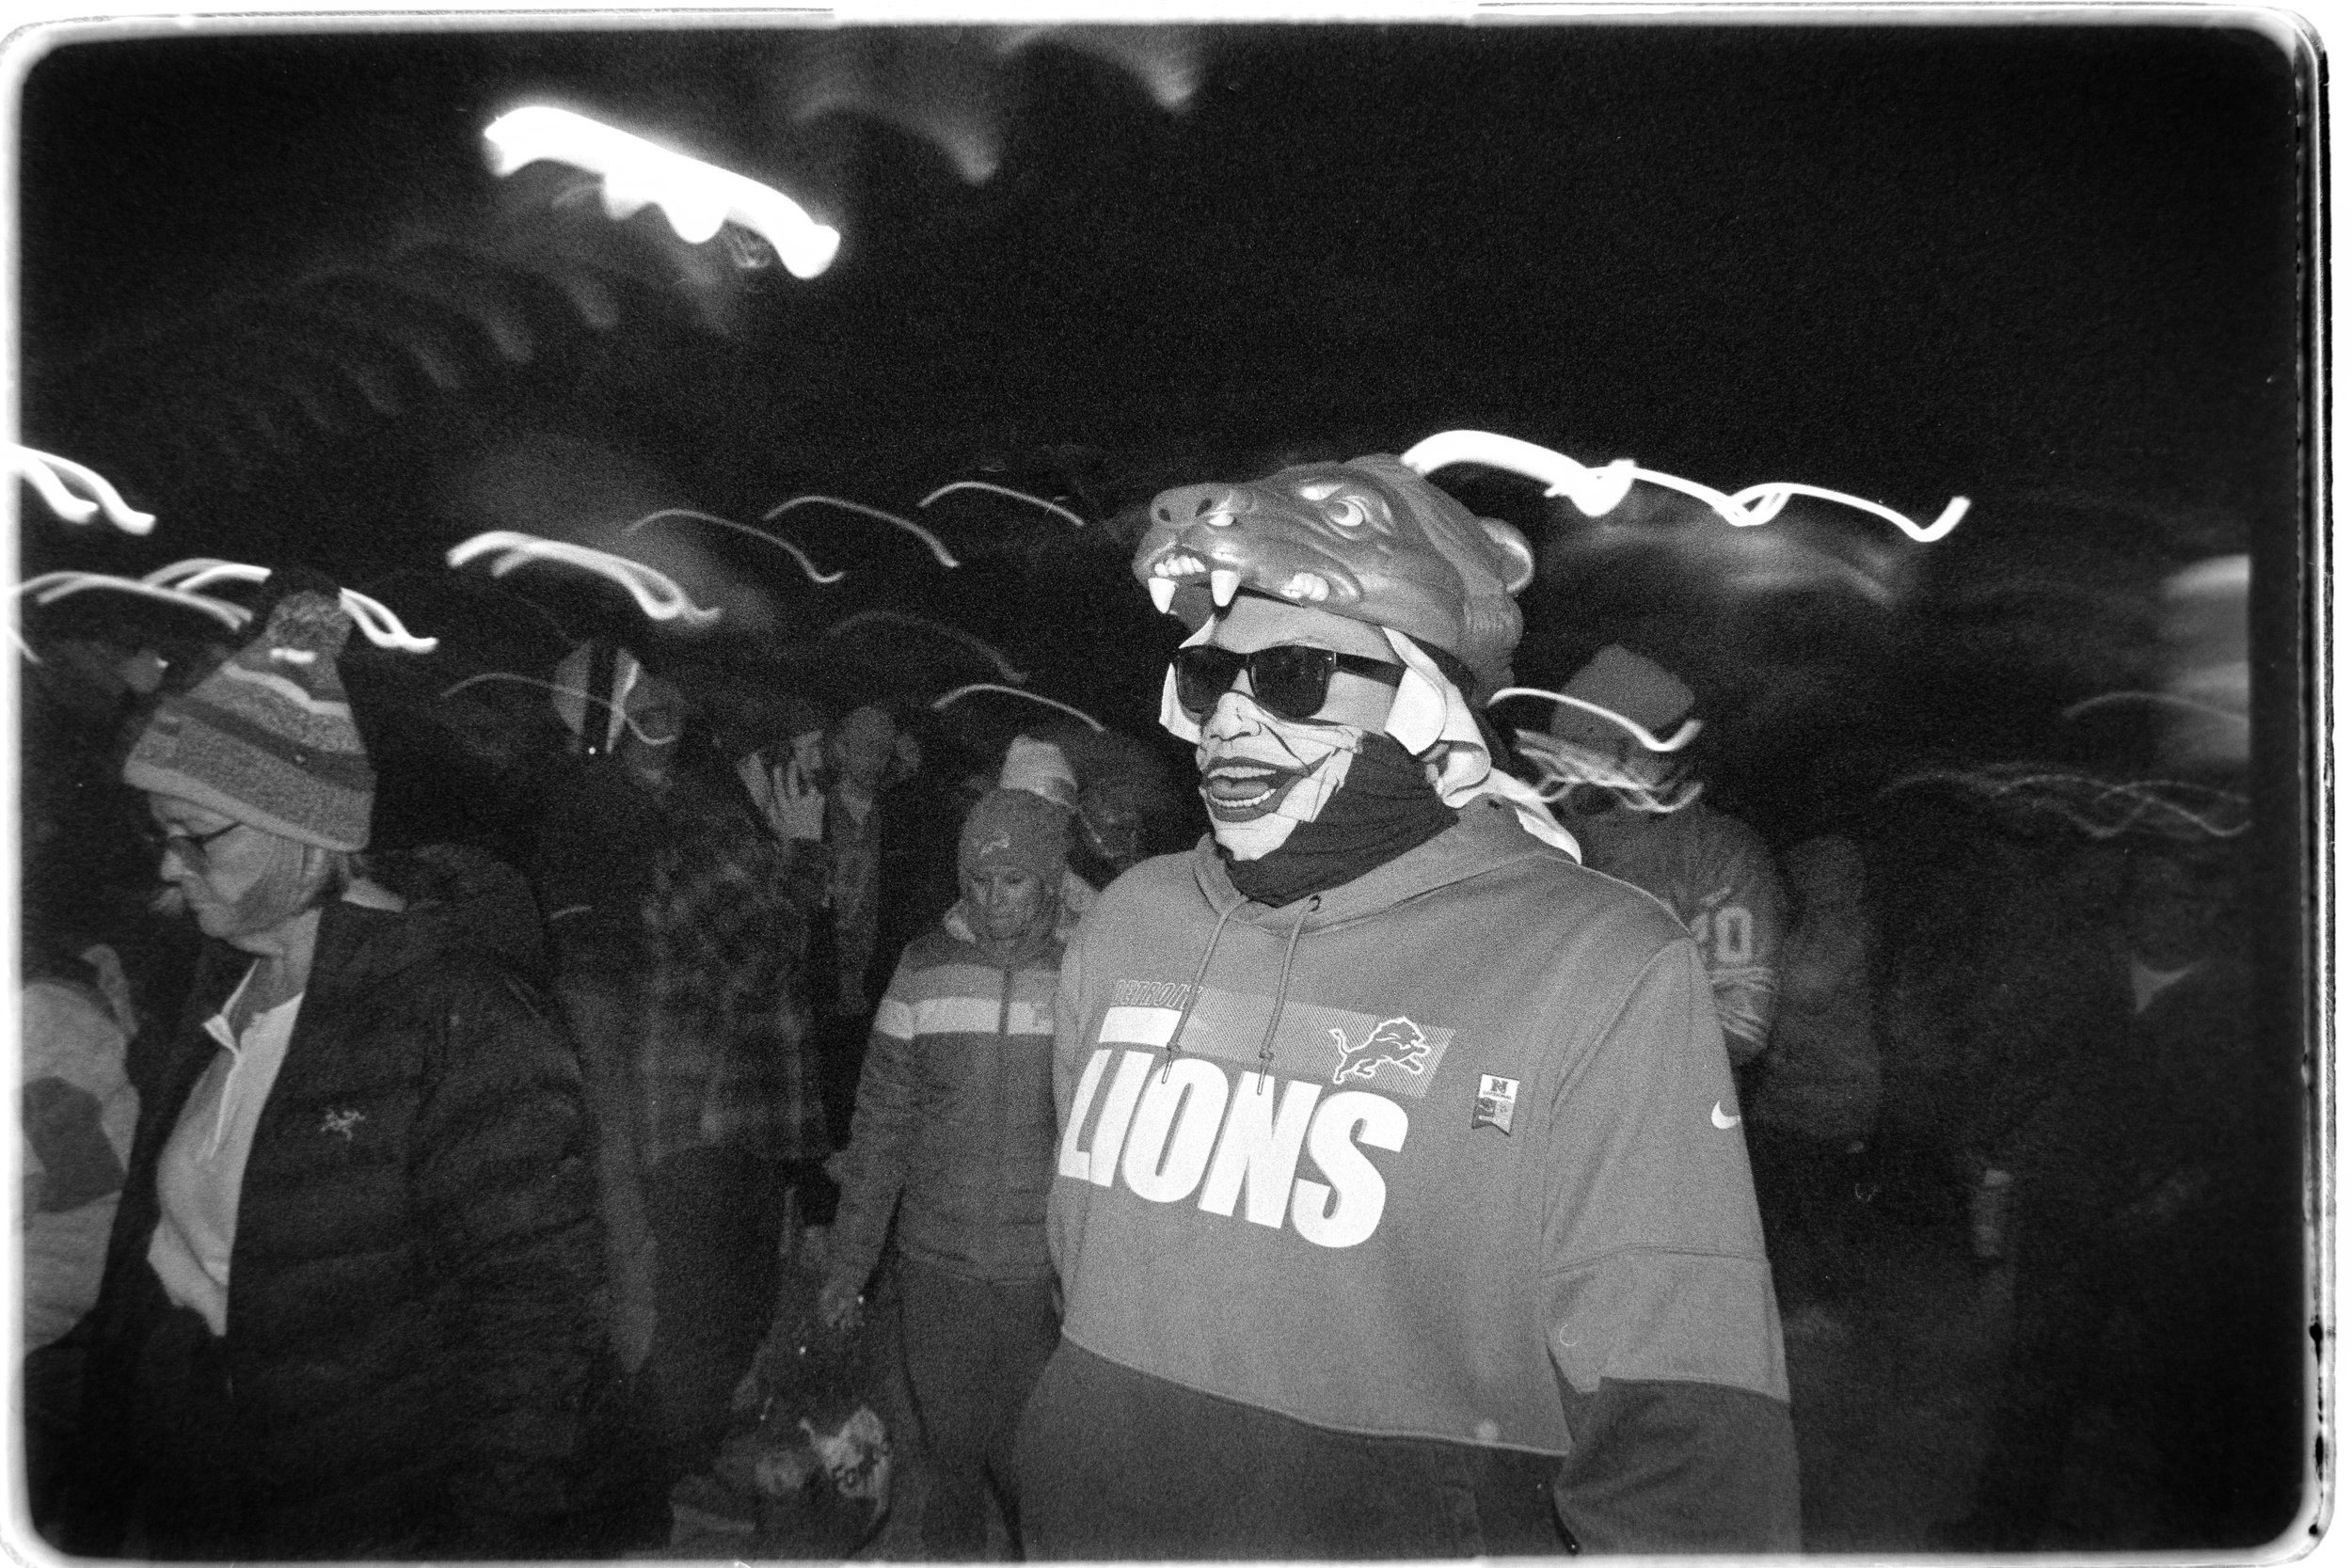
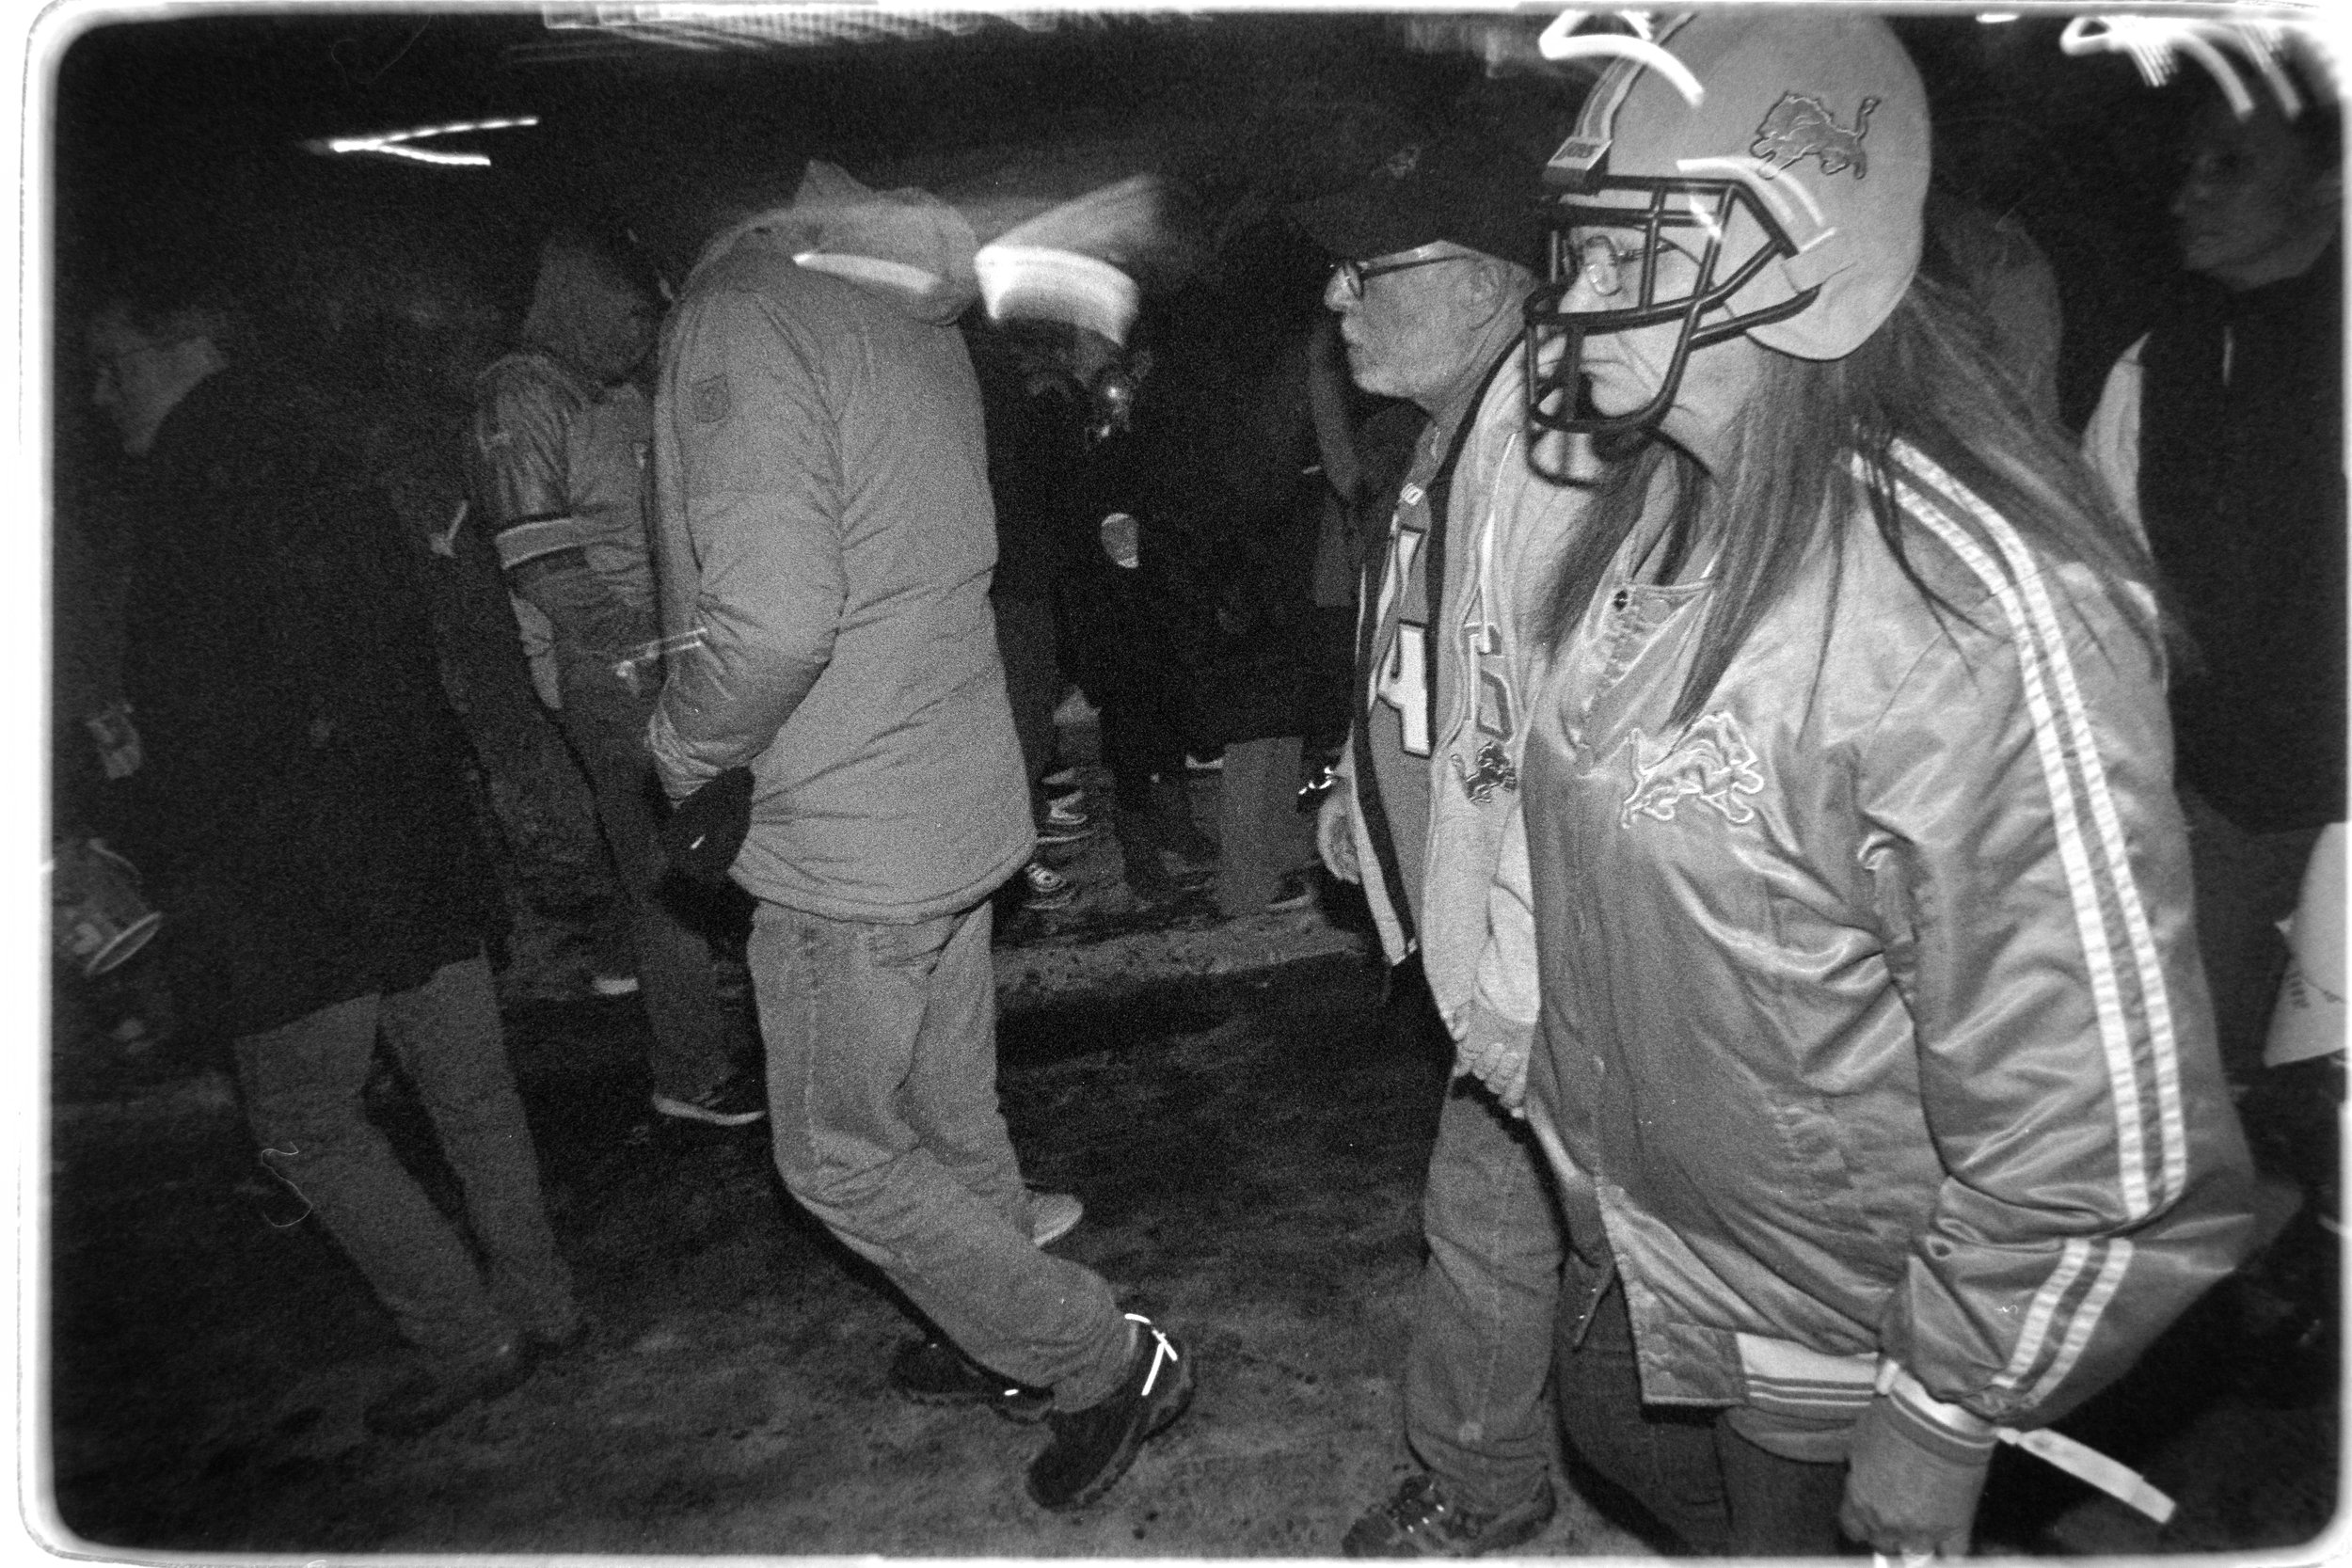
As a fan of the team and a photographer that loves documenting the city of Detroit, I knew that I wanted to head down and take in the scene leading up to the game. To honor the monkey that had been tackled off the back of the franchise, I decided to document the day on B&W film that expired that three decades ago, the last time the Lions found themselves in this position.
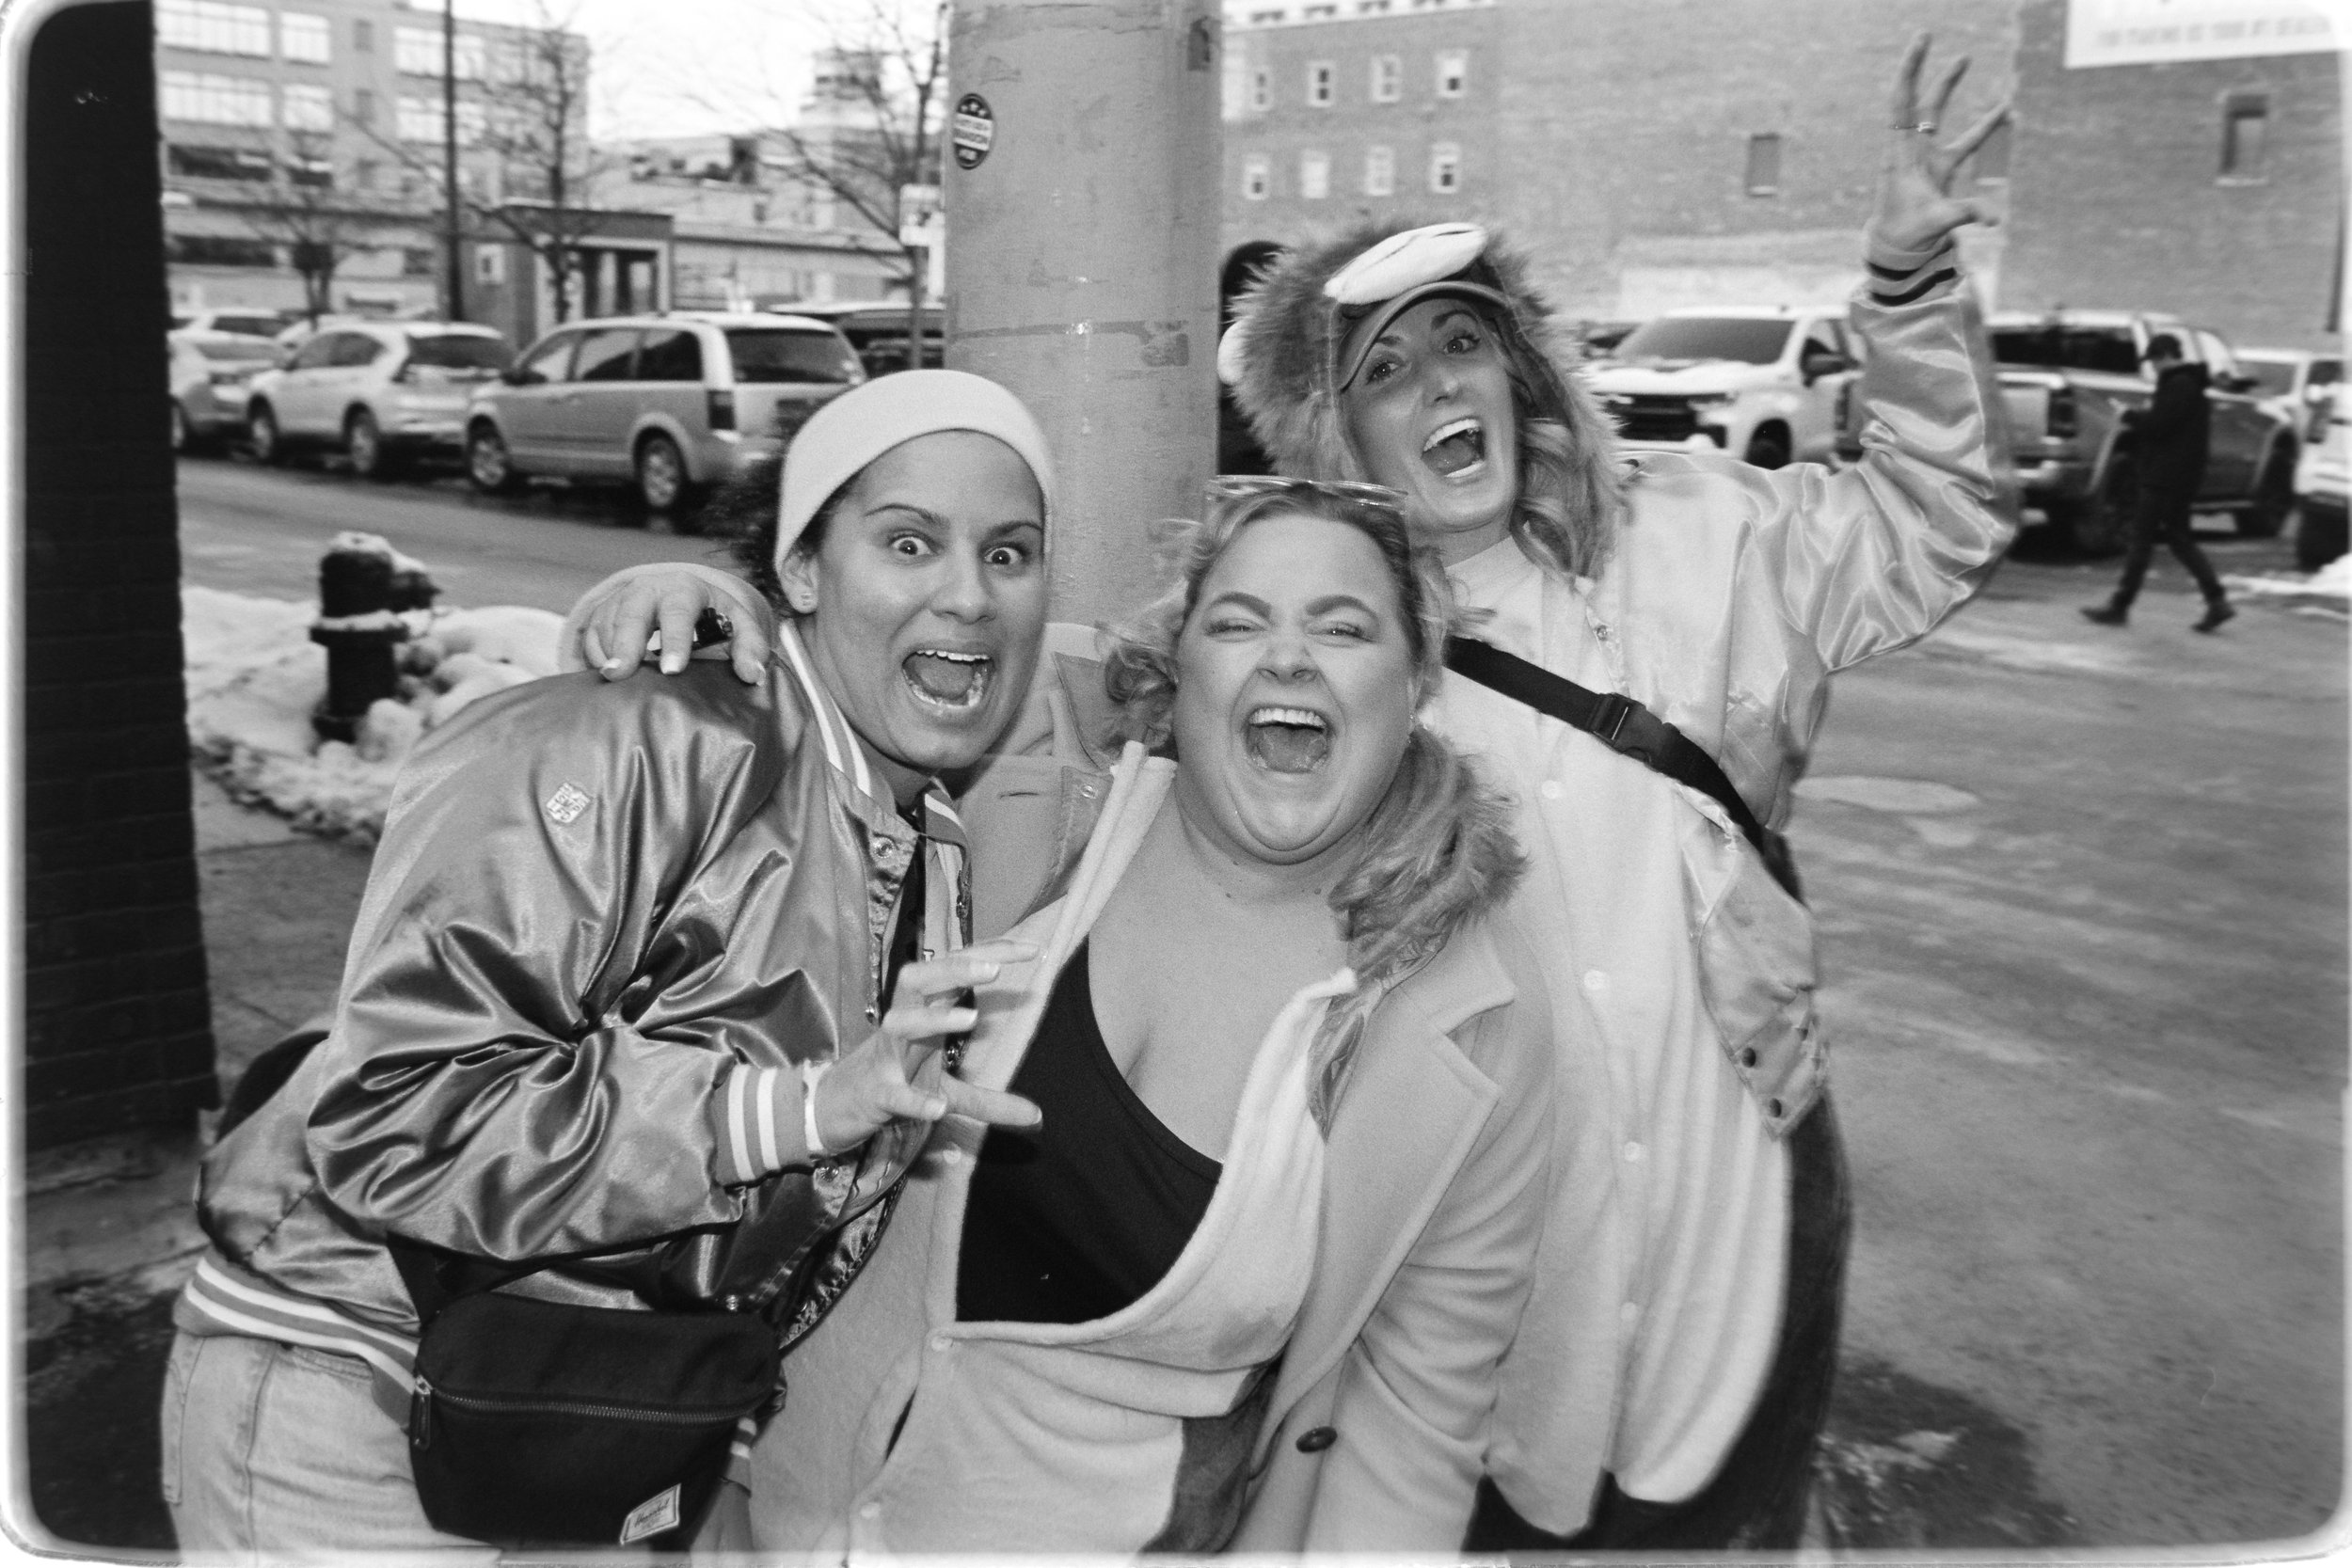
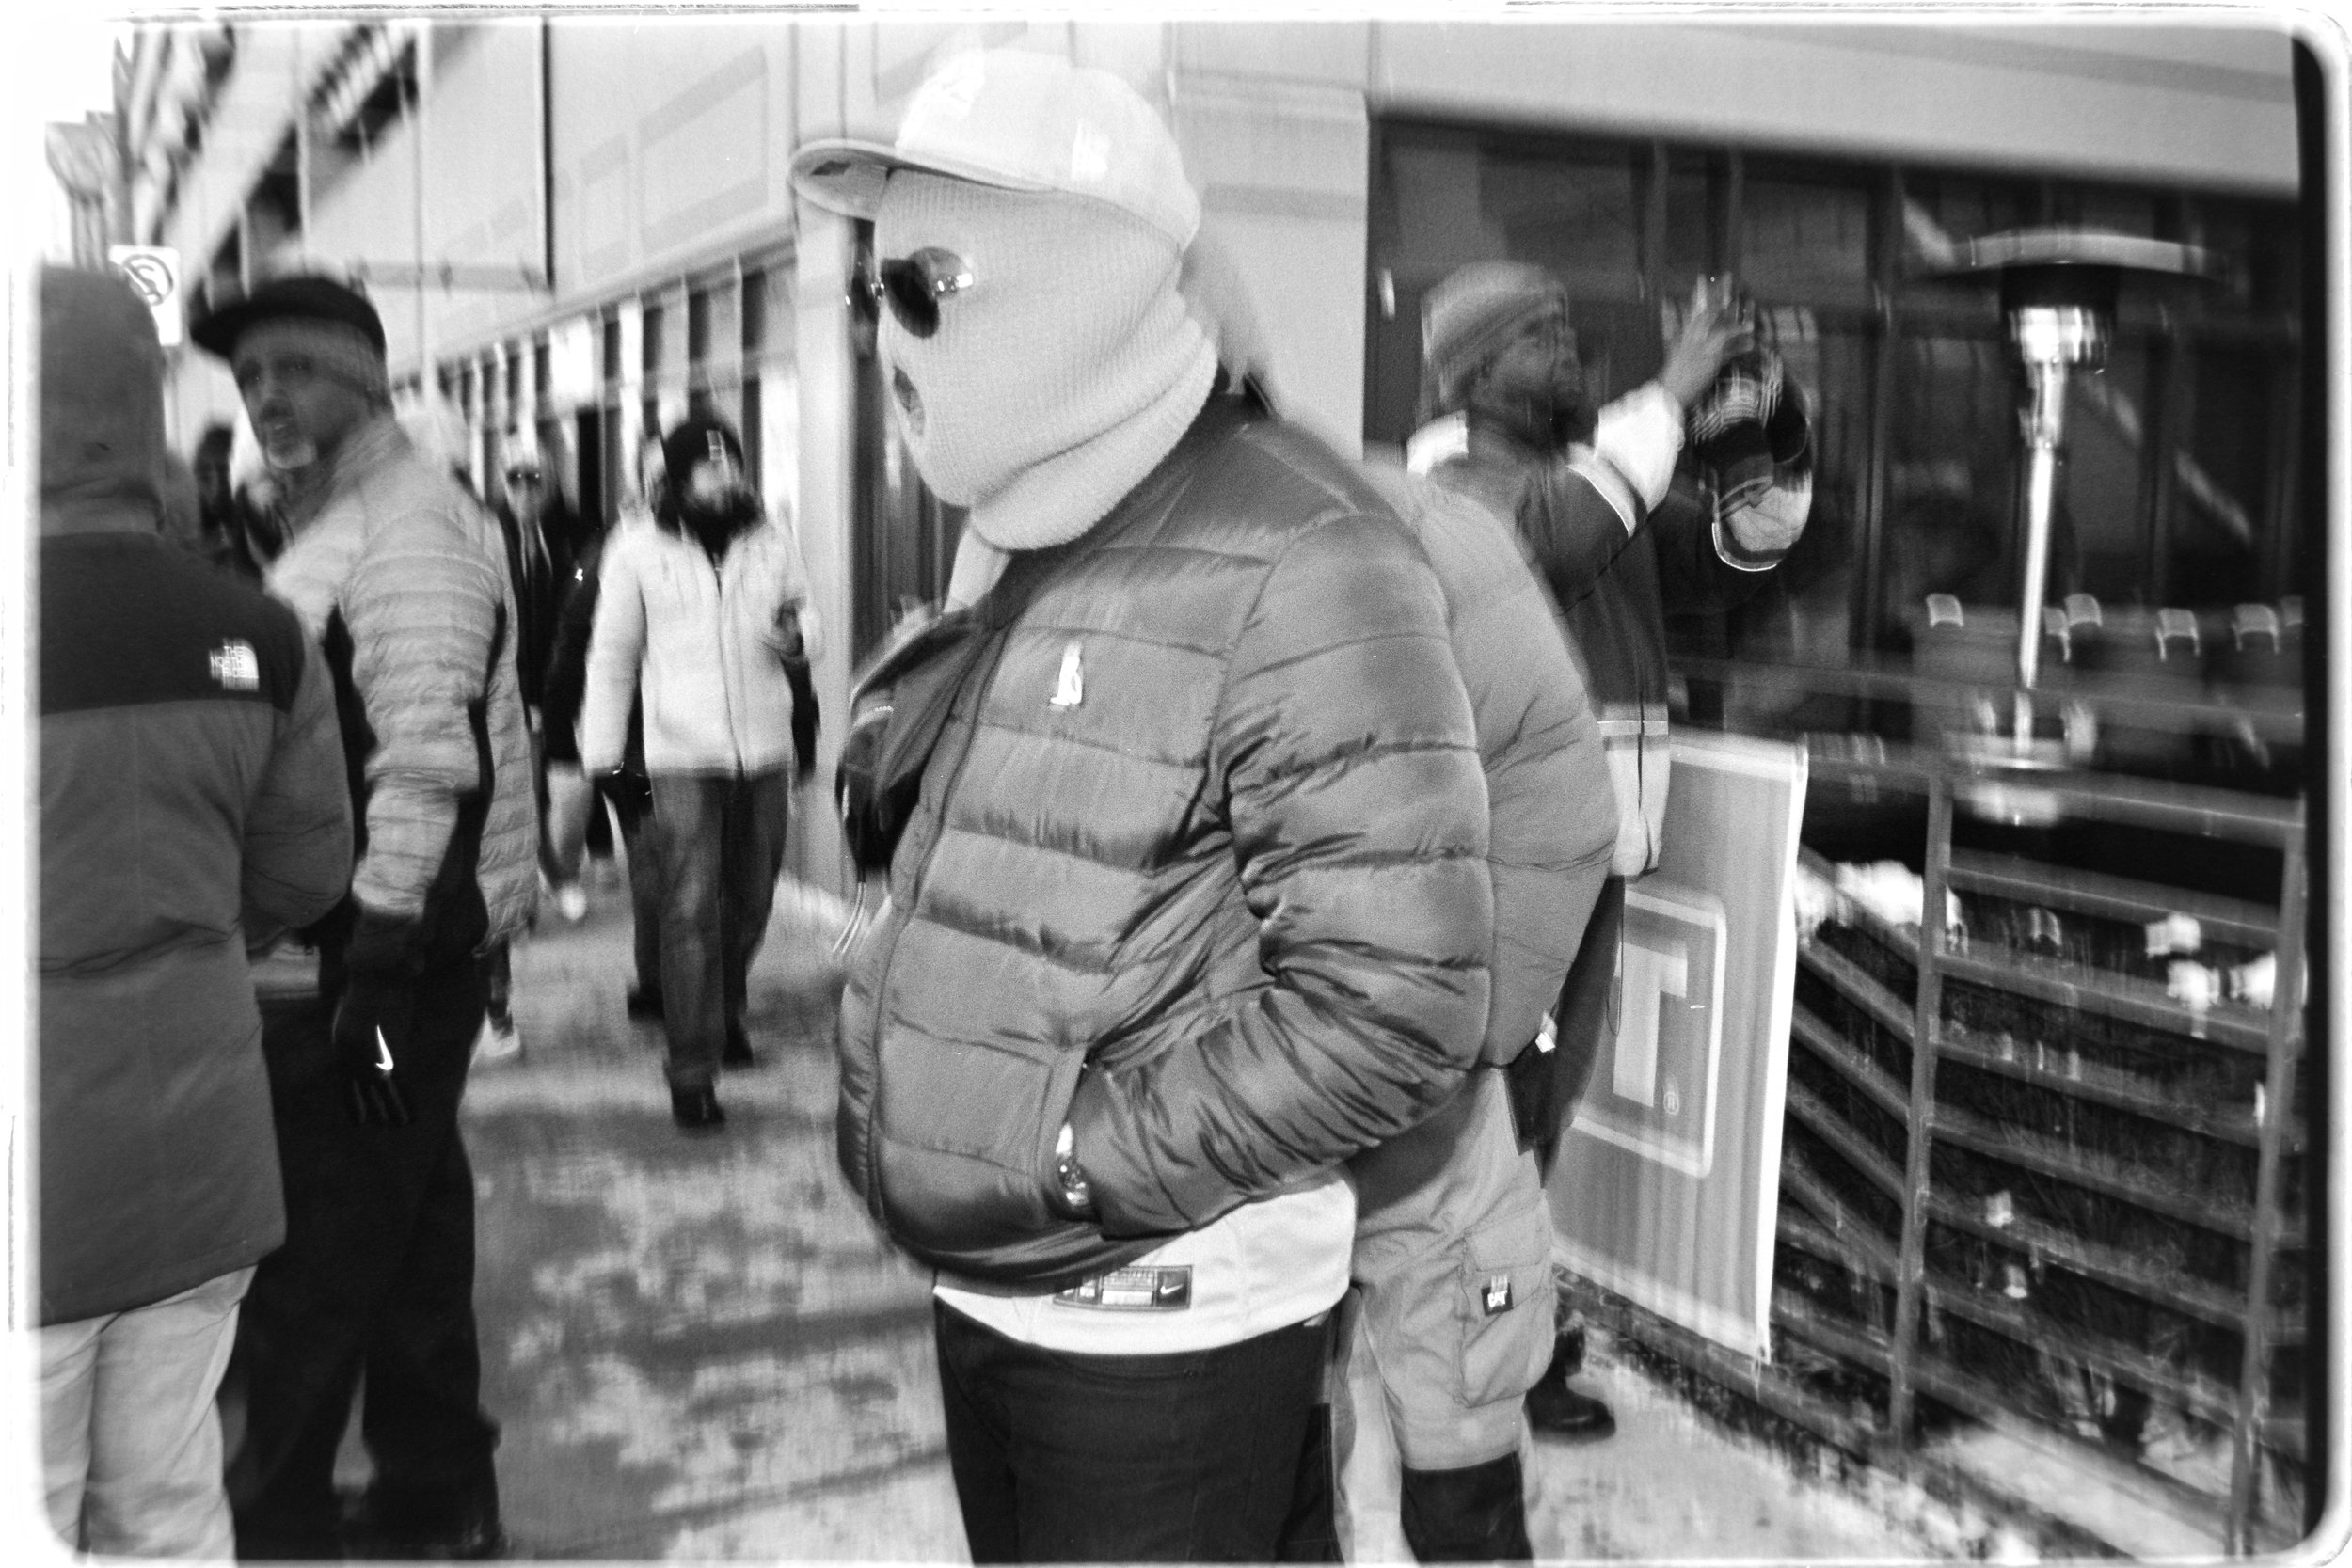
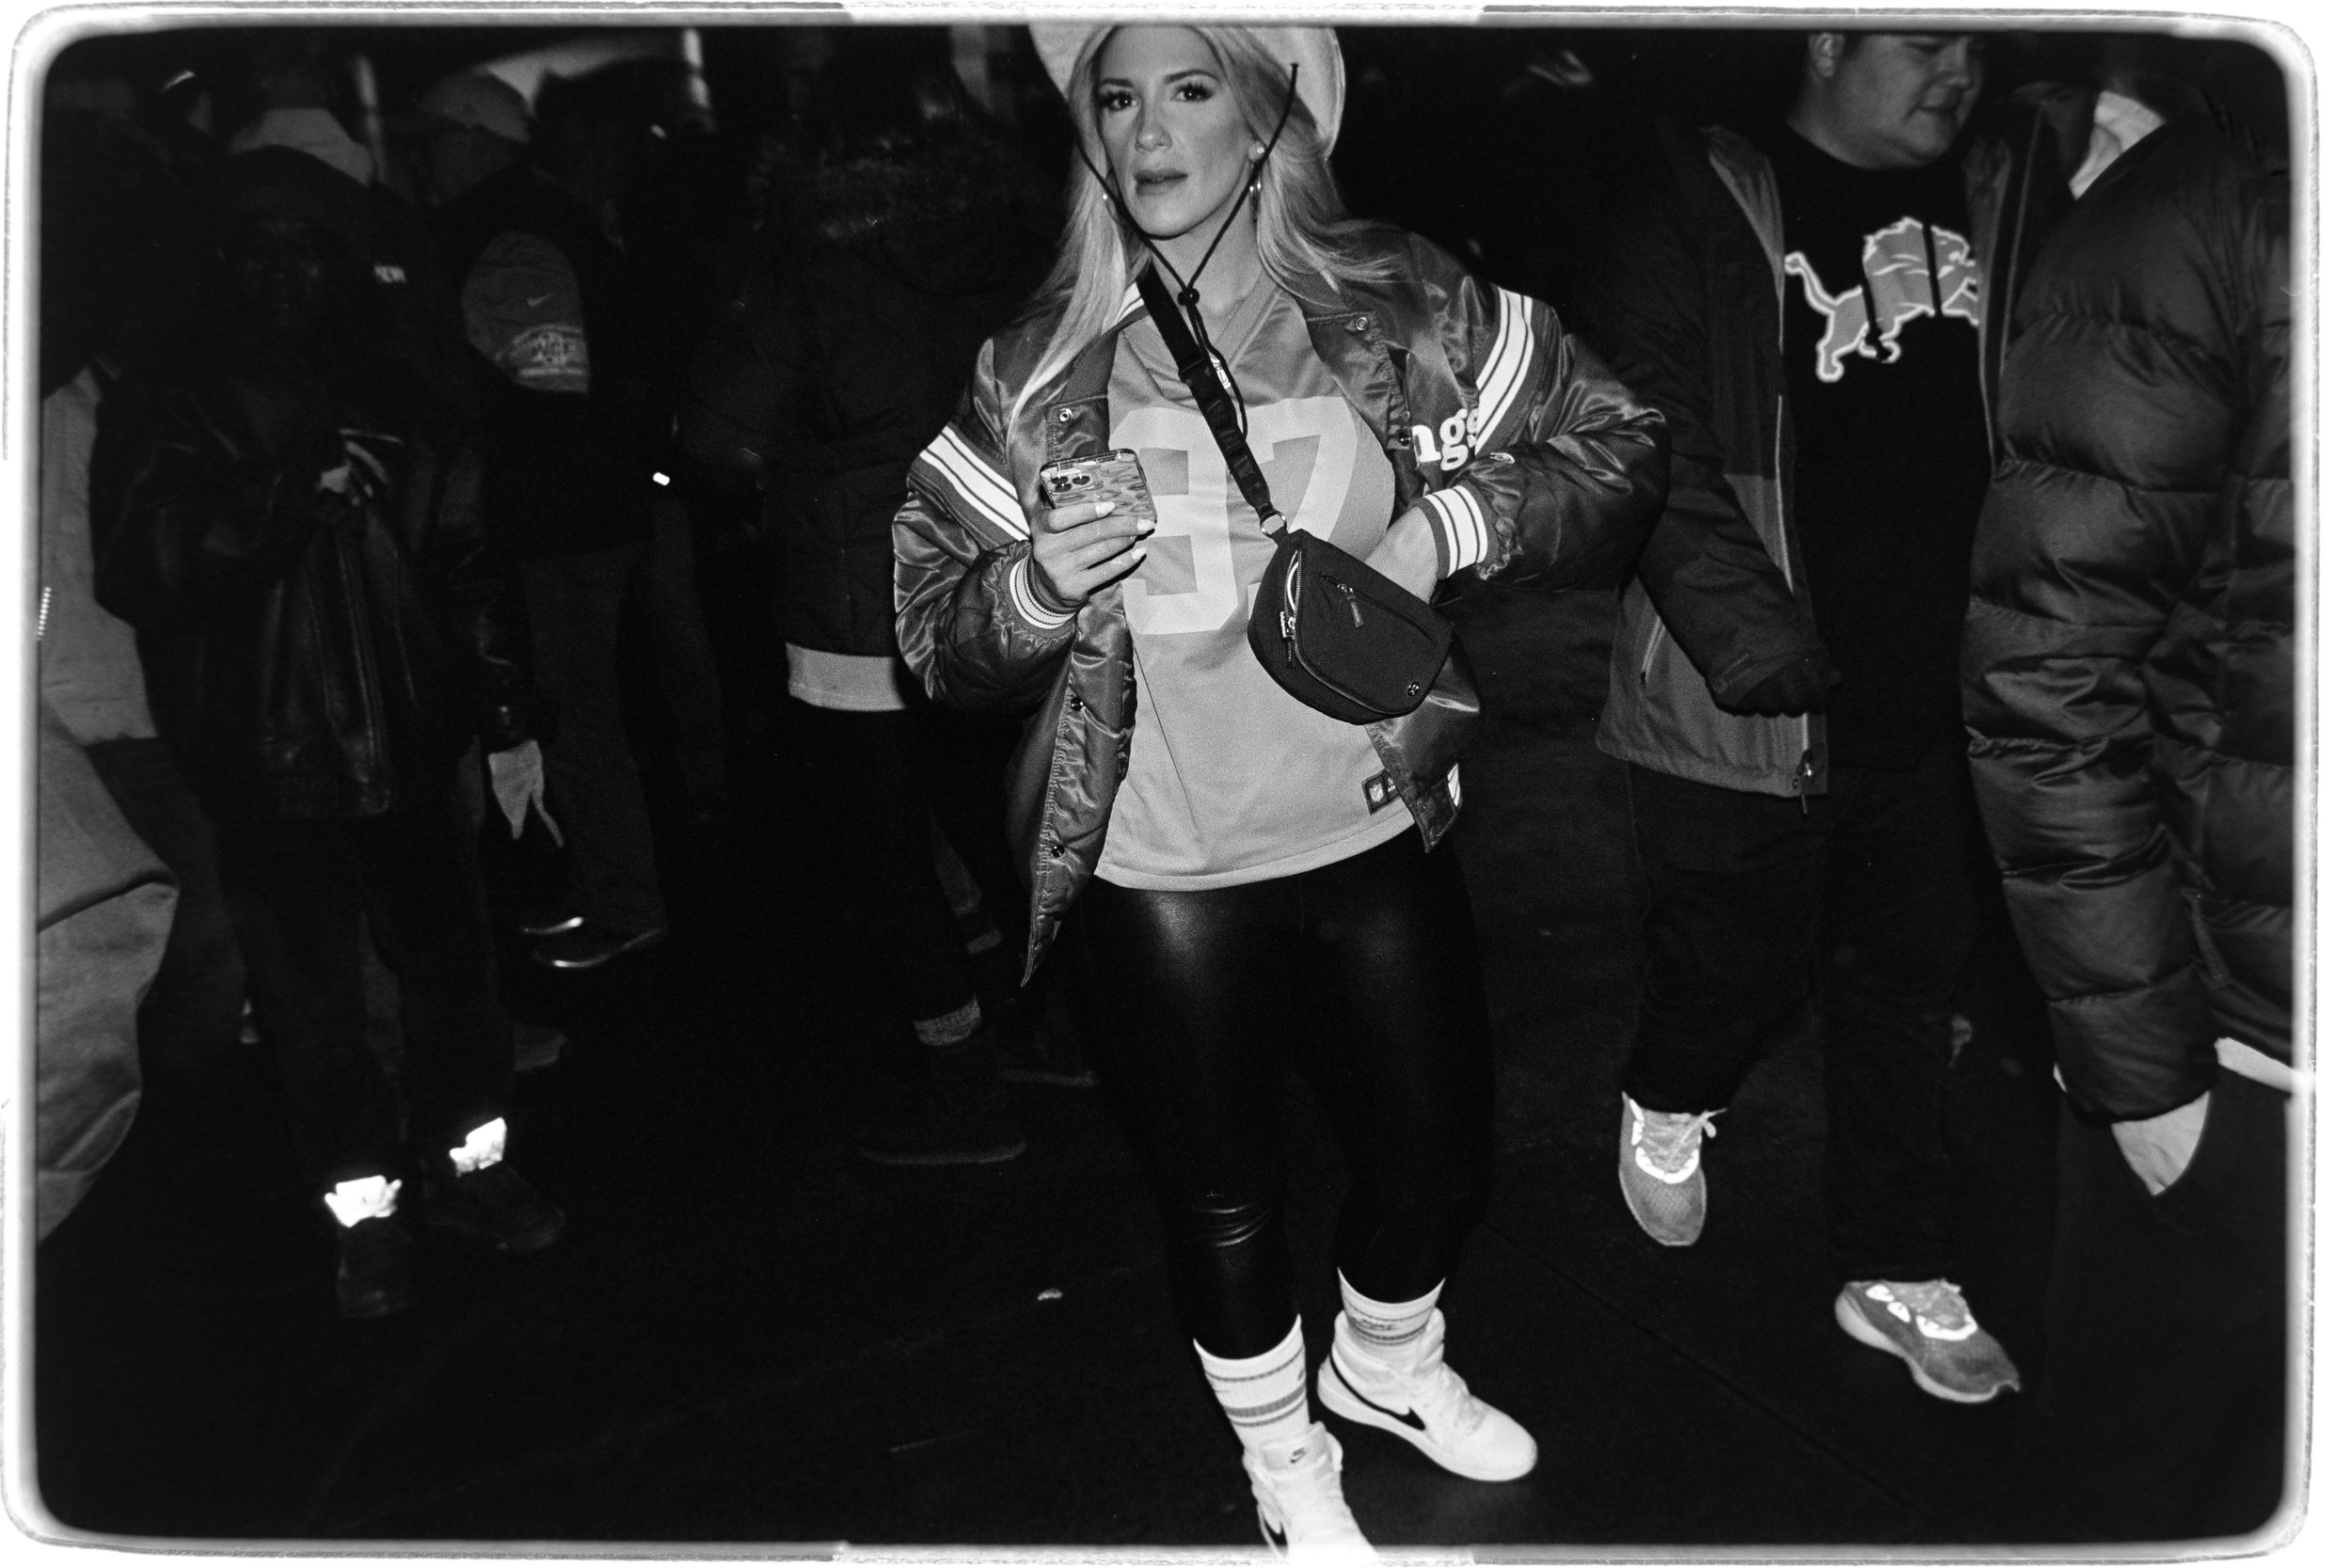
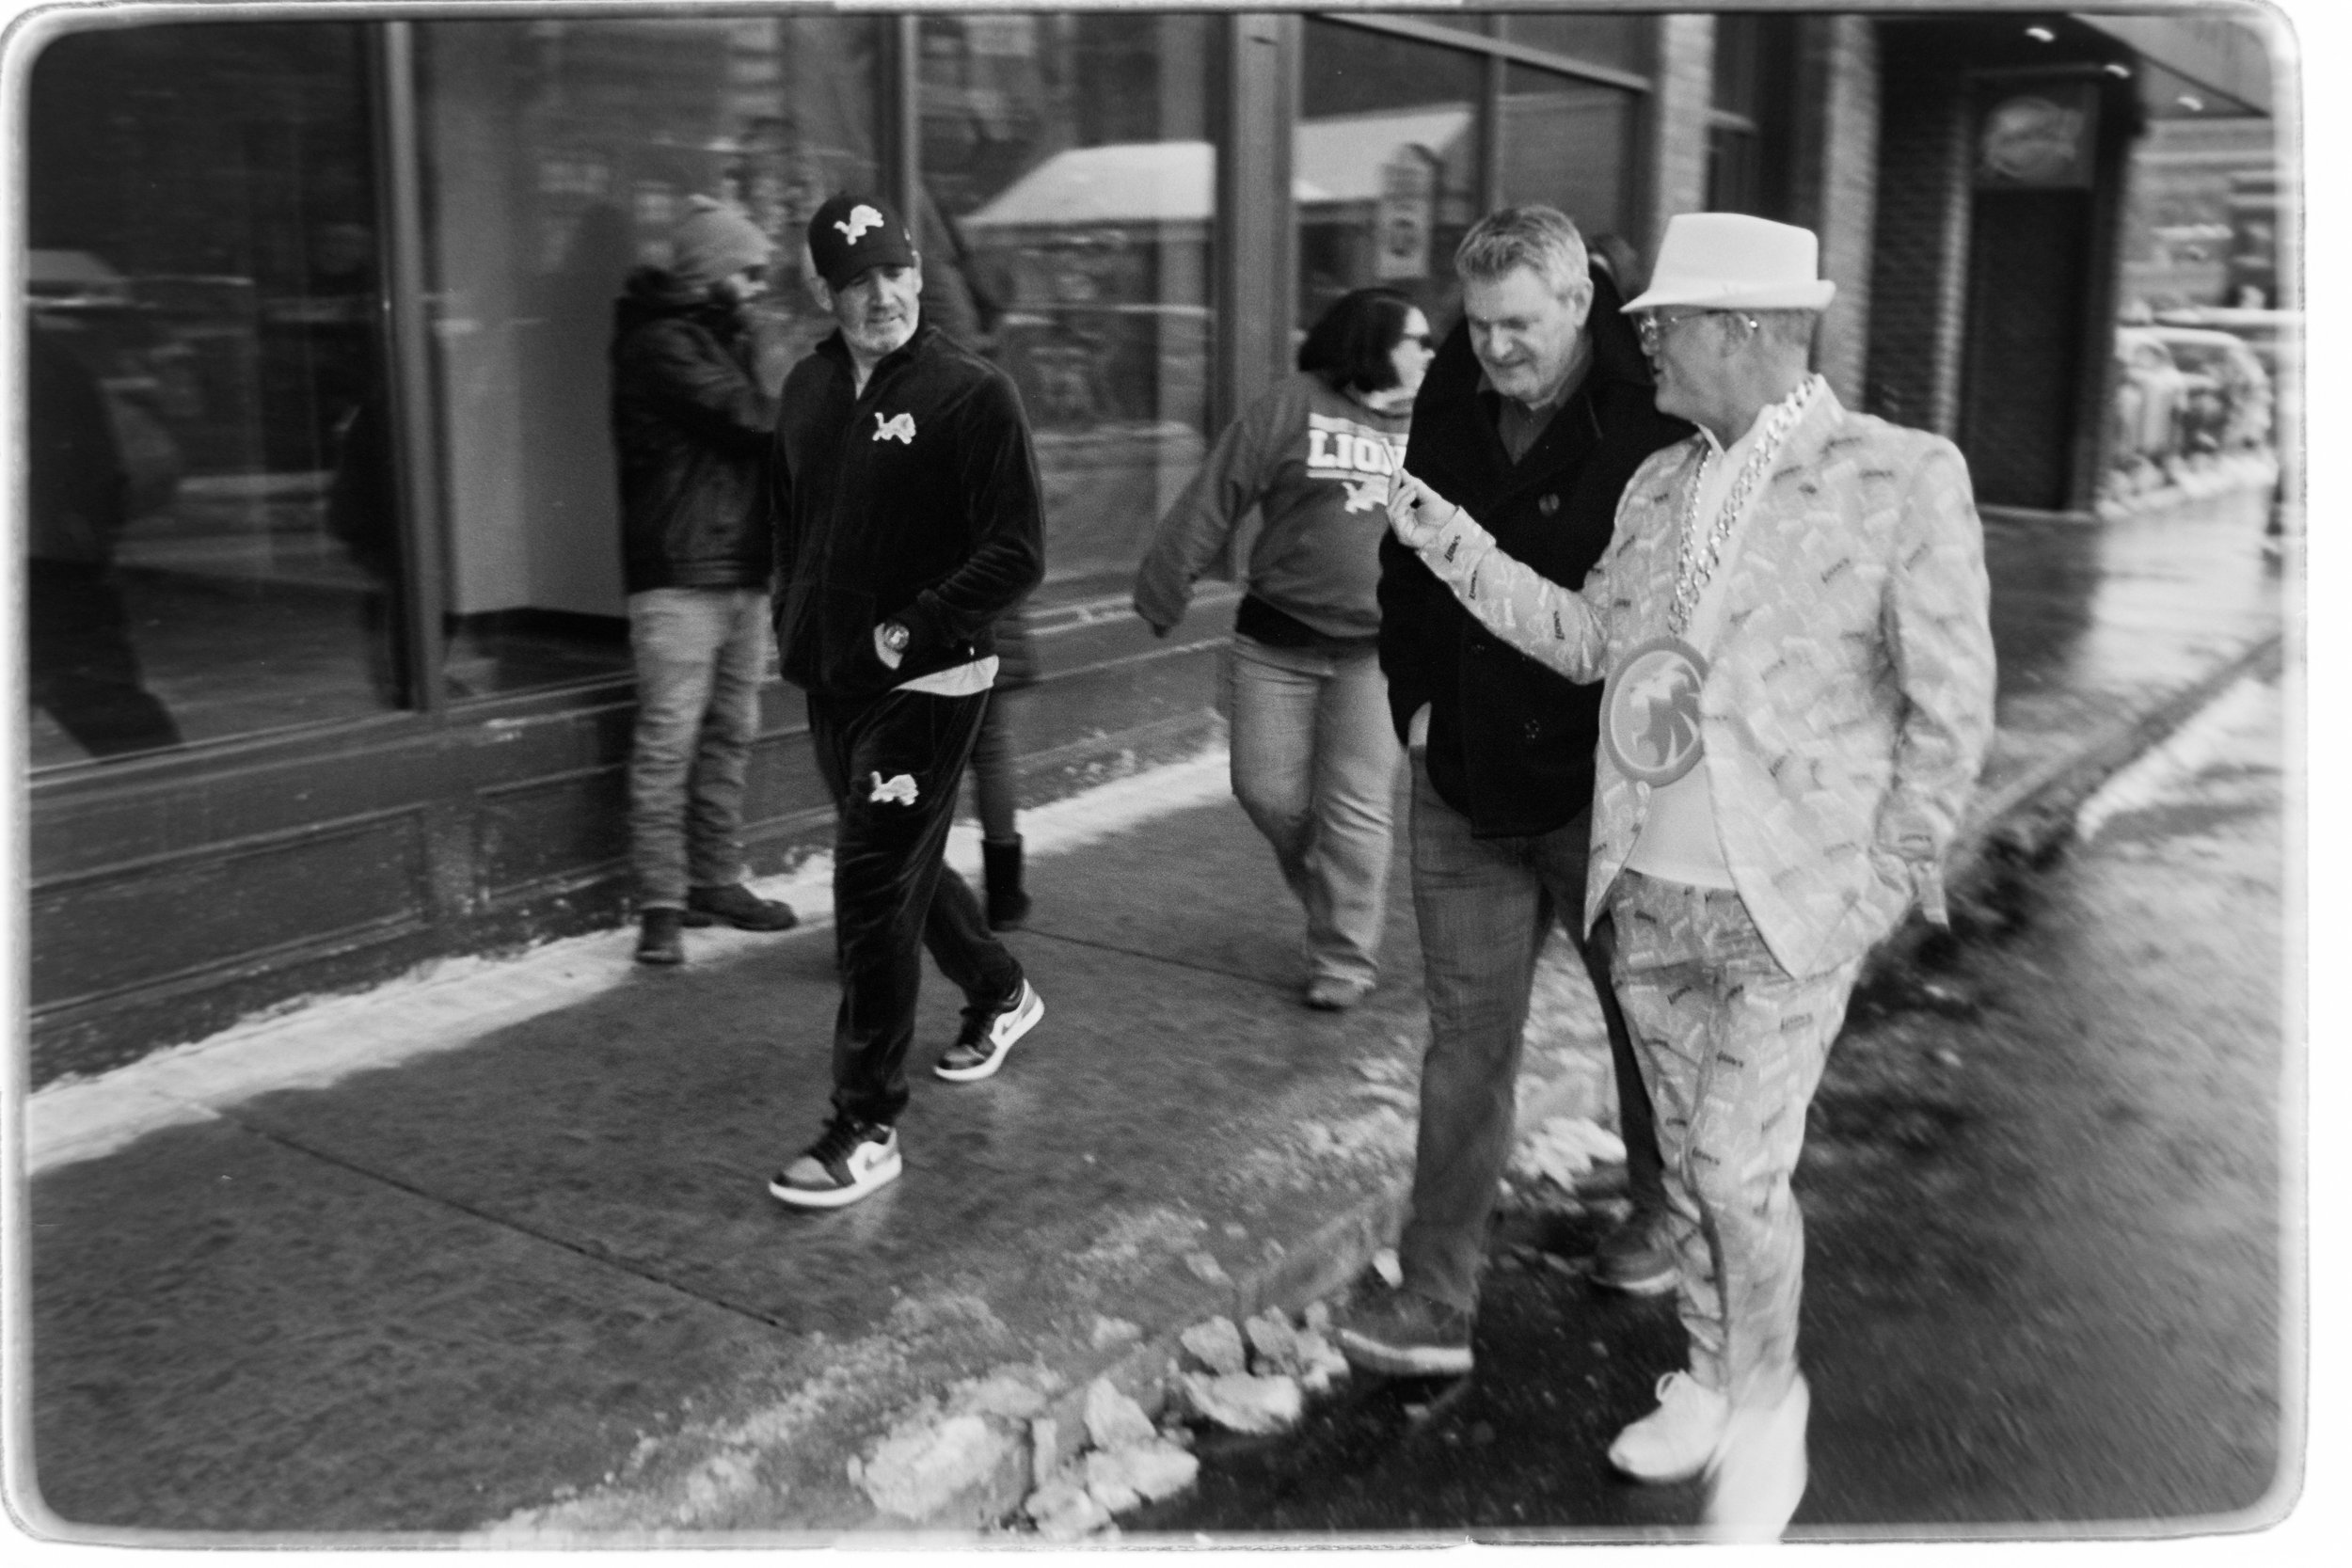
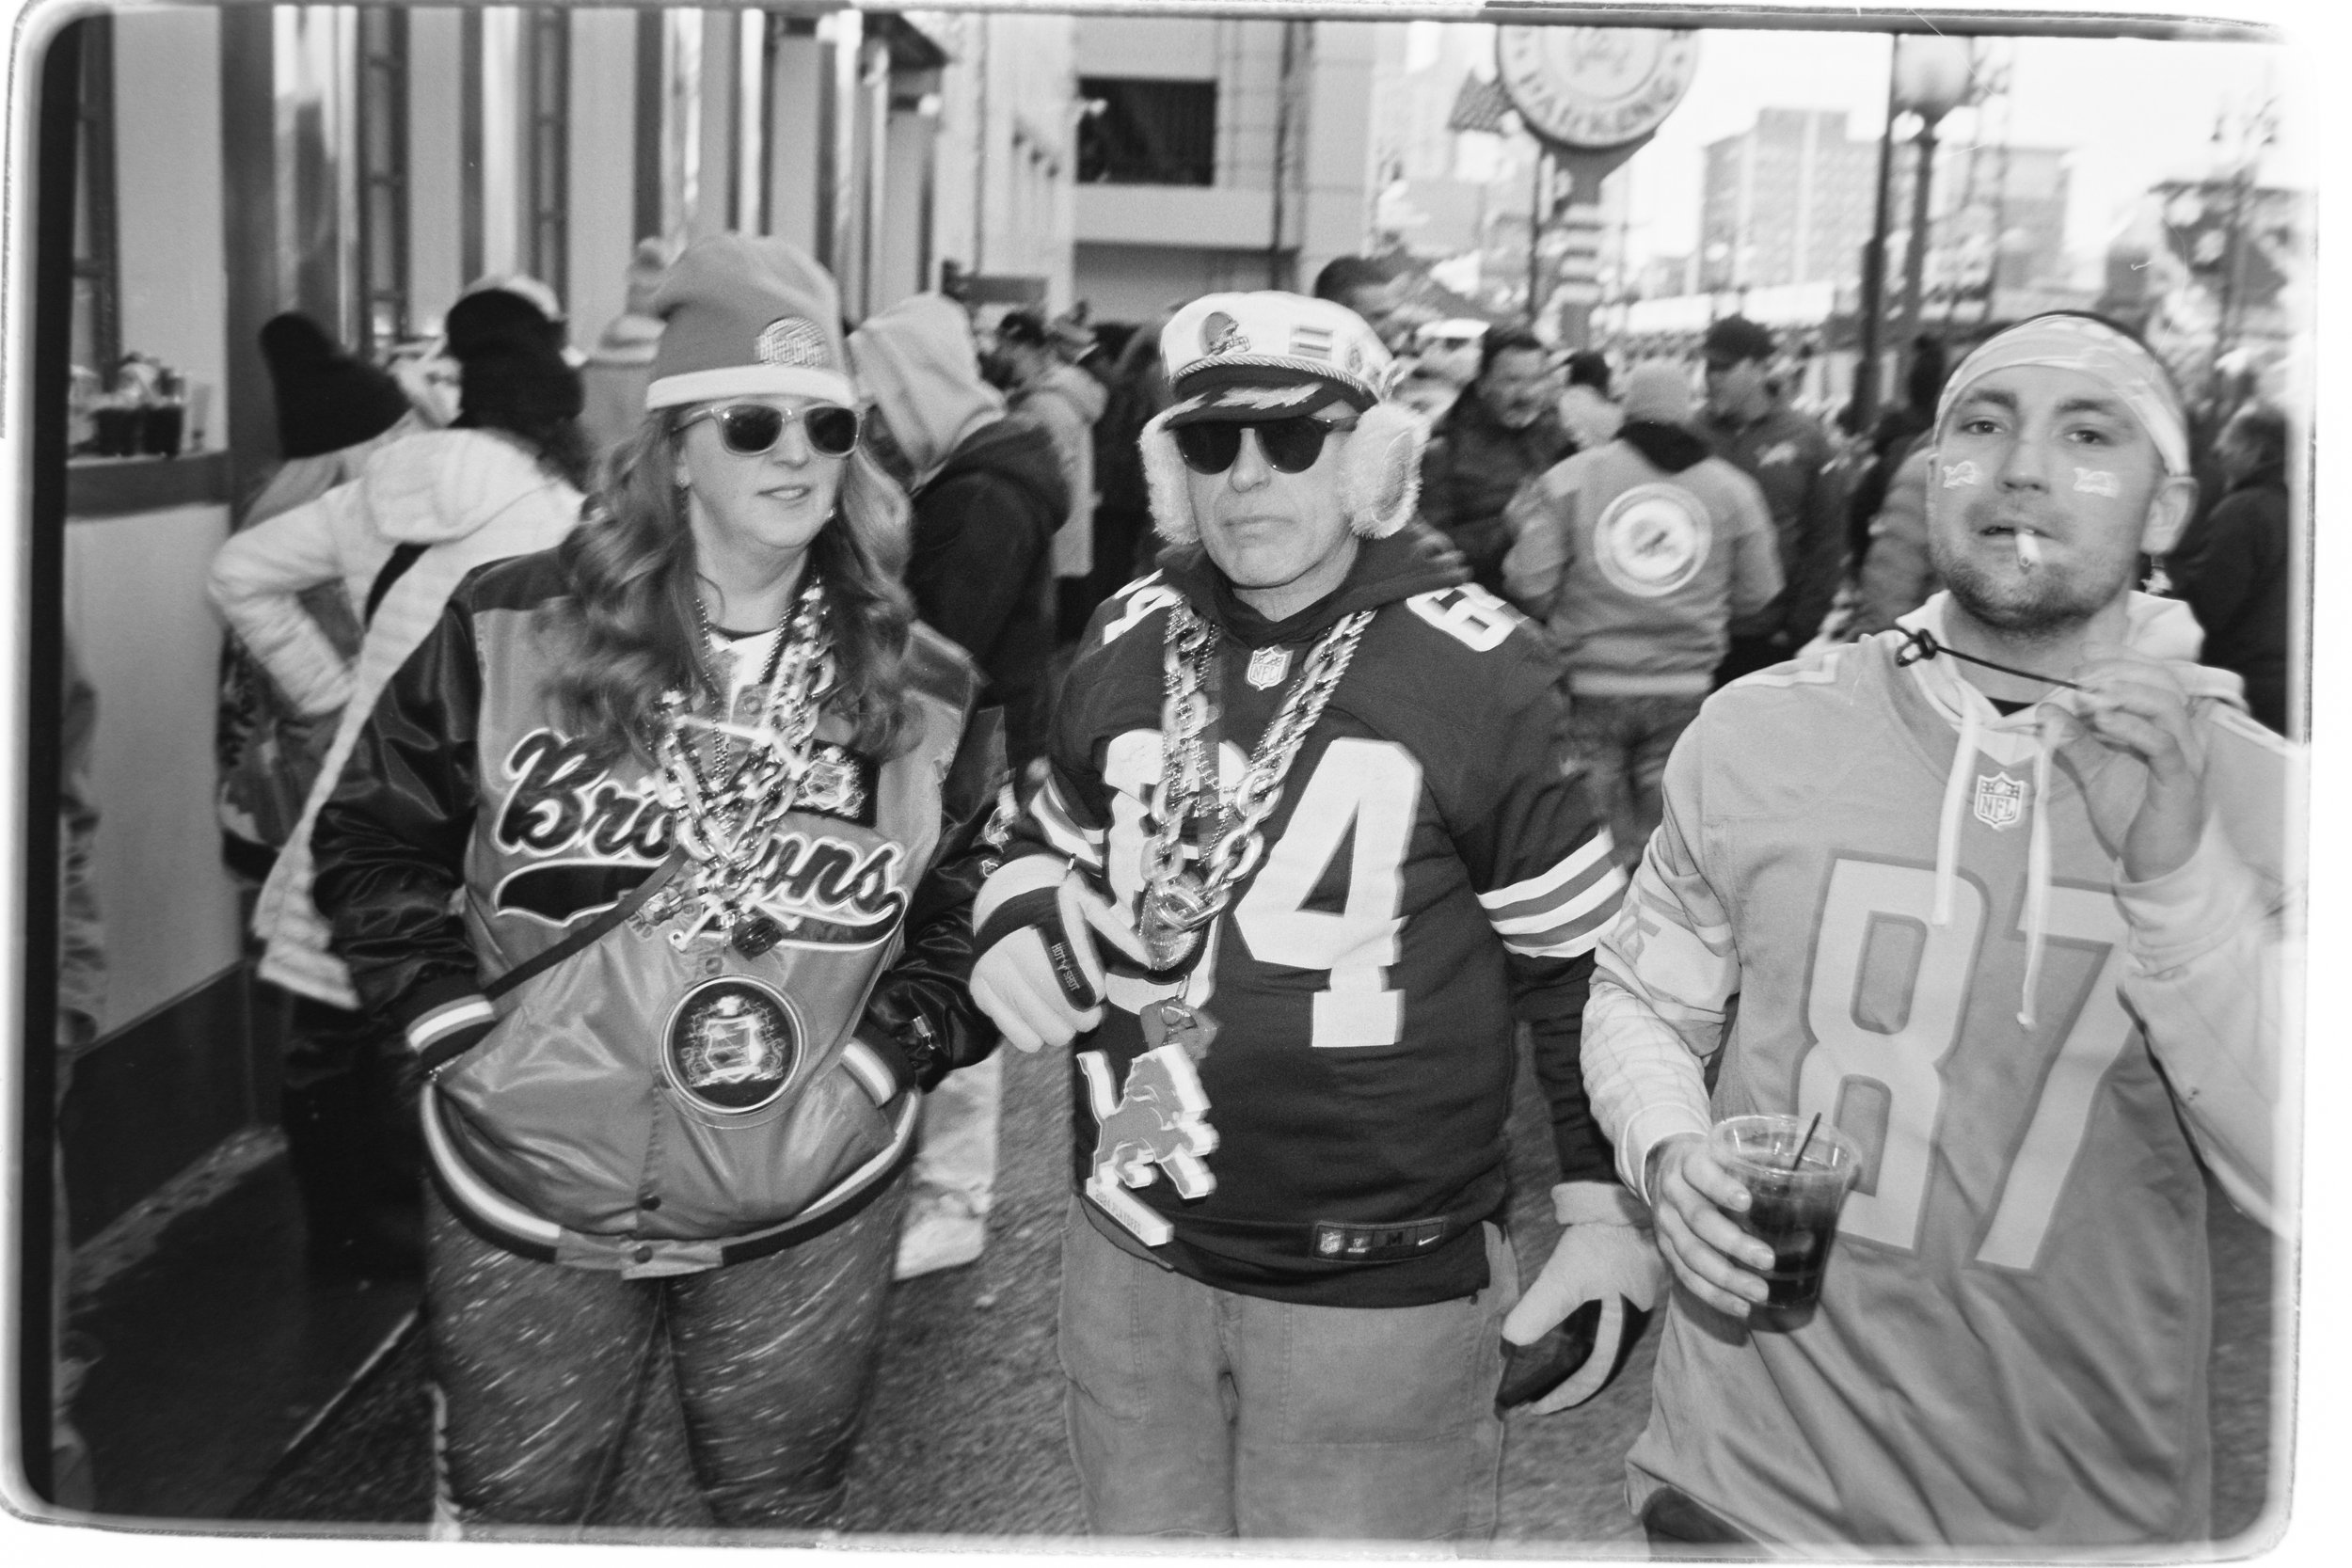
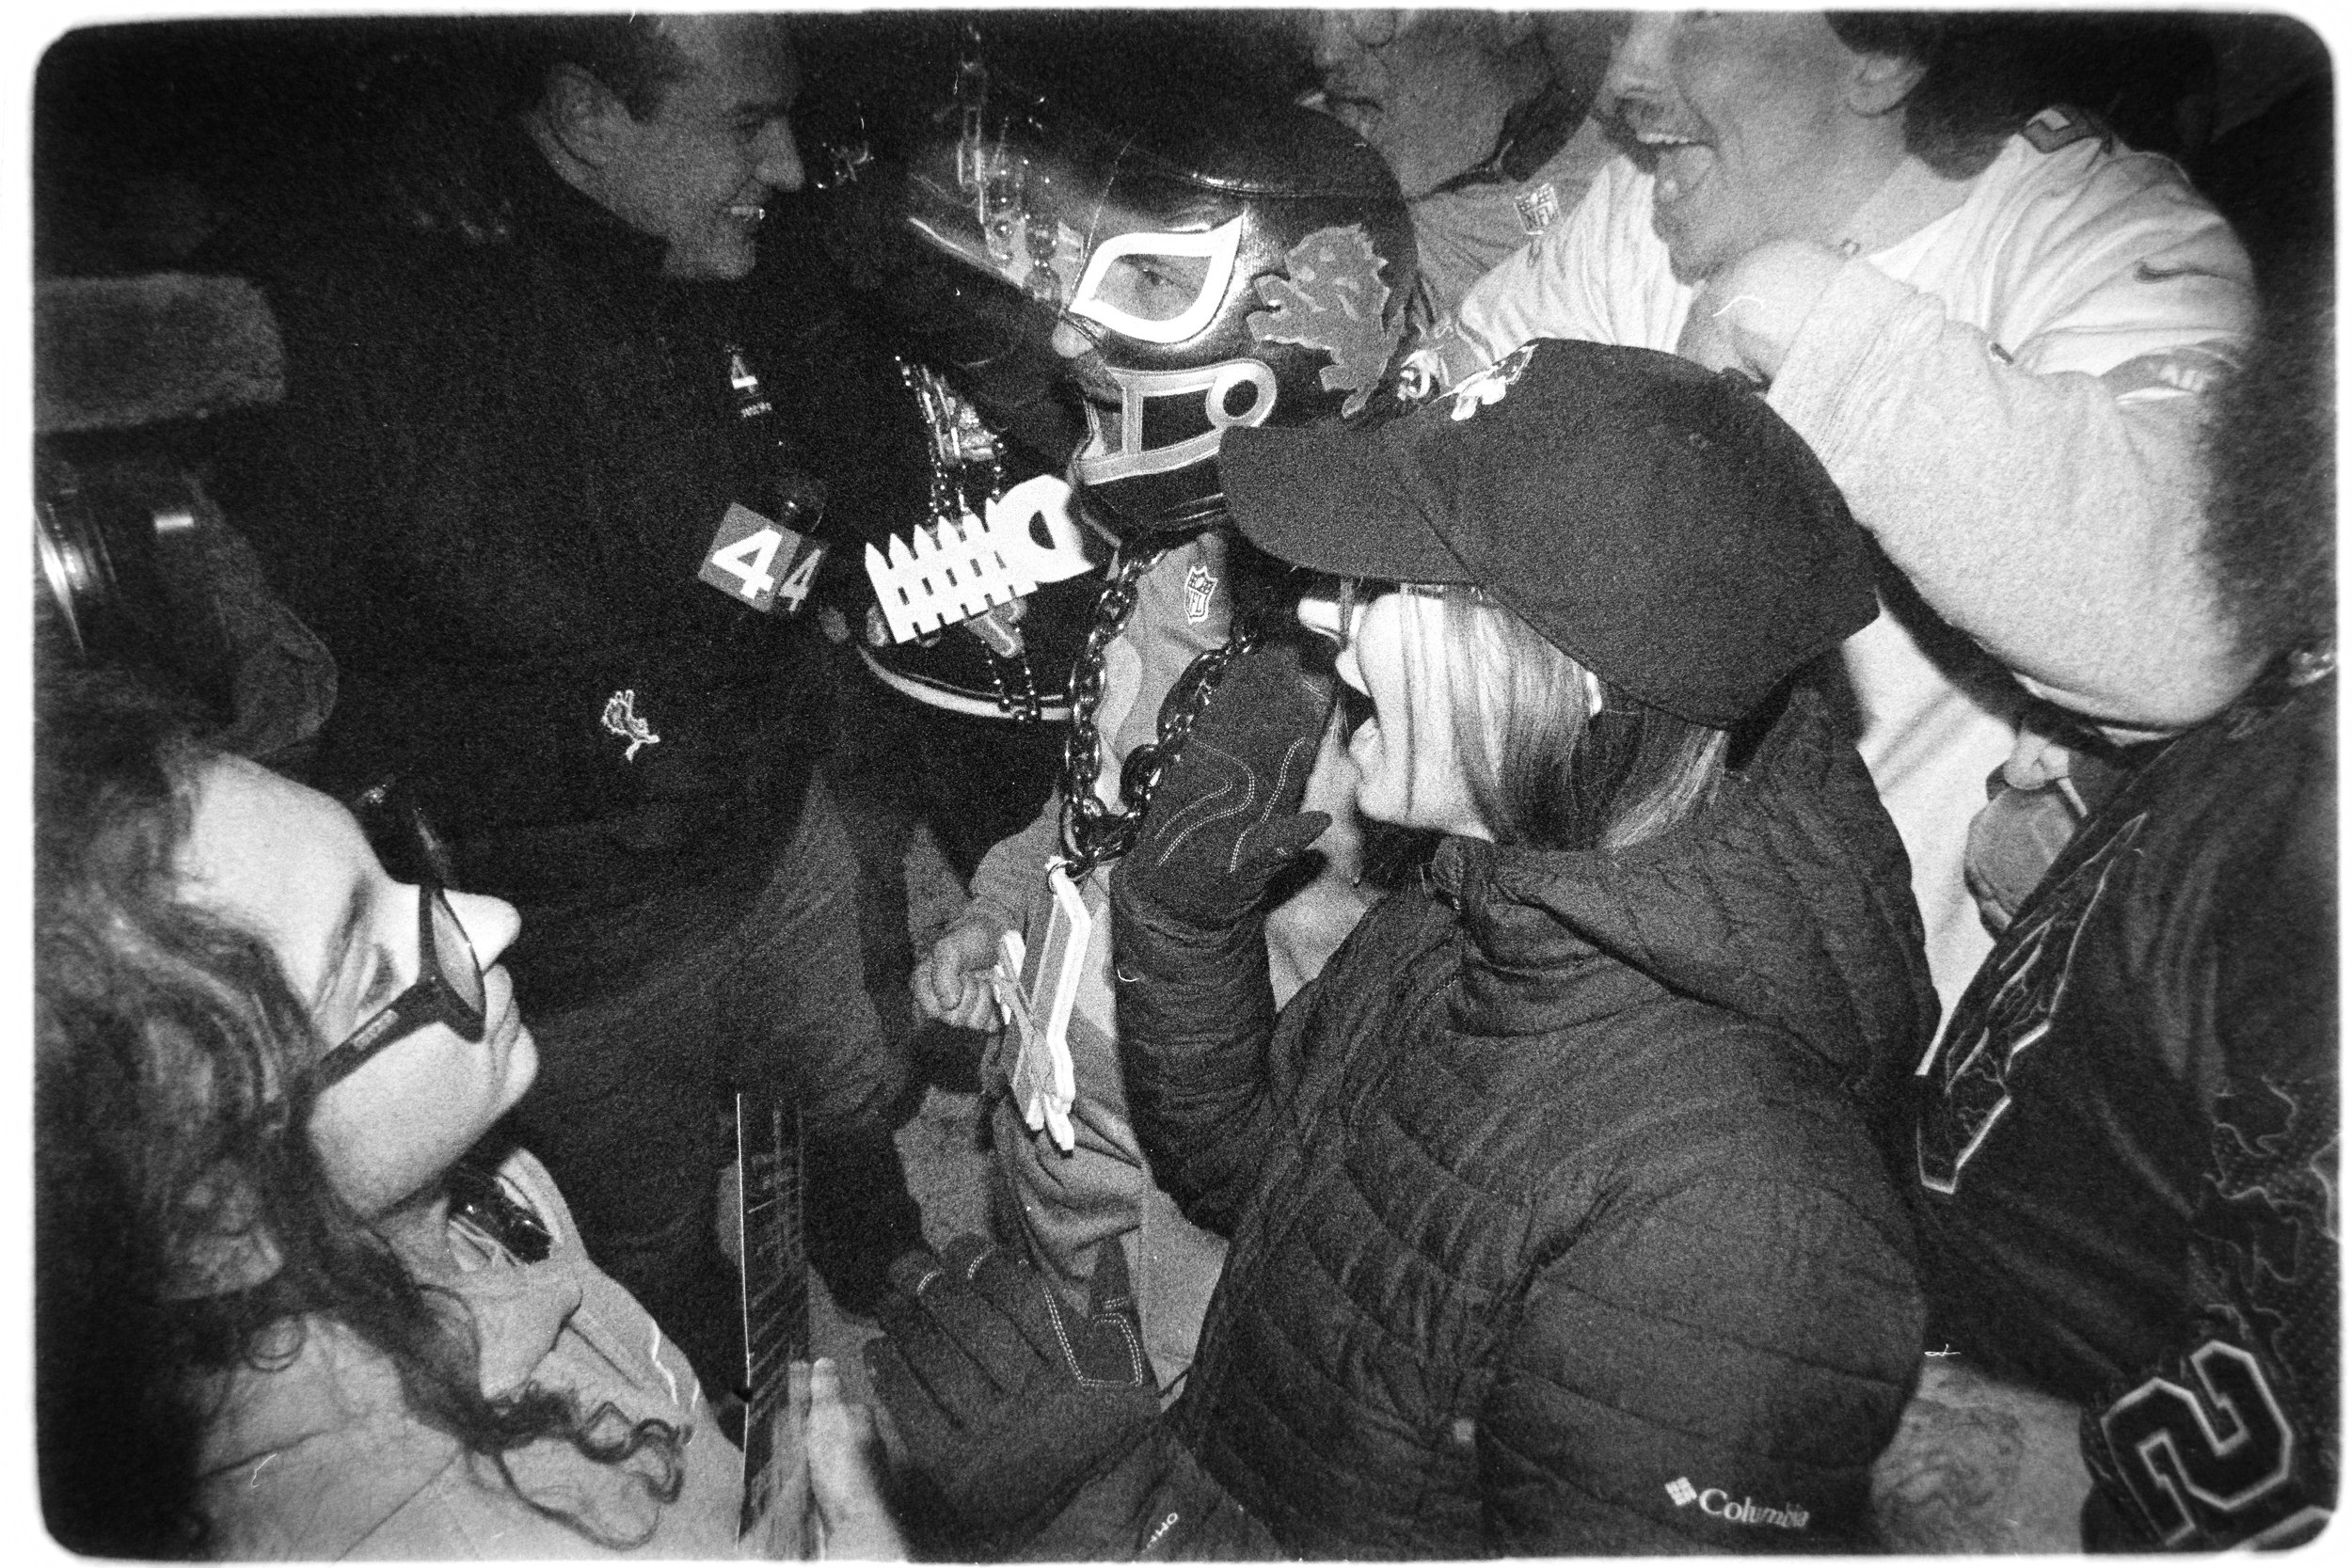
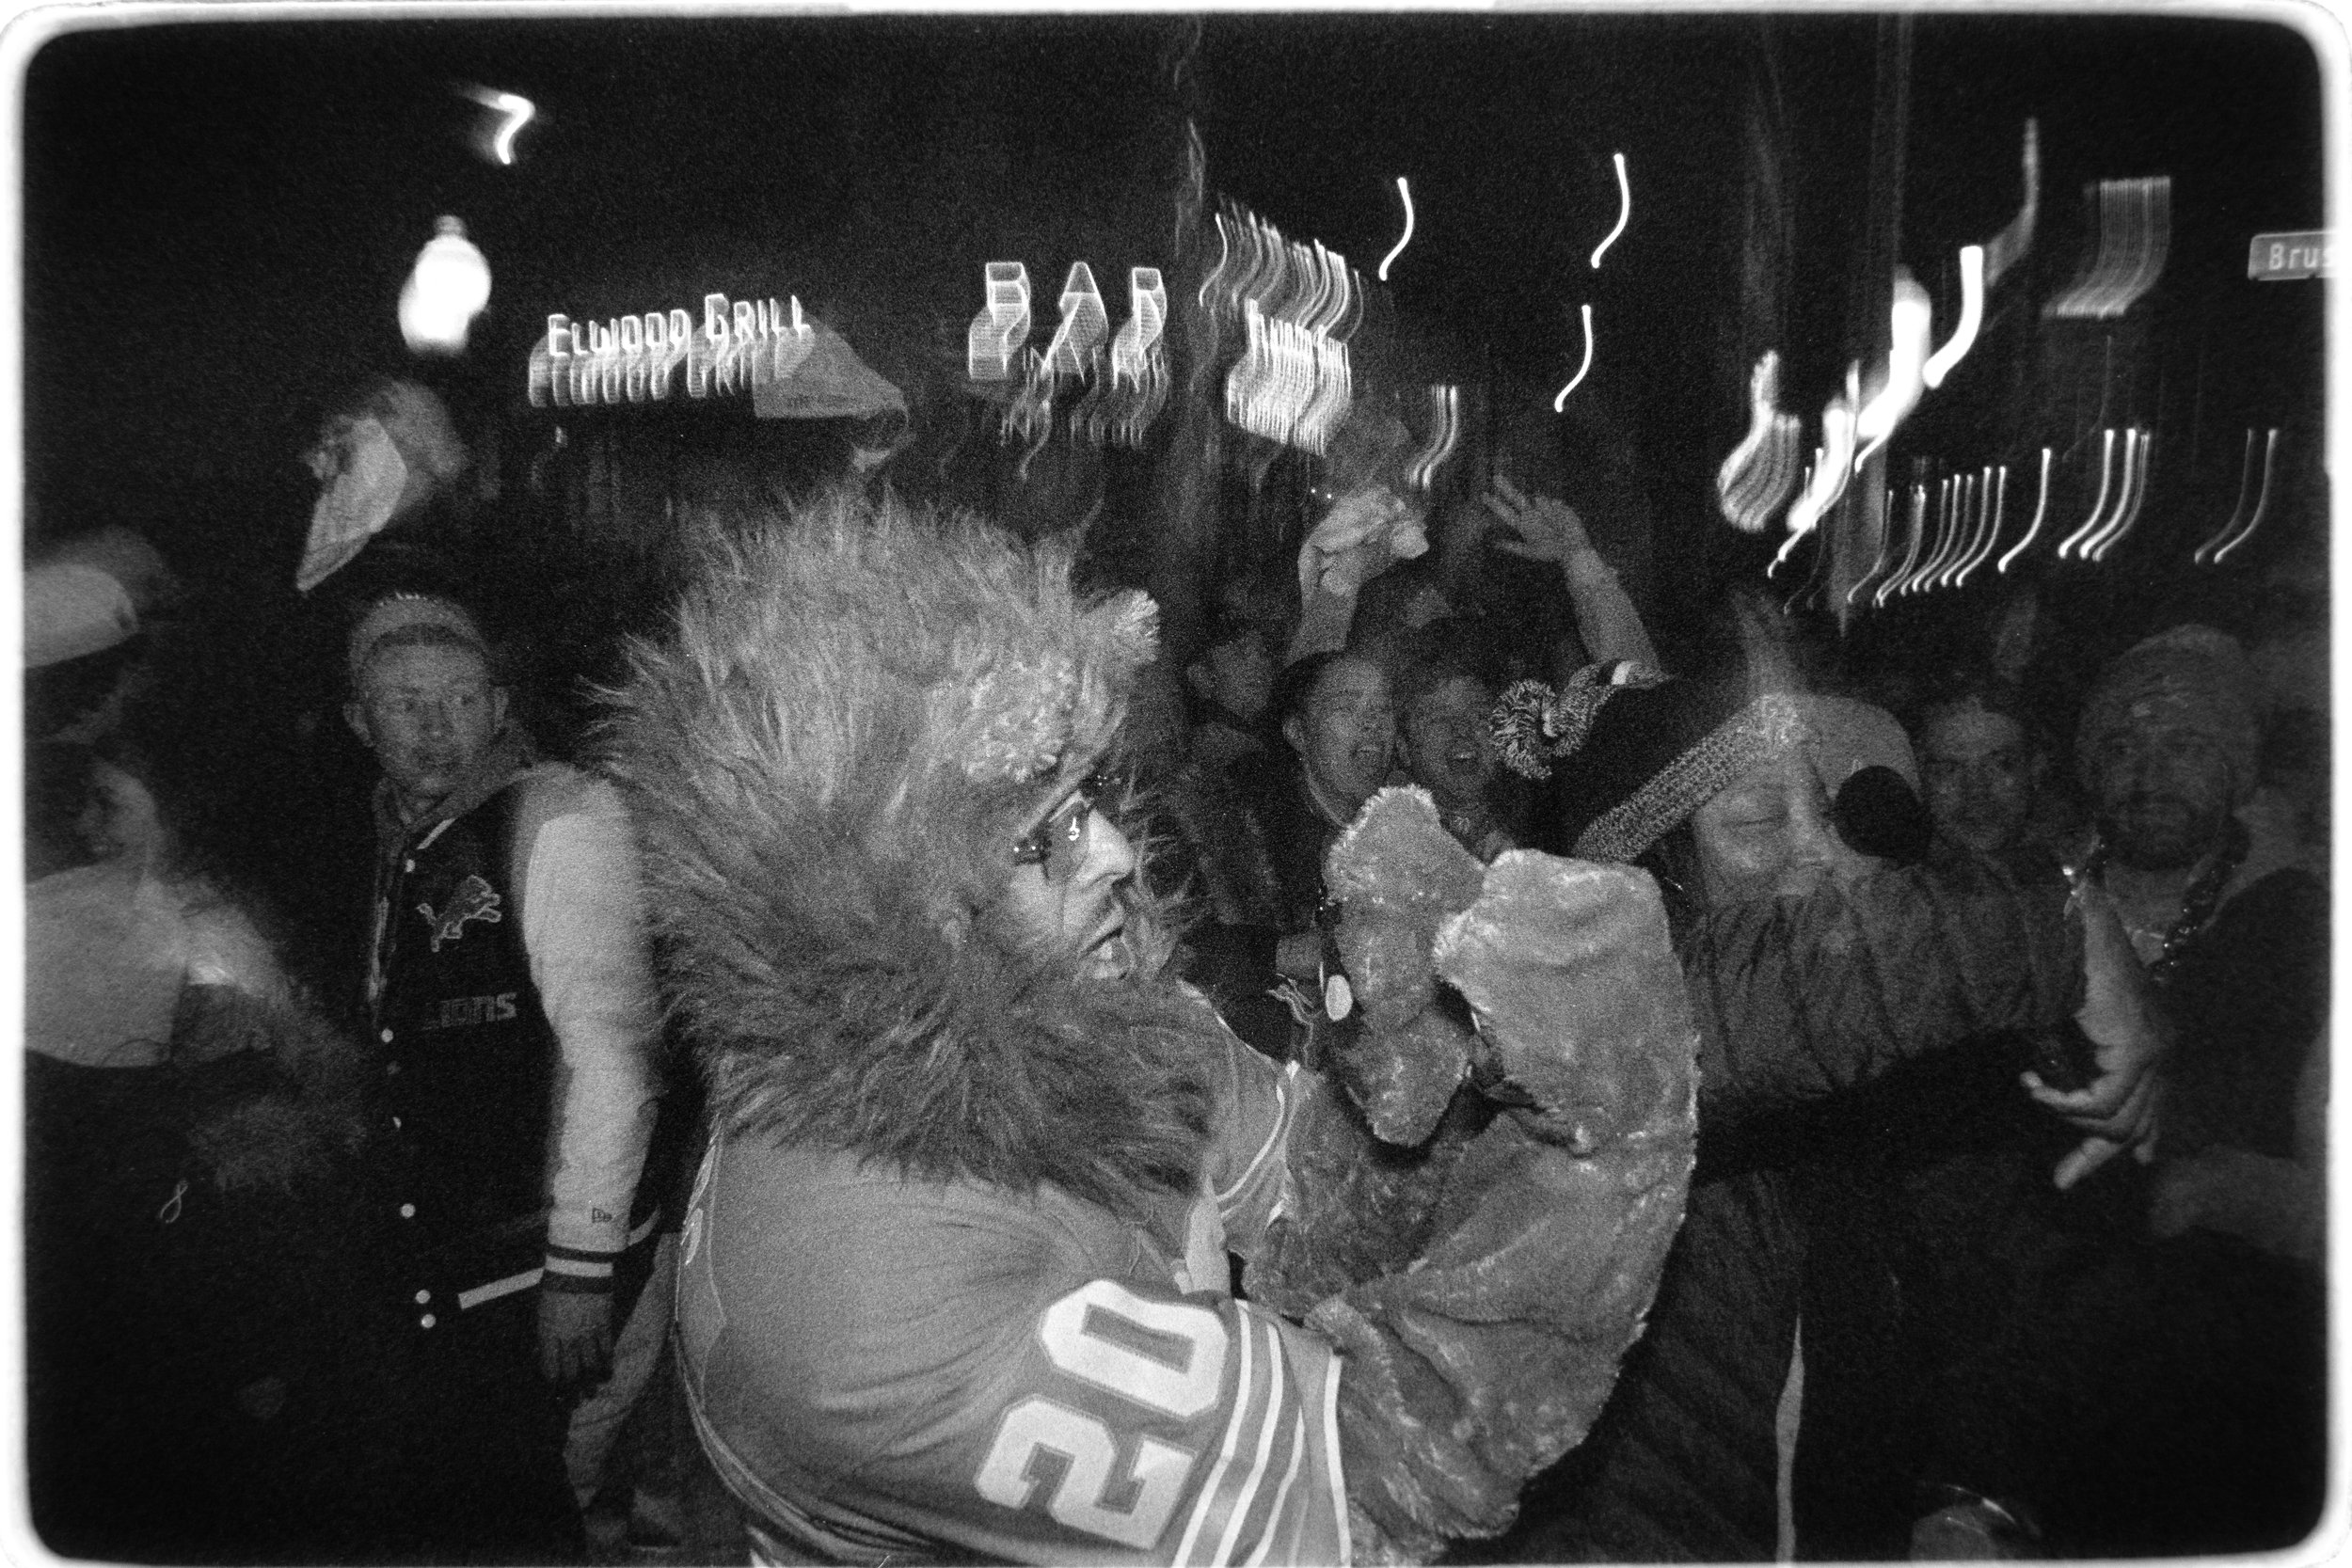
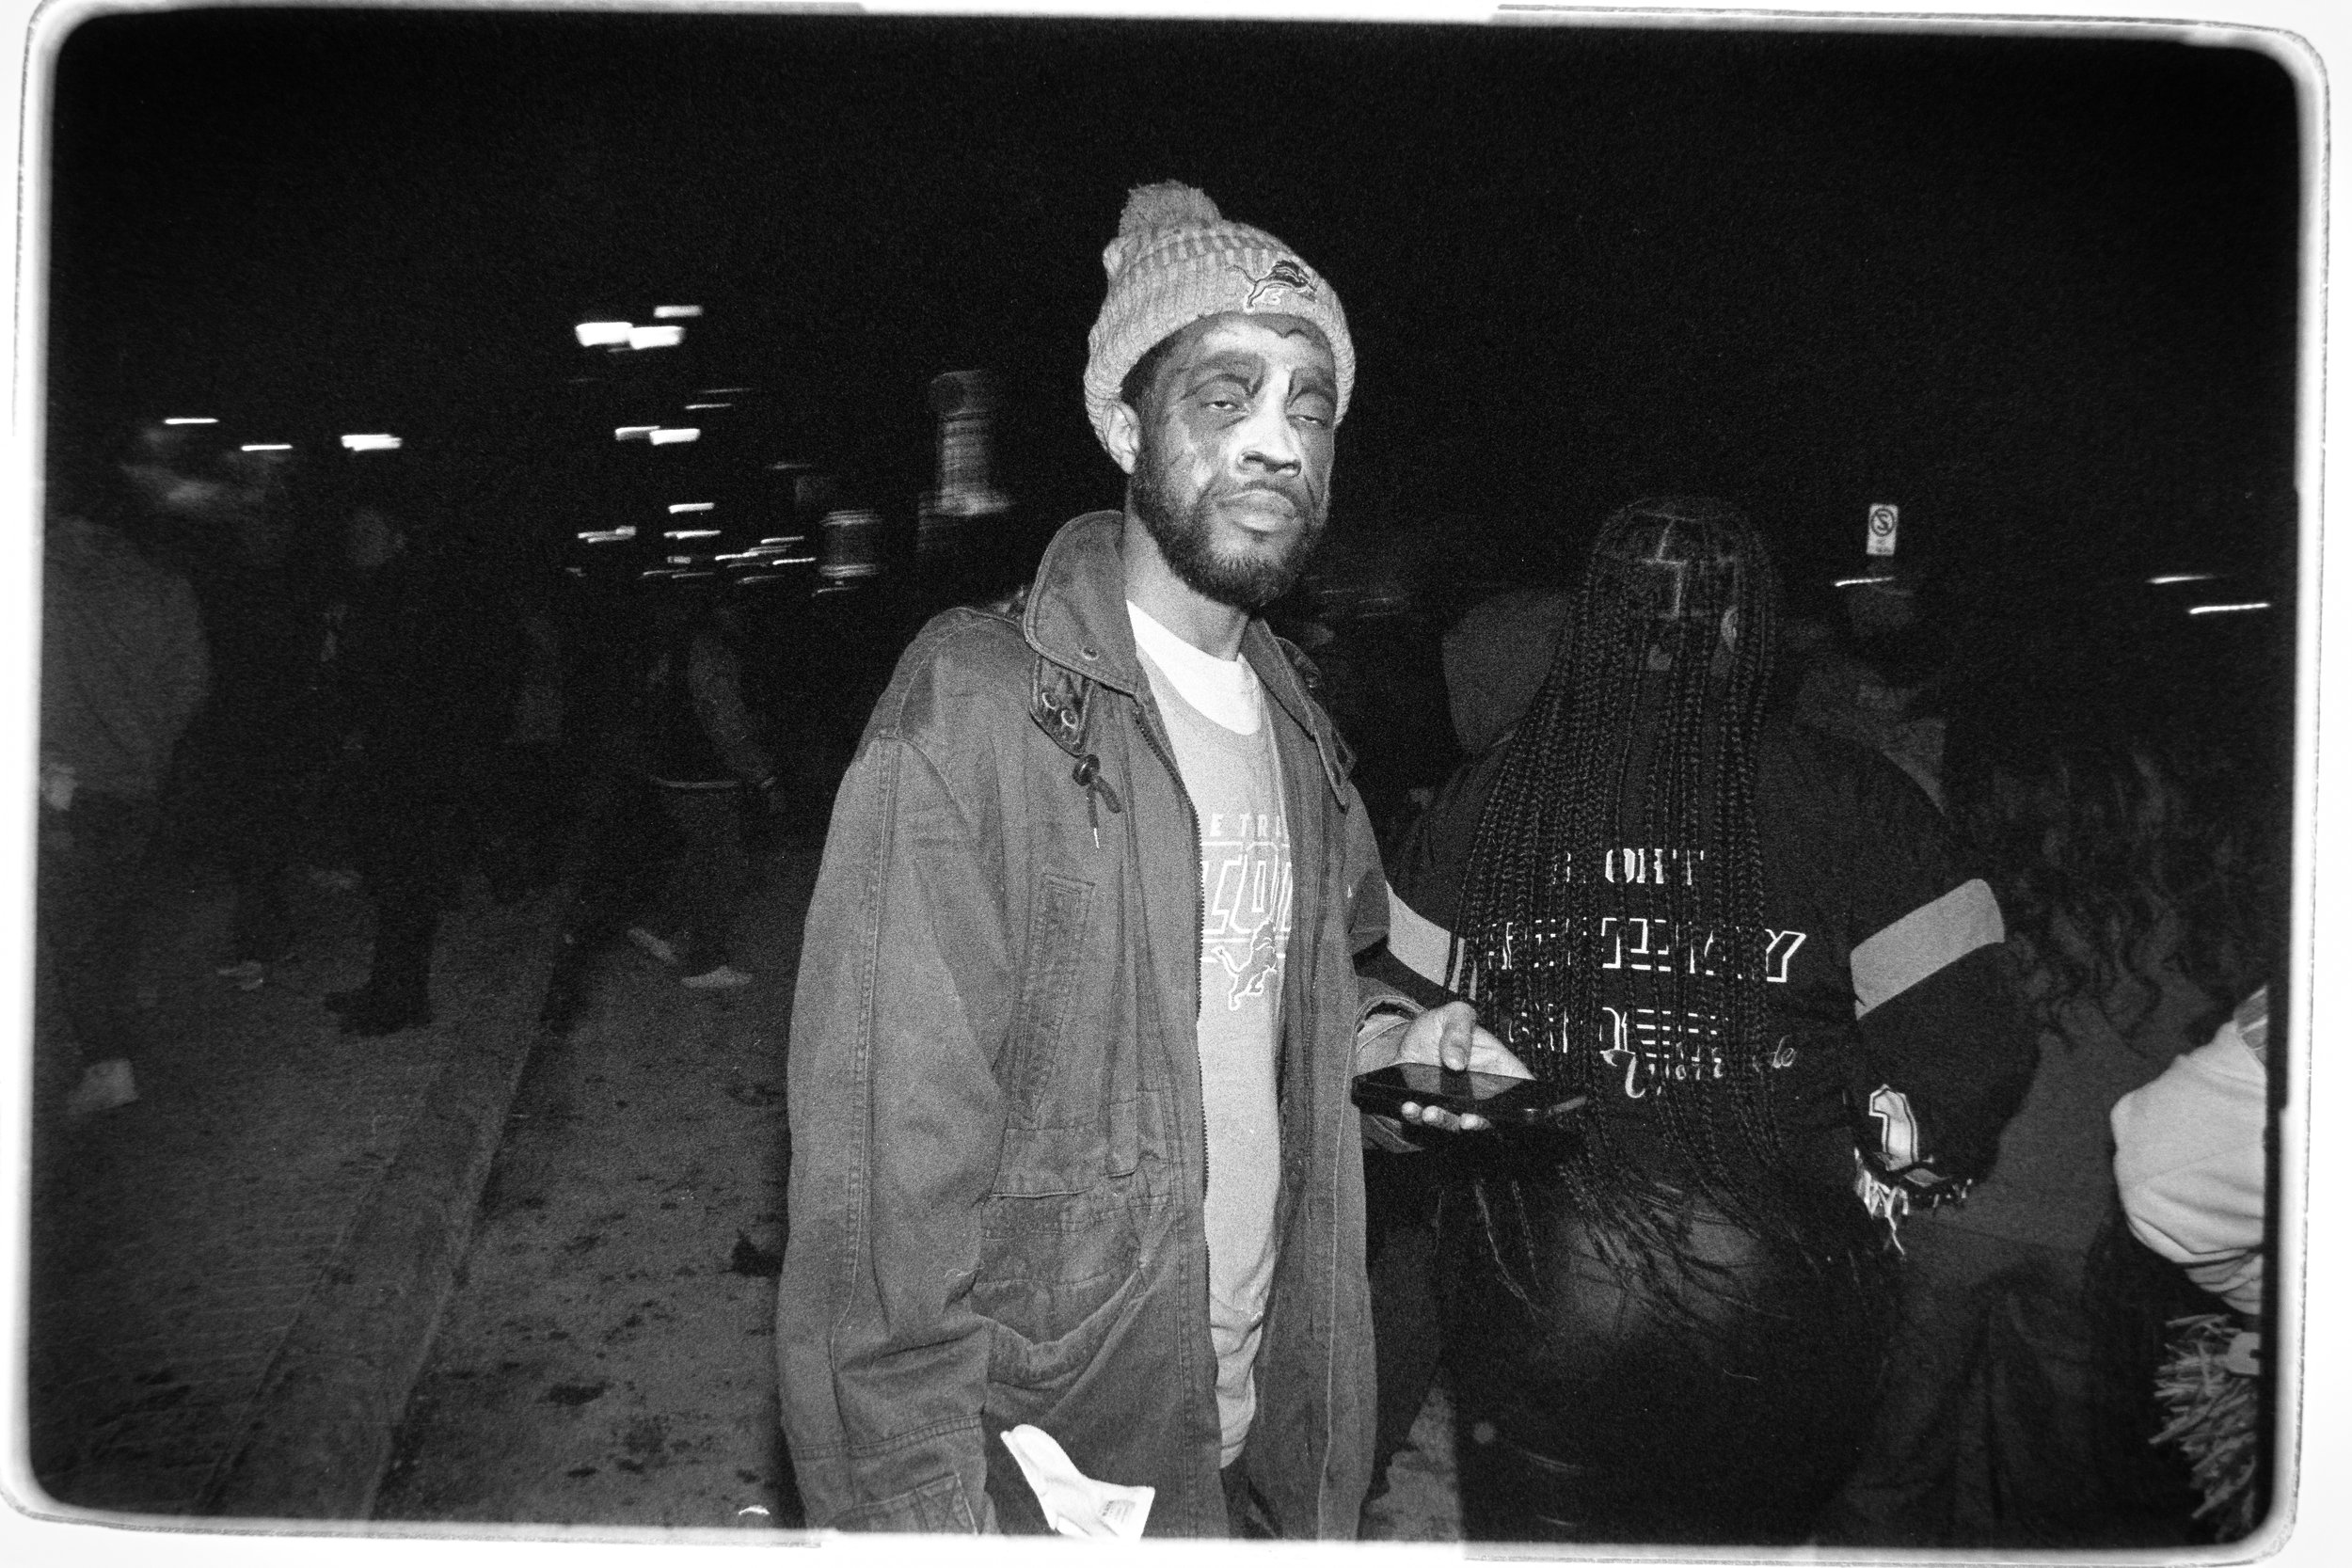
The atmosphere was electric outside Ford Field and the surrounding bars in spite of the freezing temps with wind-chills approaching single digits. After shooting the lead up to the game it was tempting to retreat home and watch the game in comfort. However, given the potential for a Lions win over the Tampa Bay Buccaneers, I decided to wait out the game in the city and listen to the game via my phone.

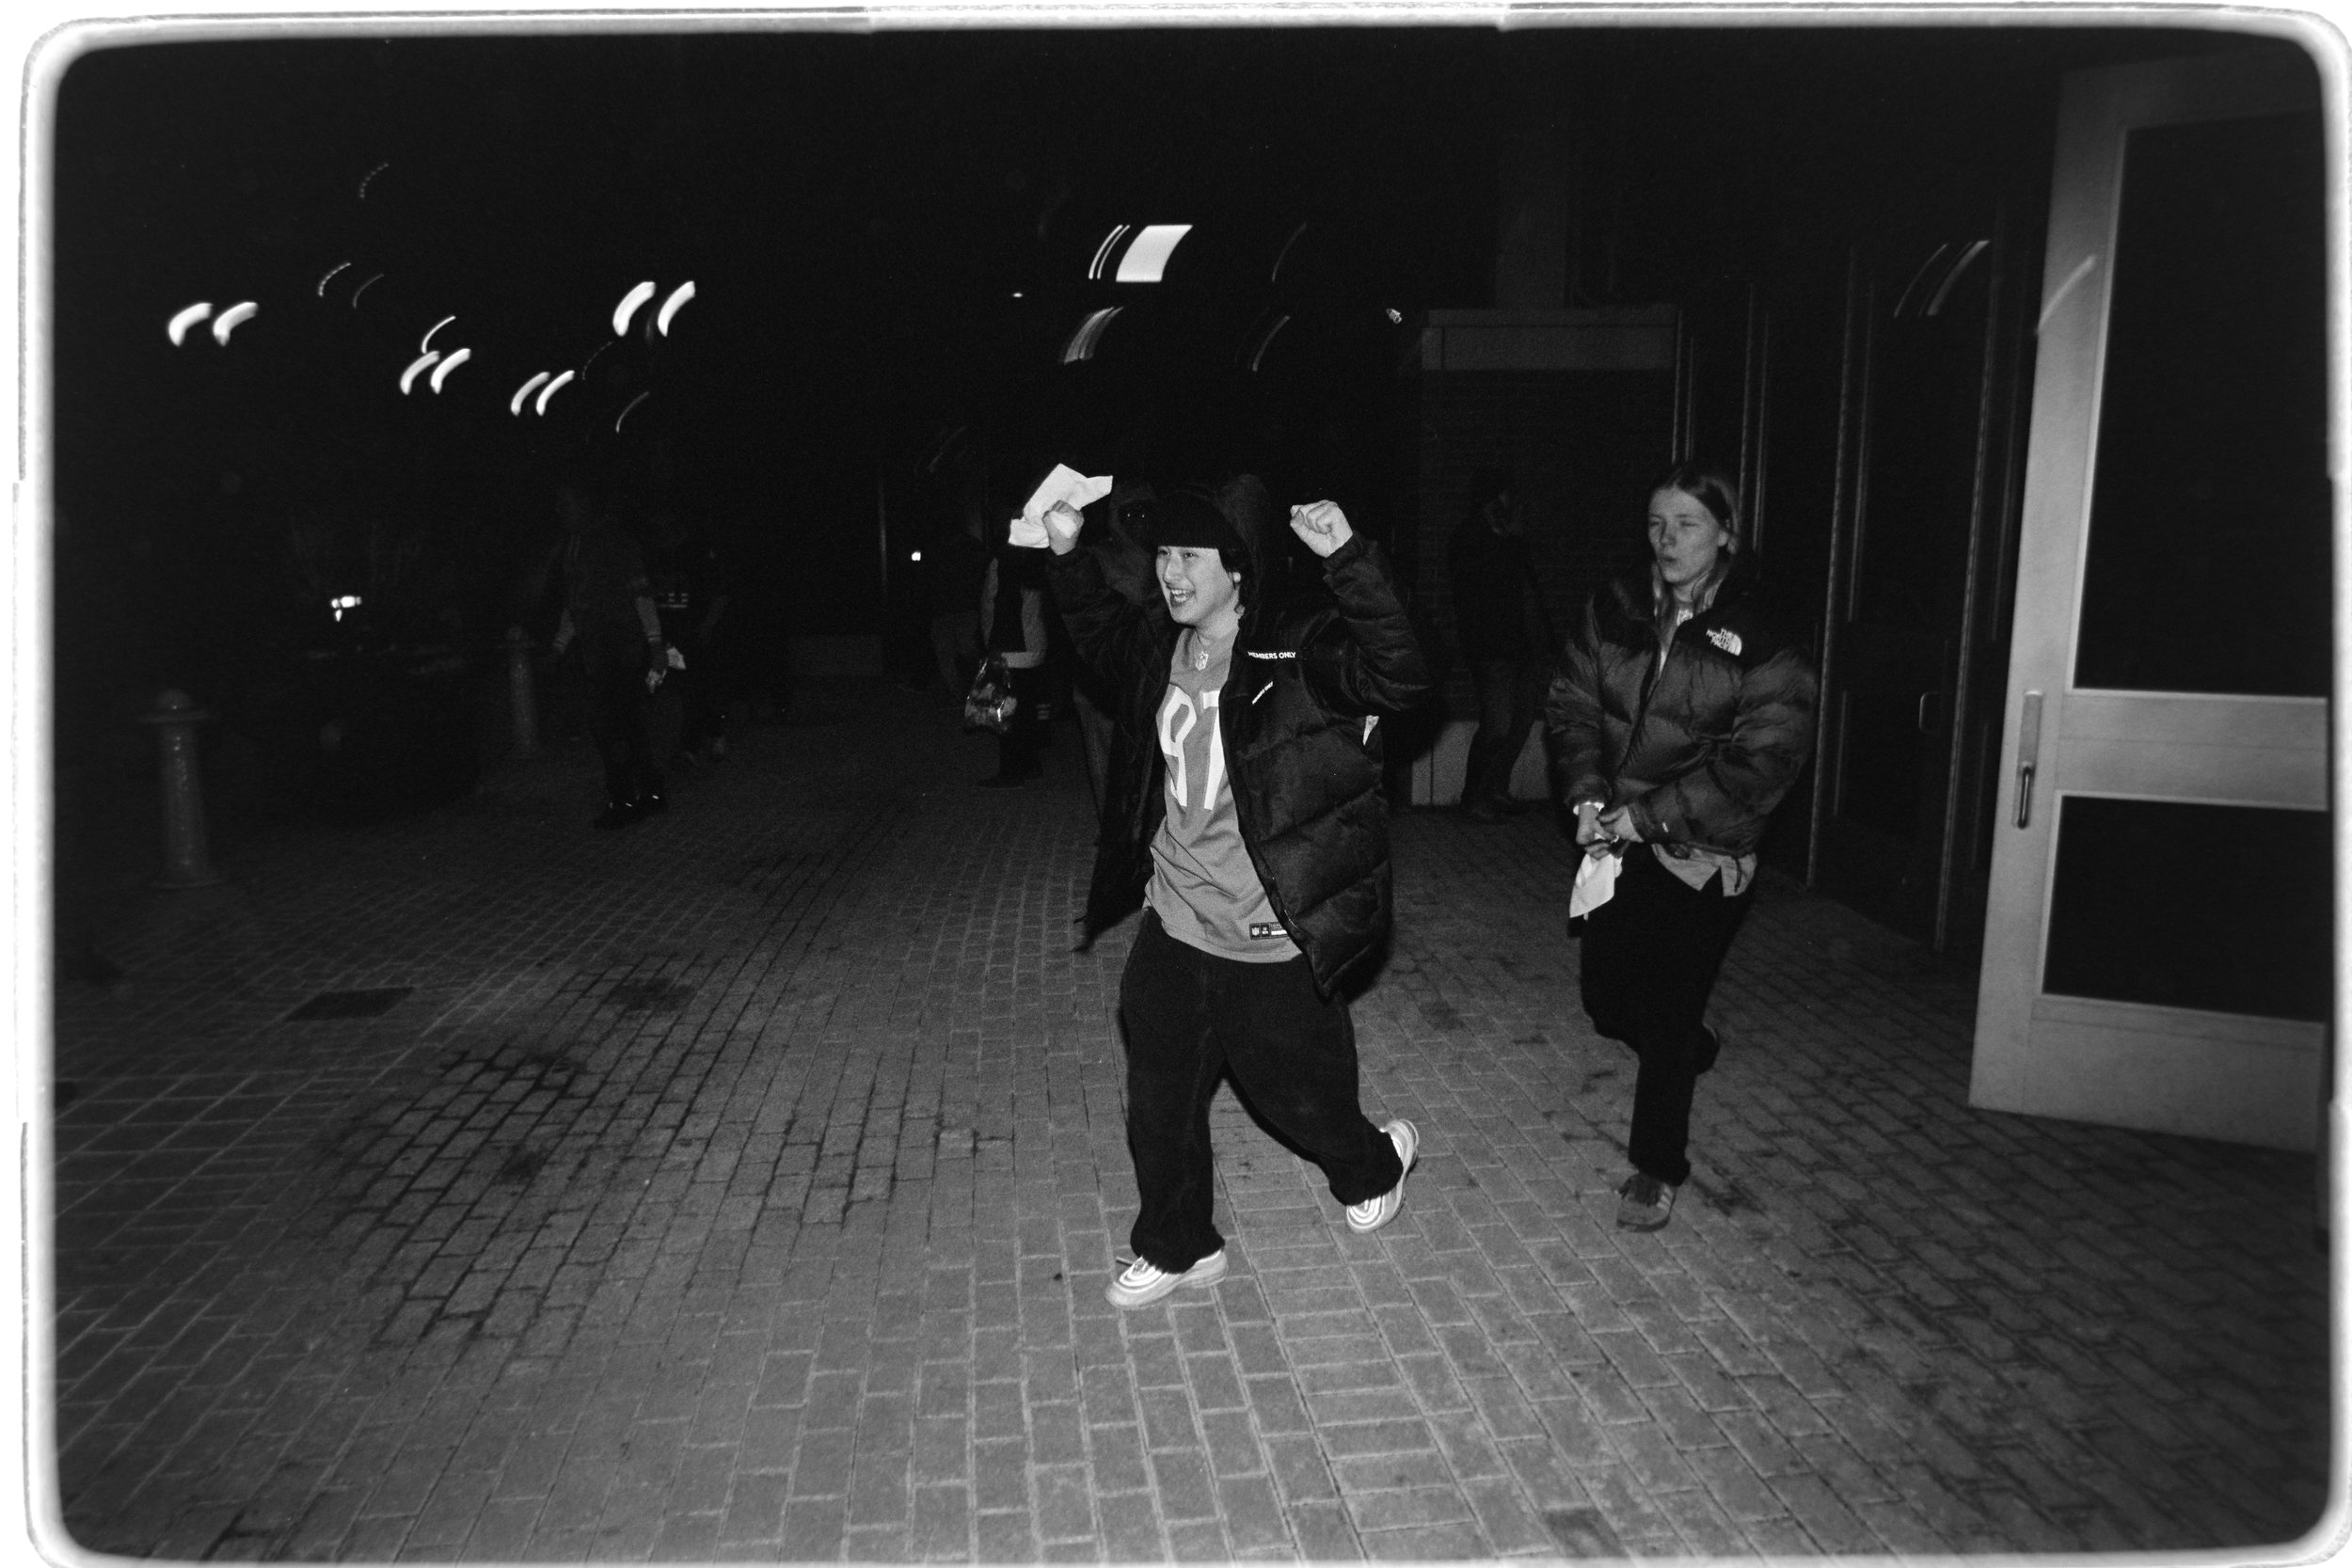
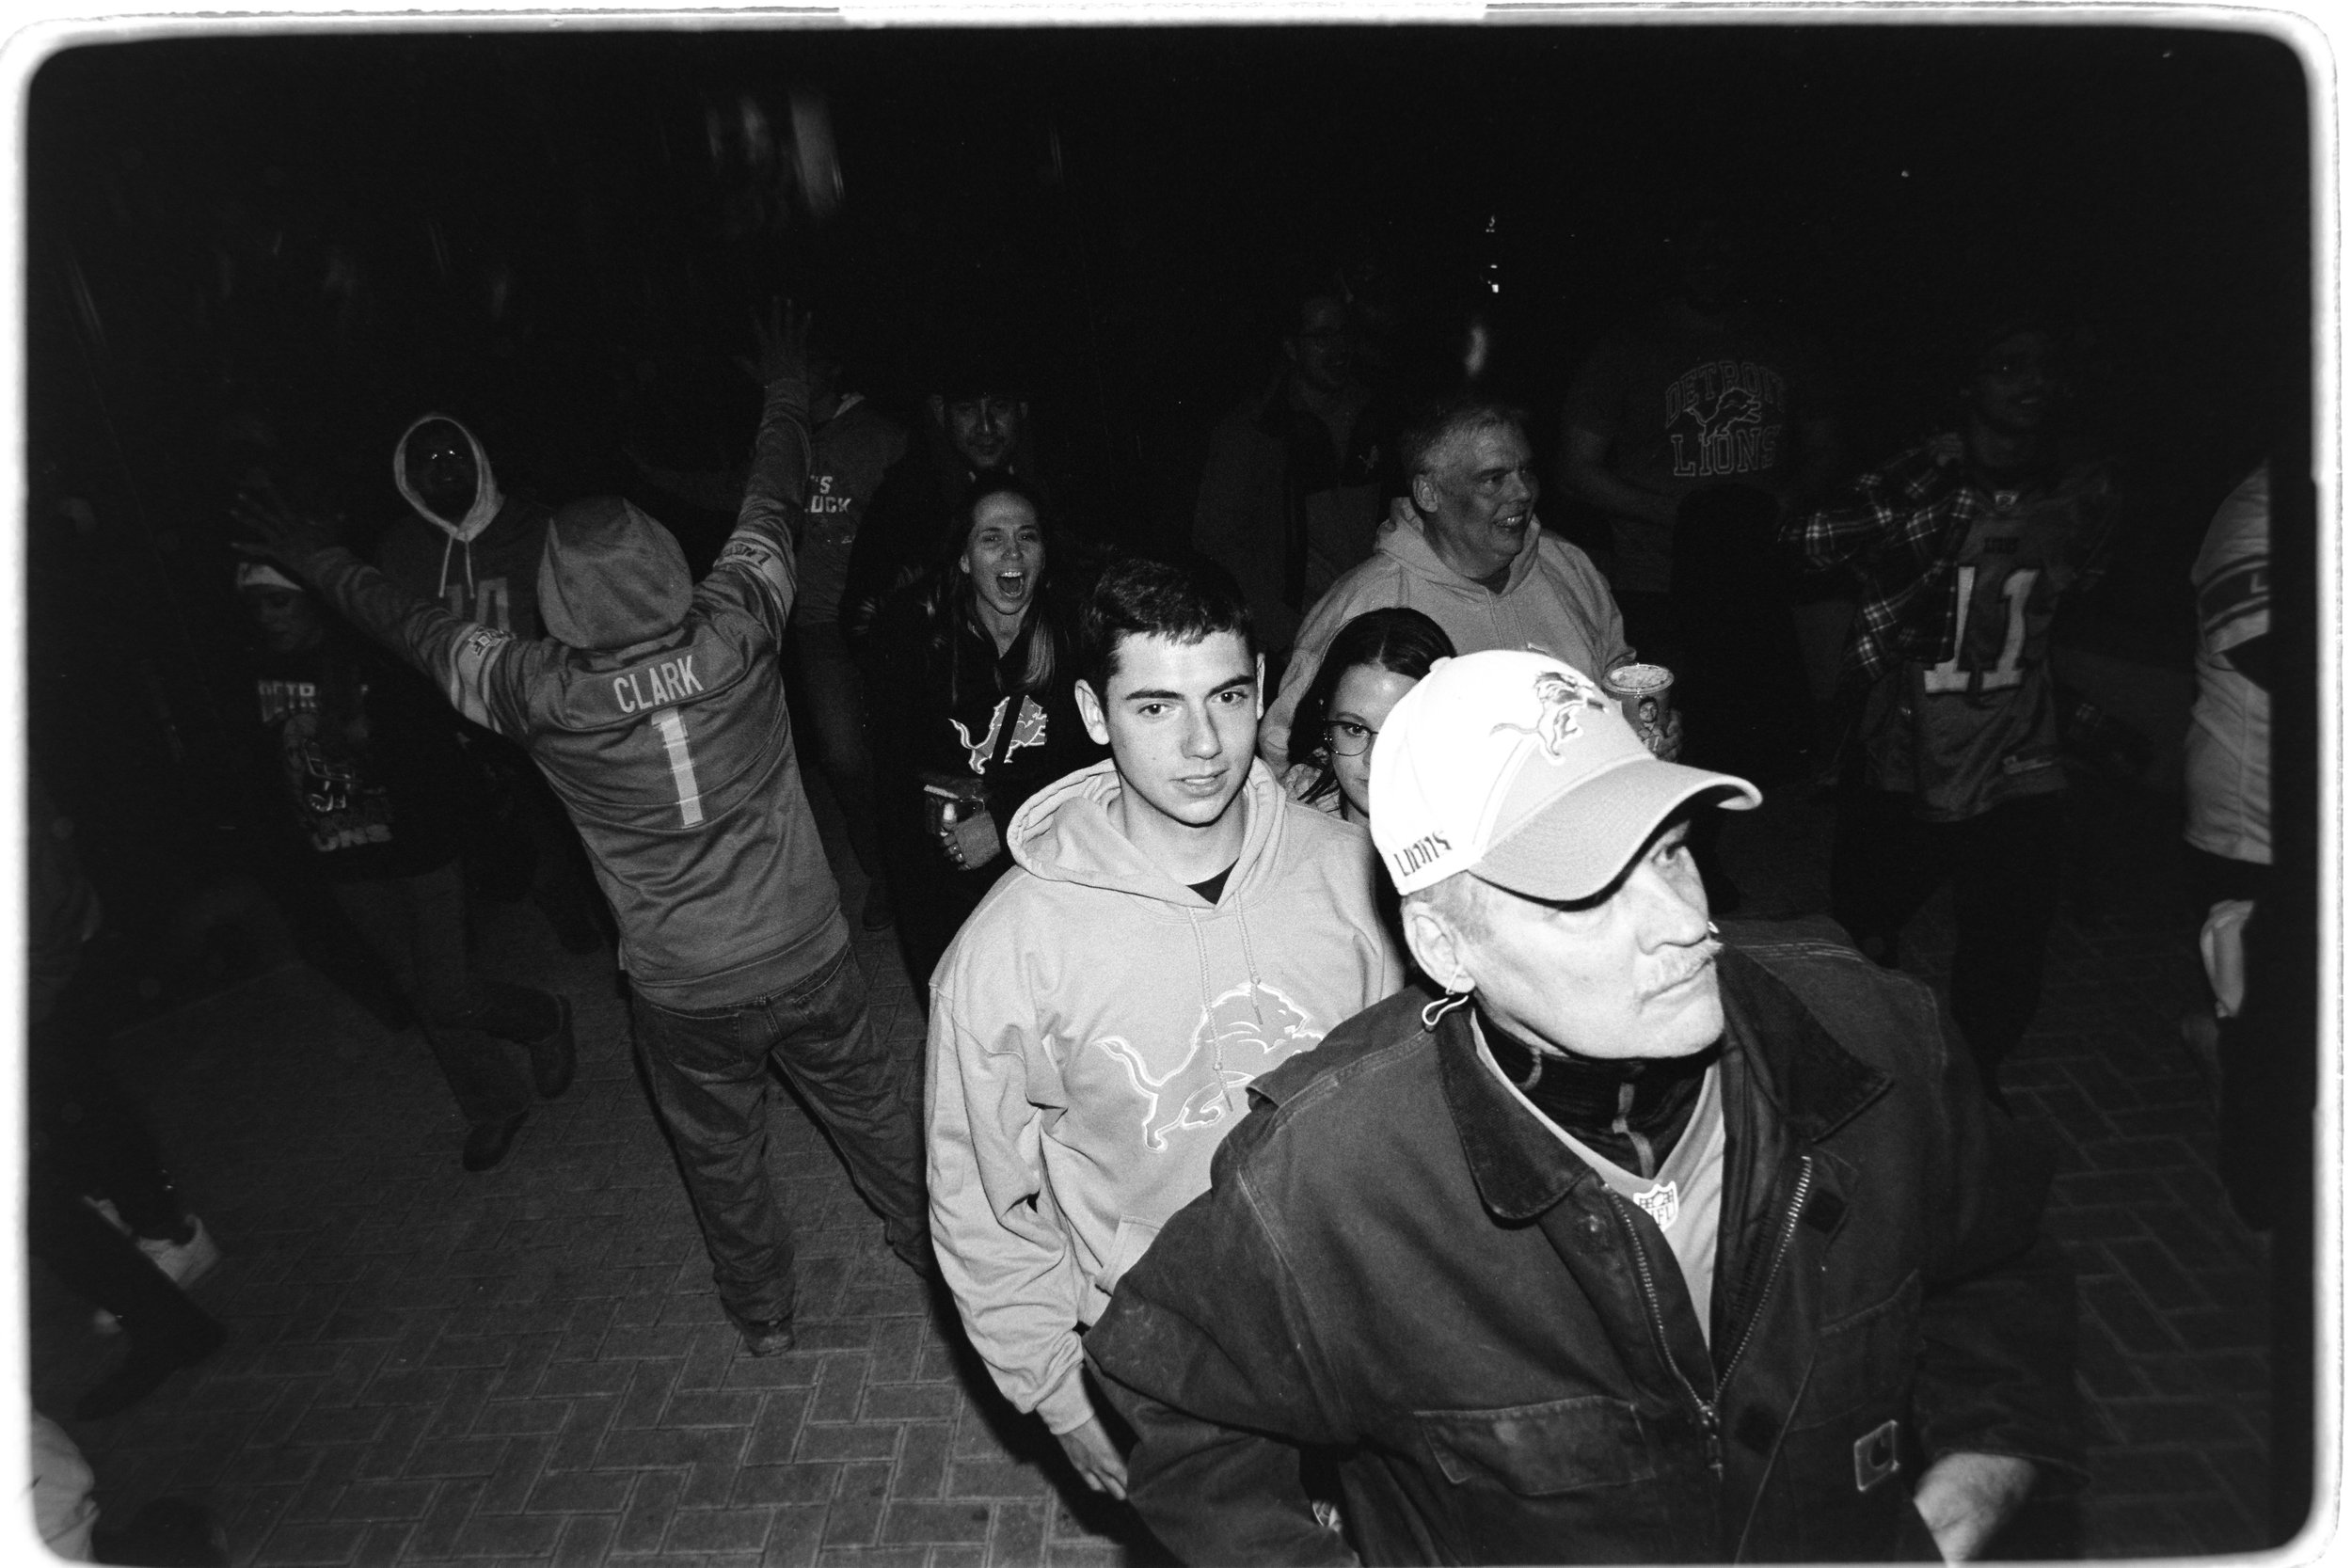
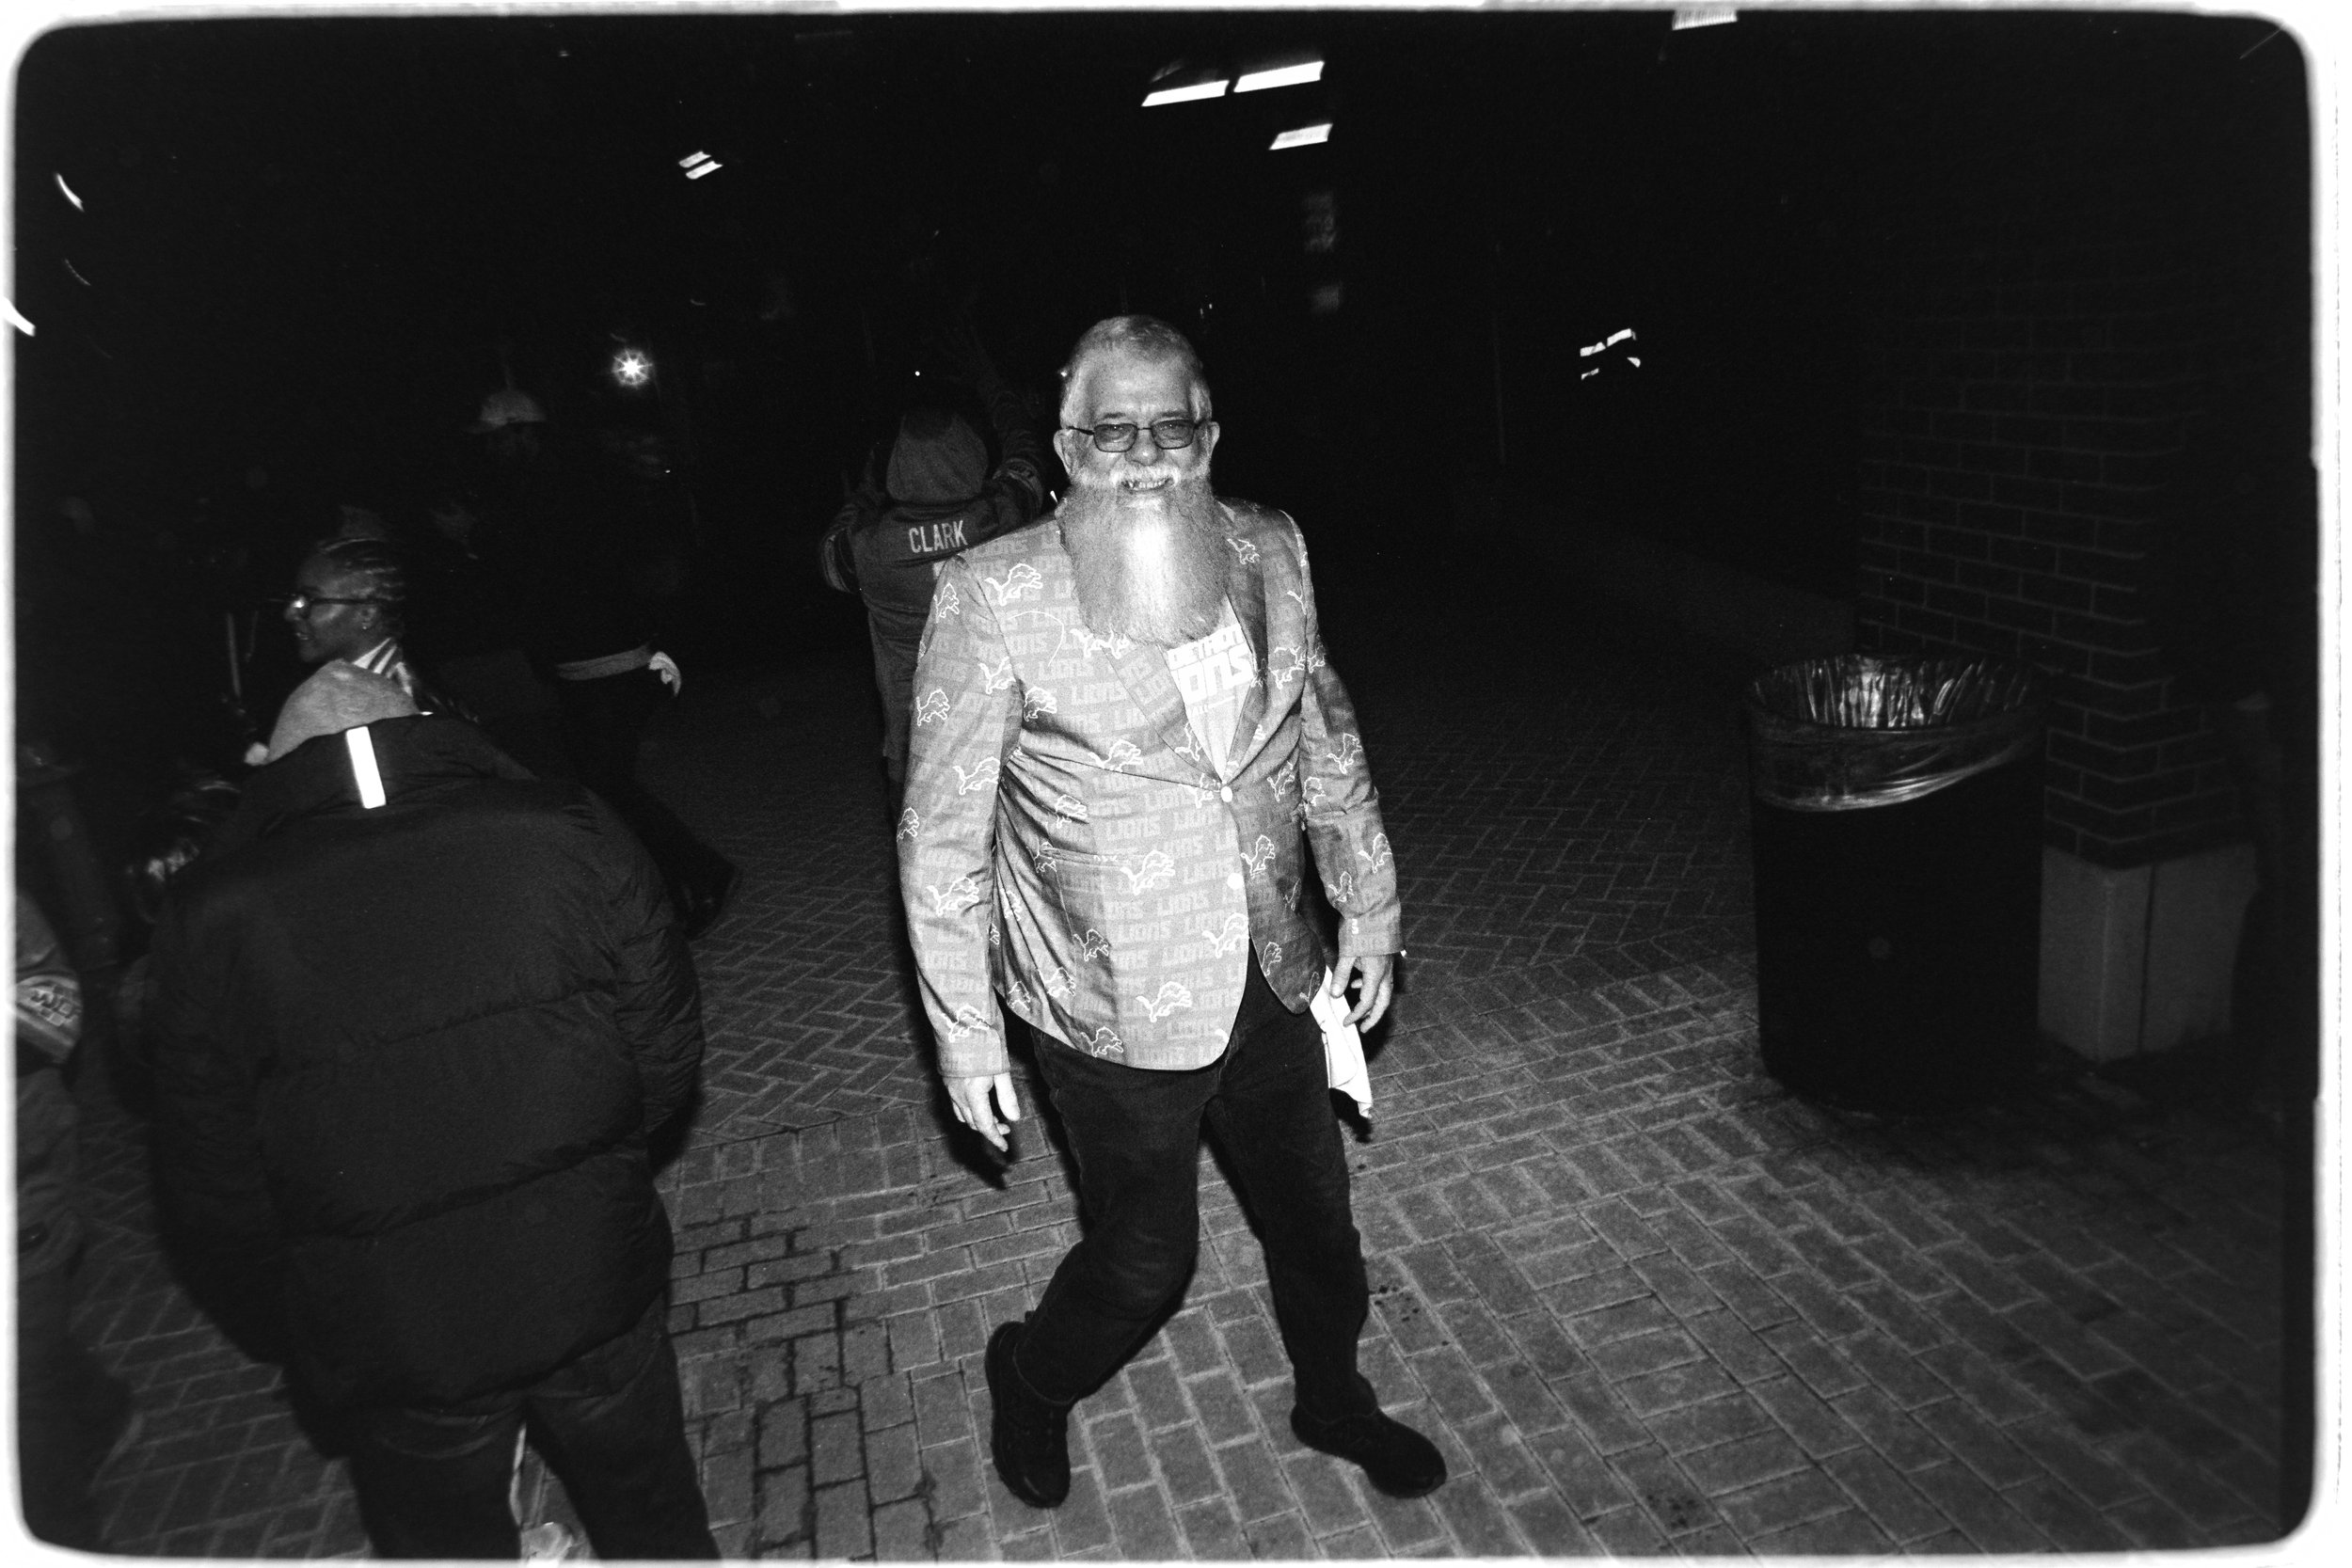
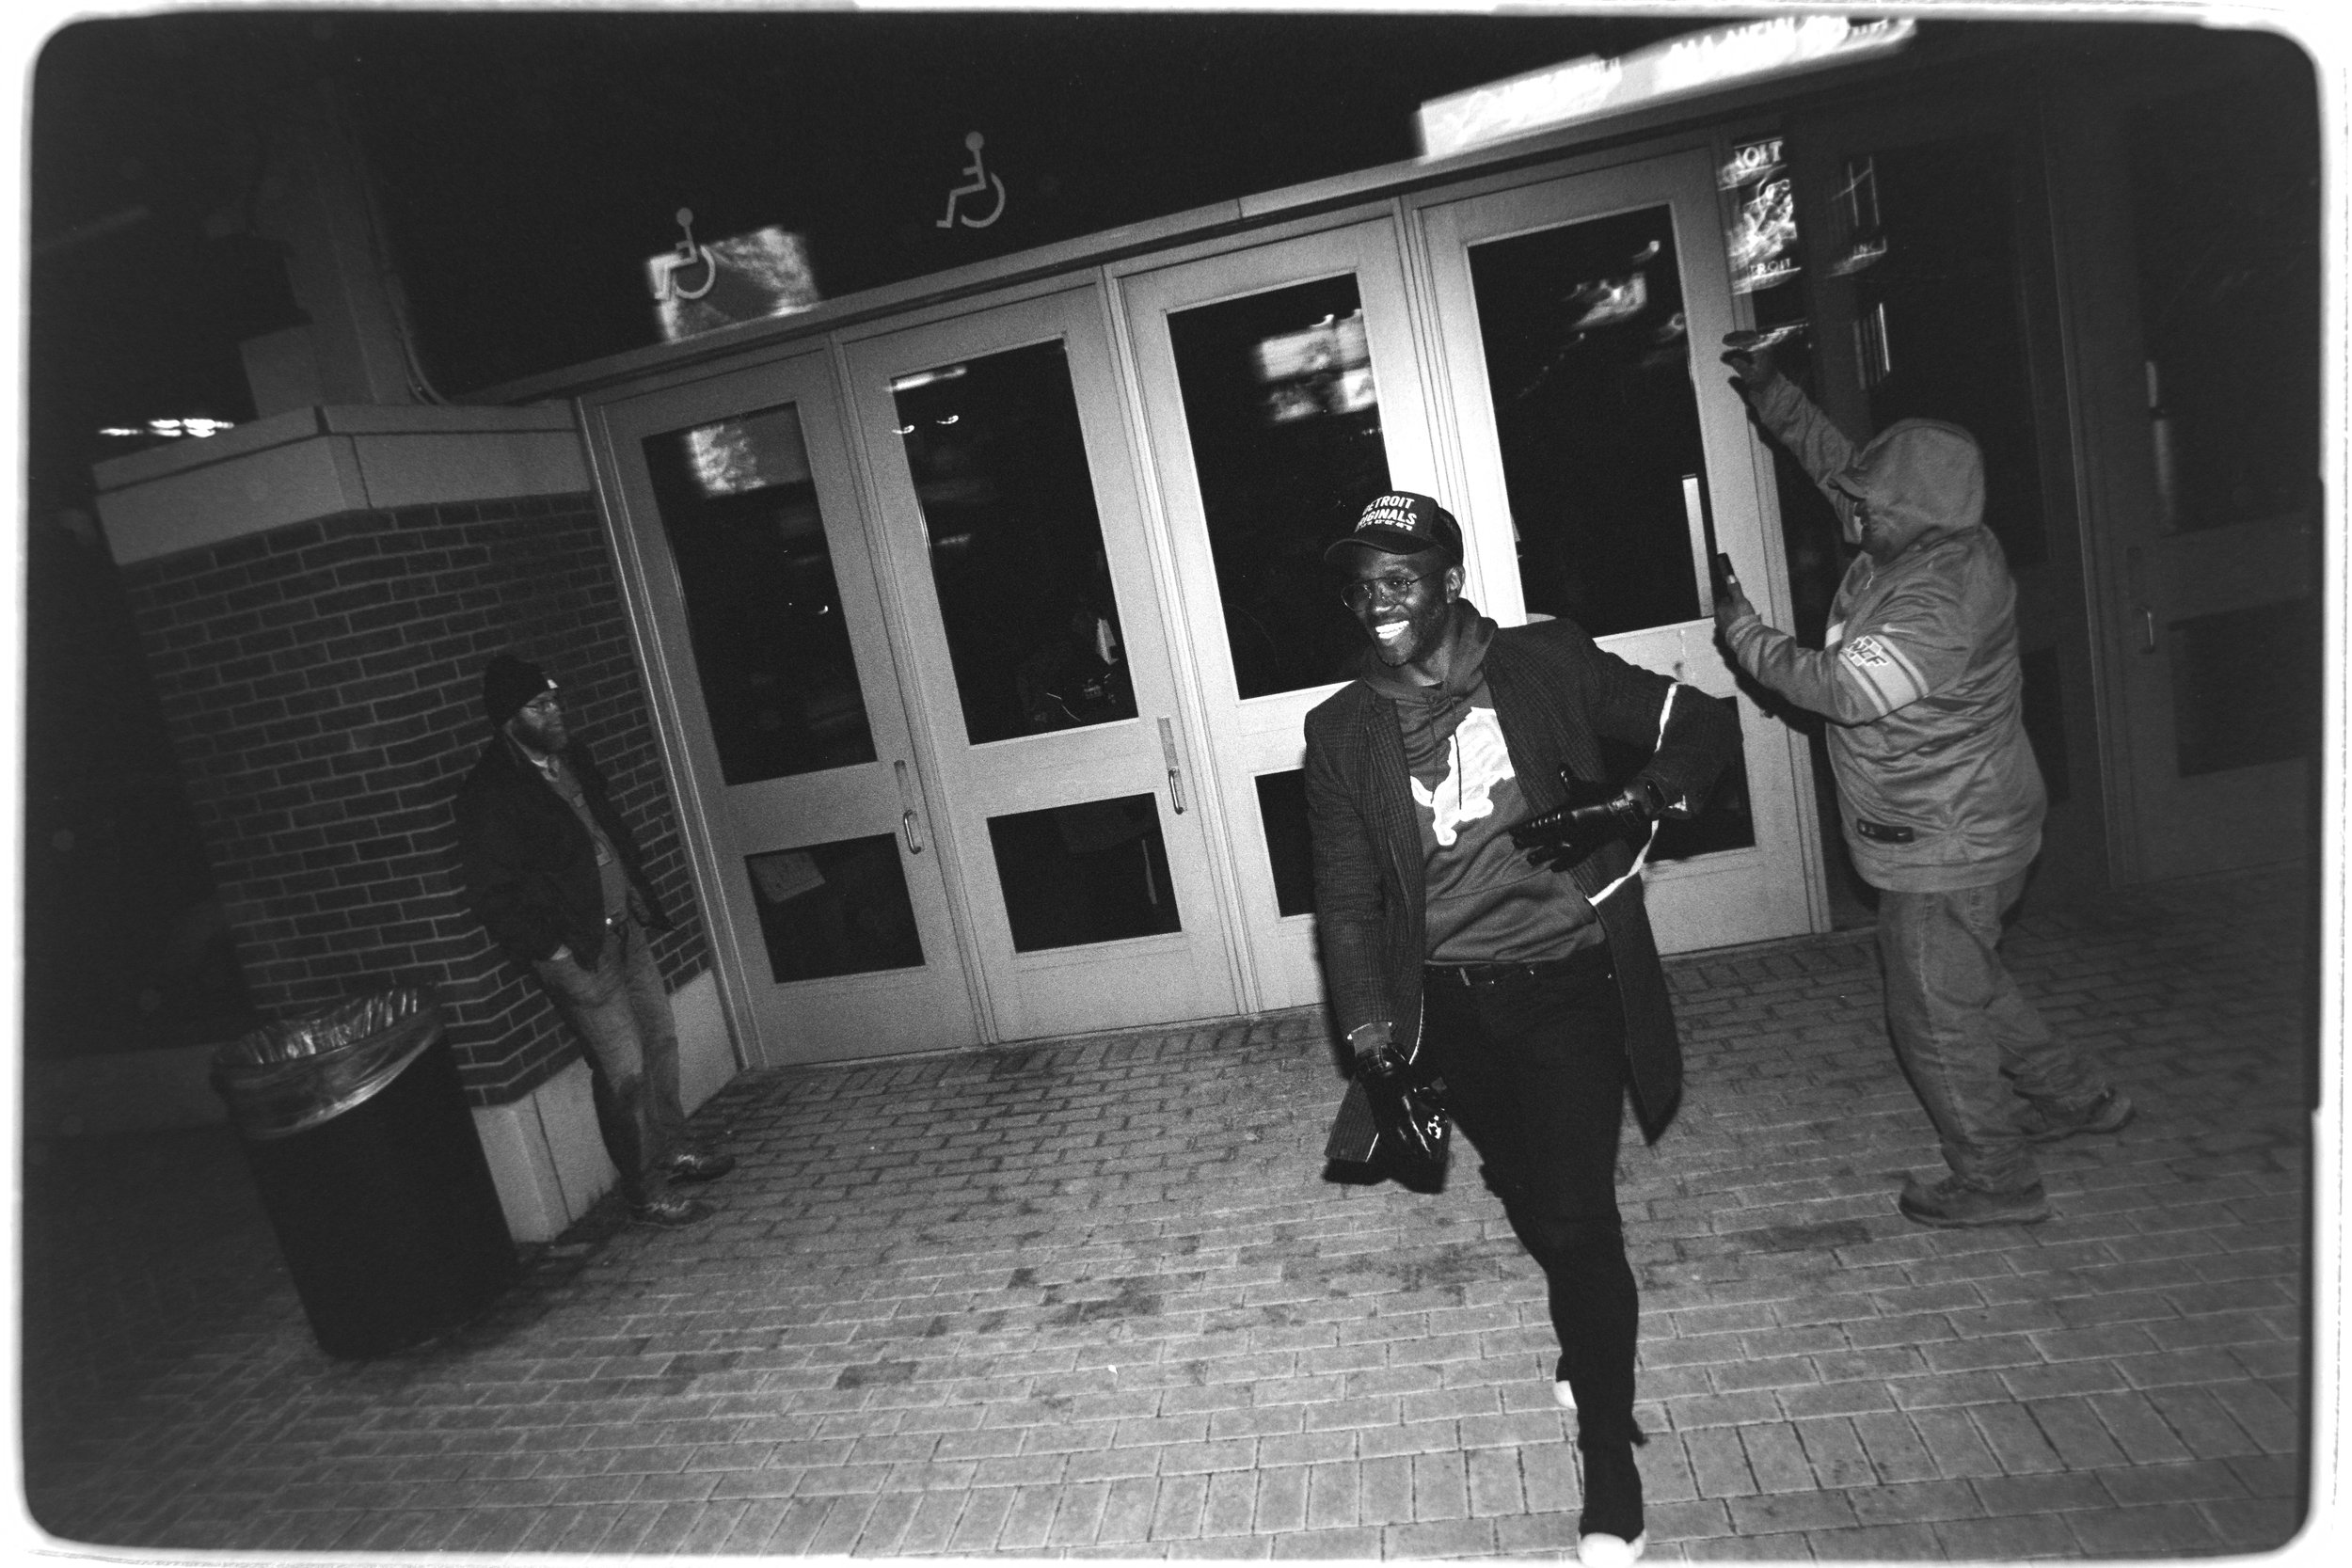
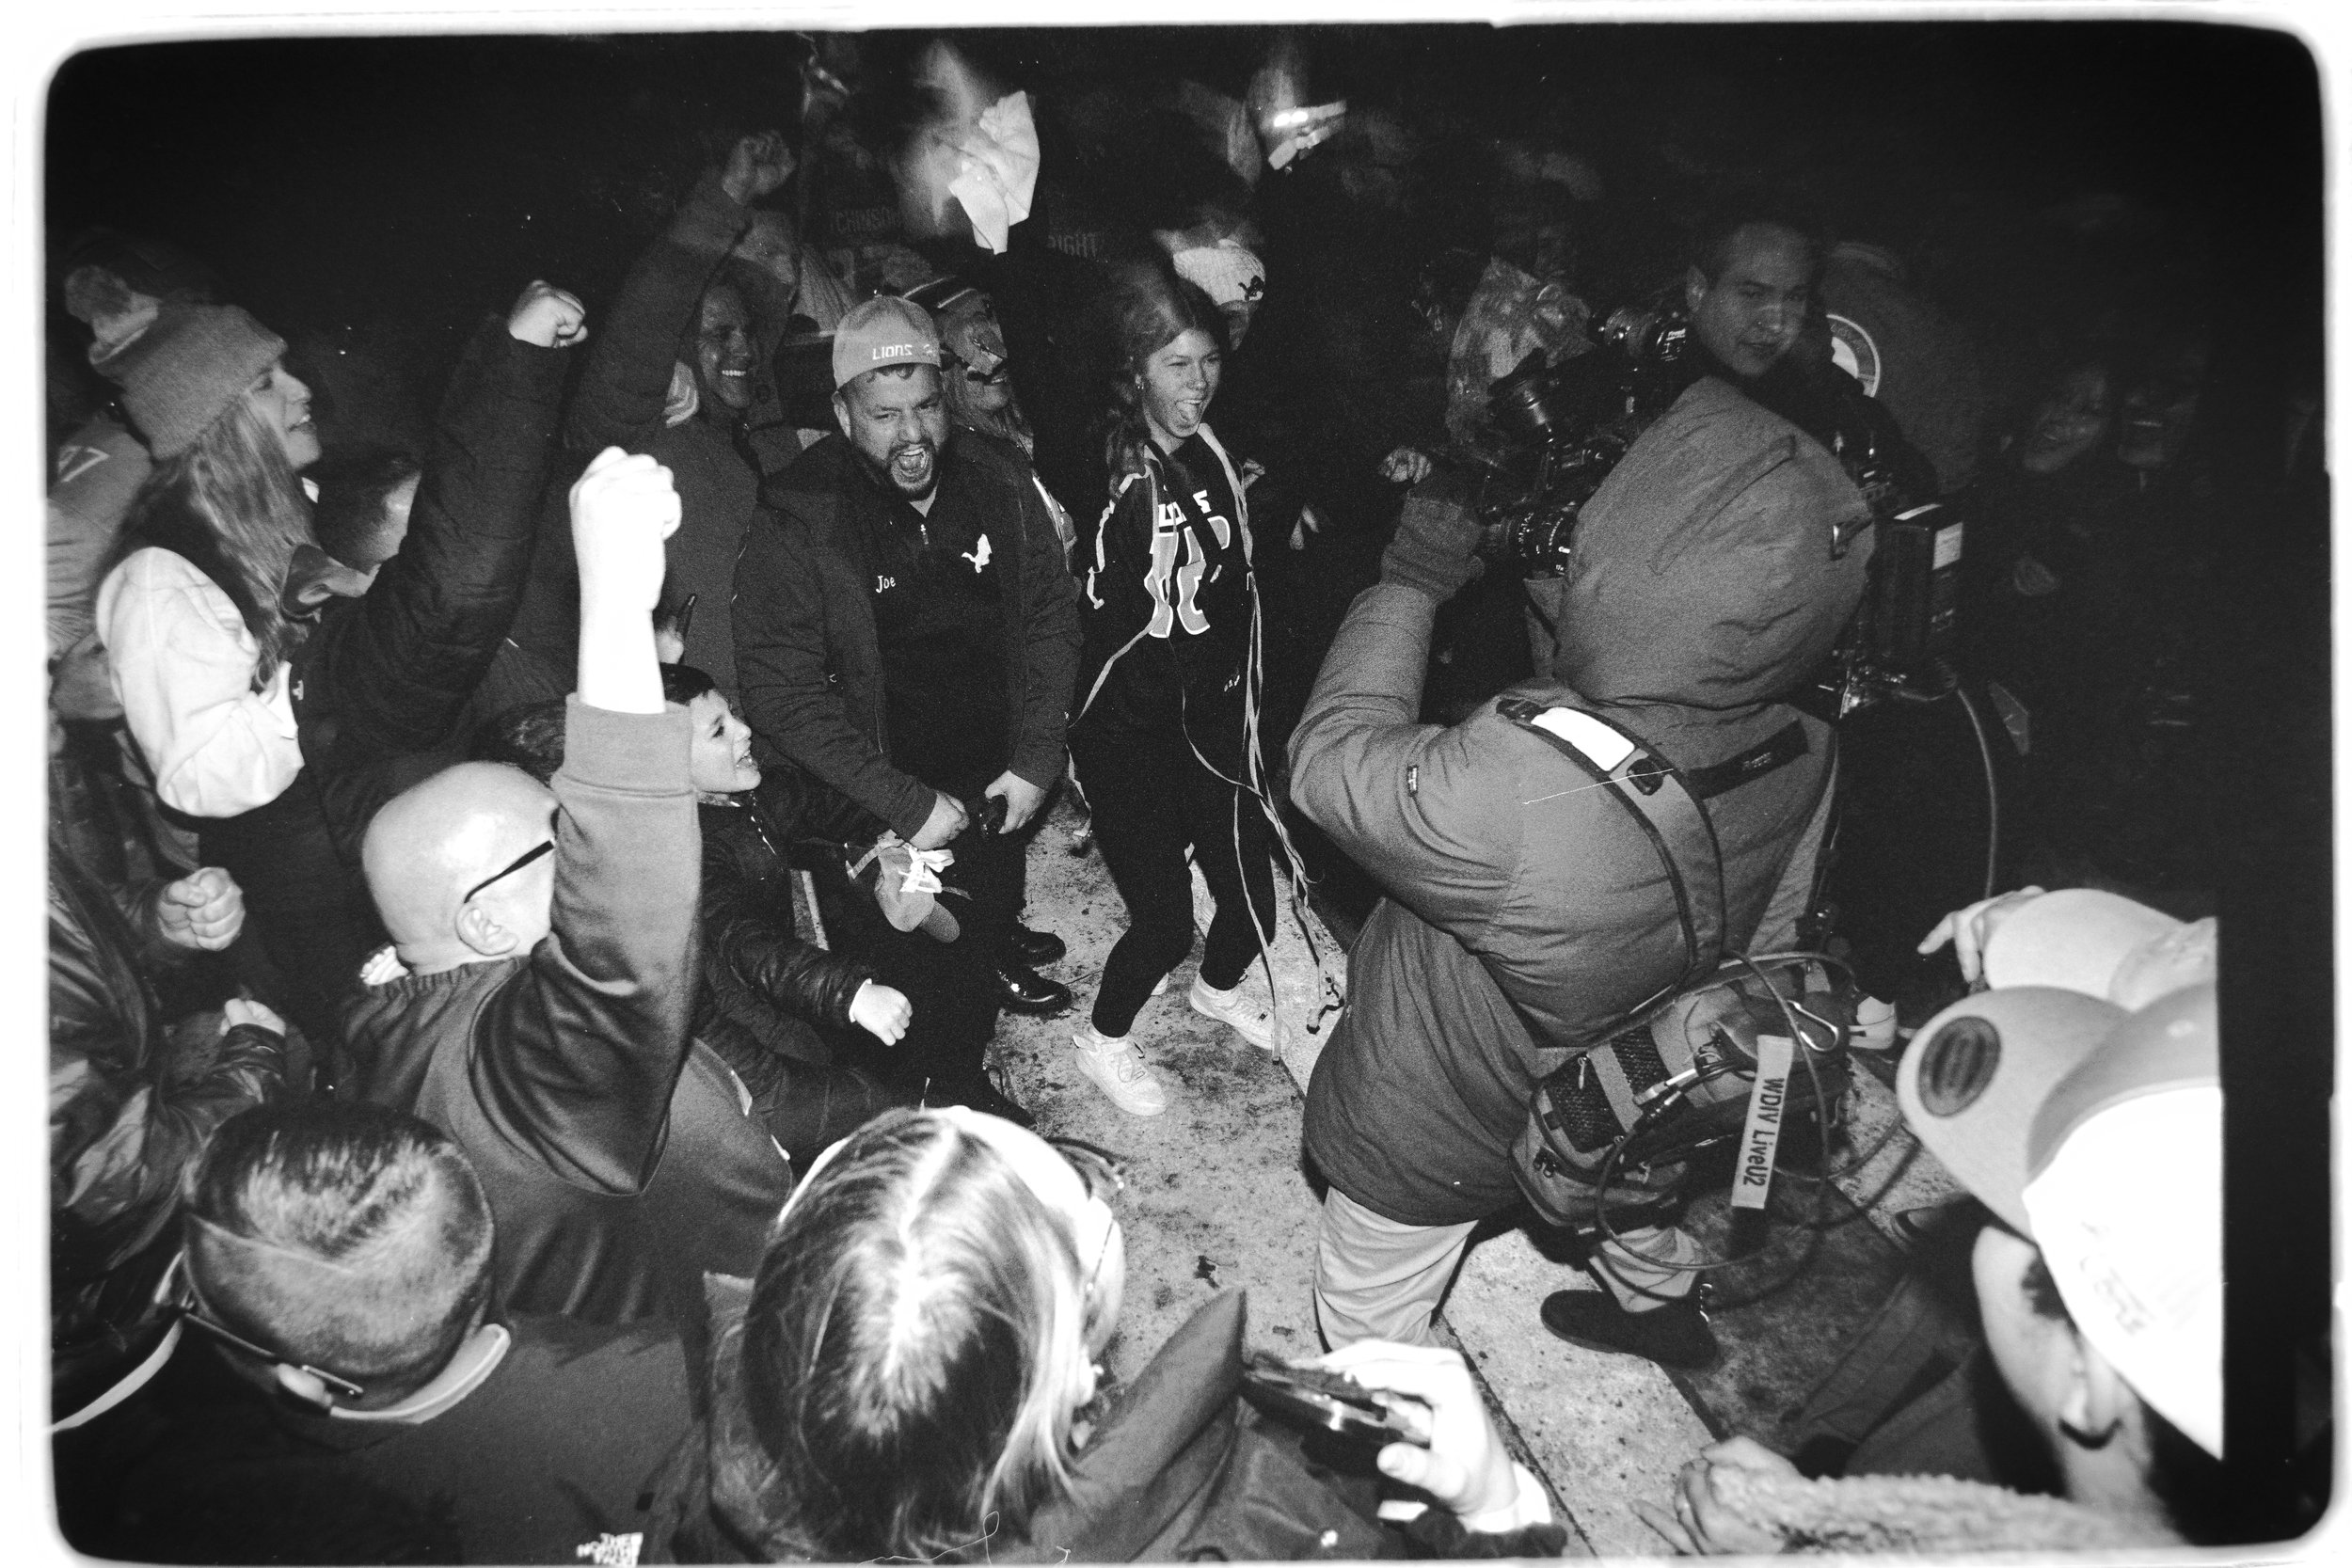
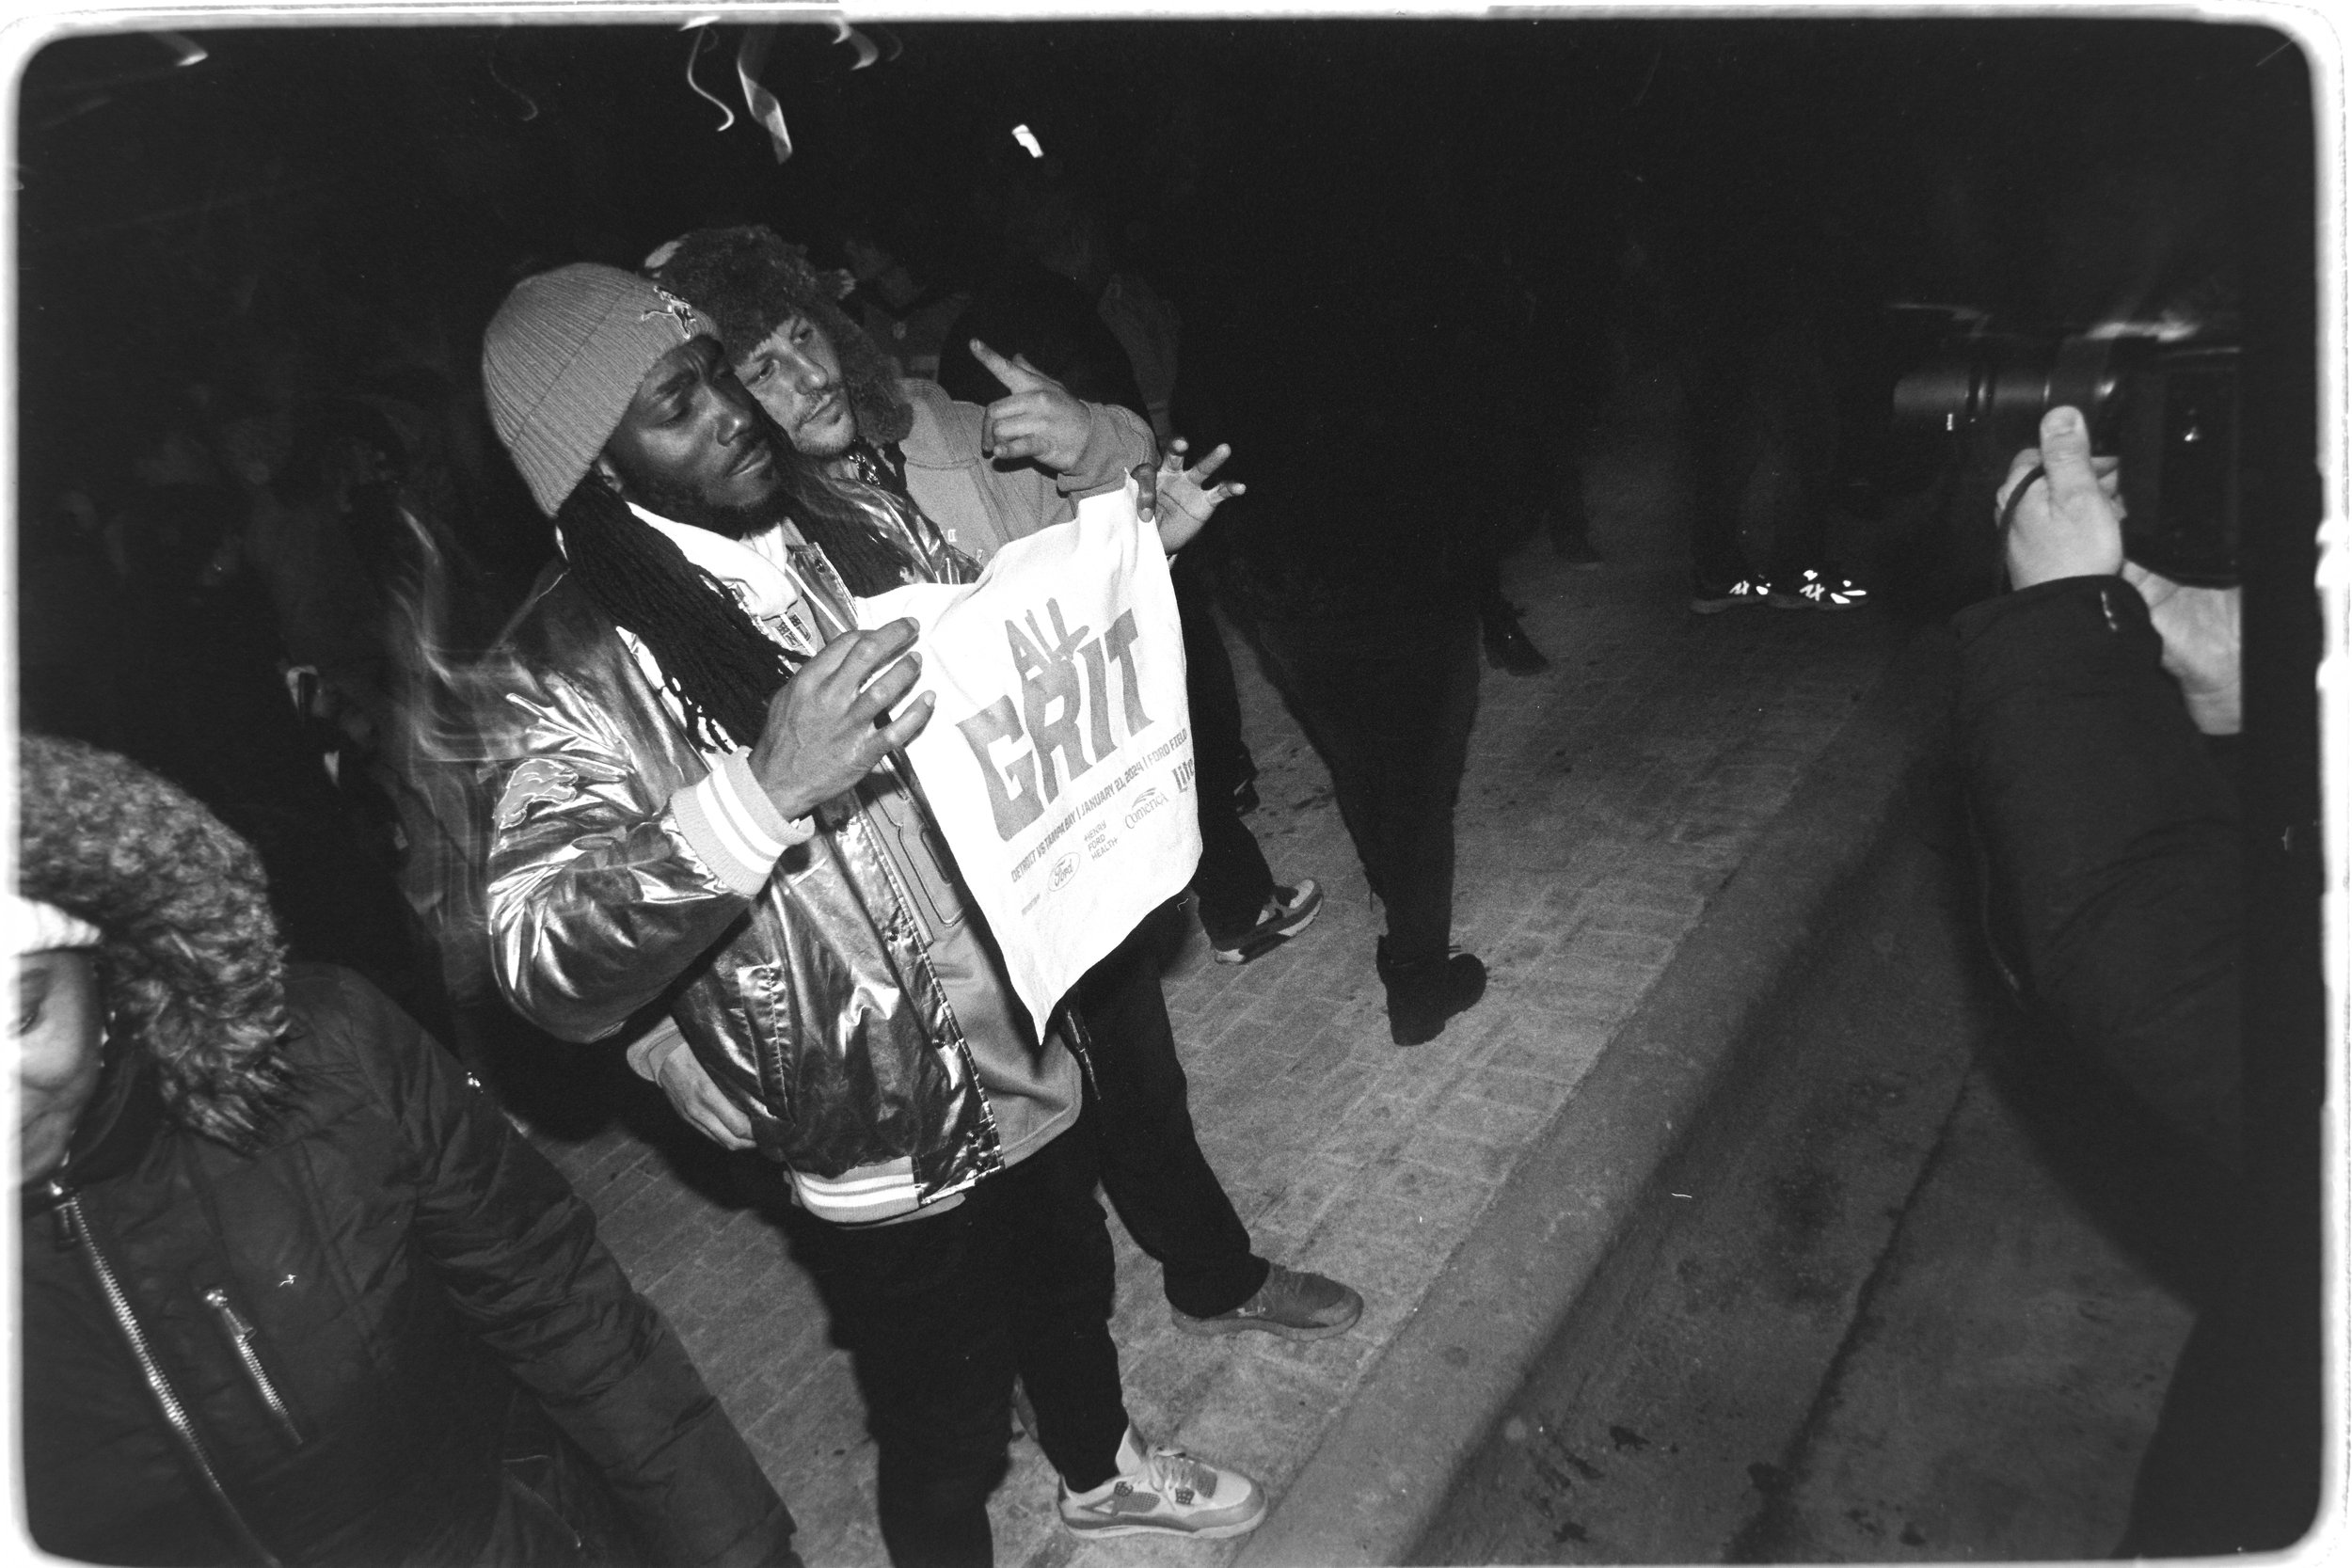
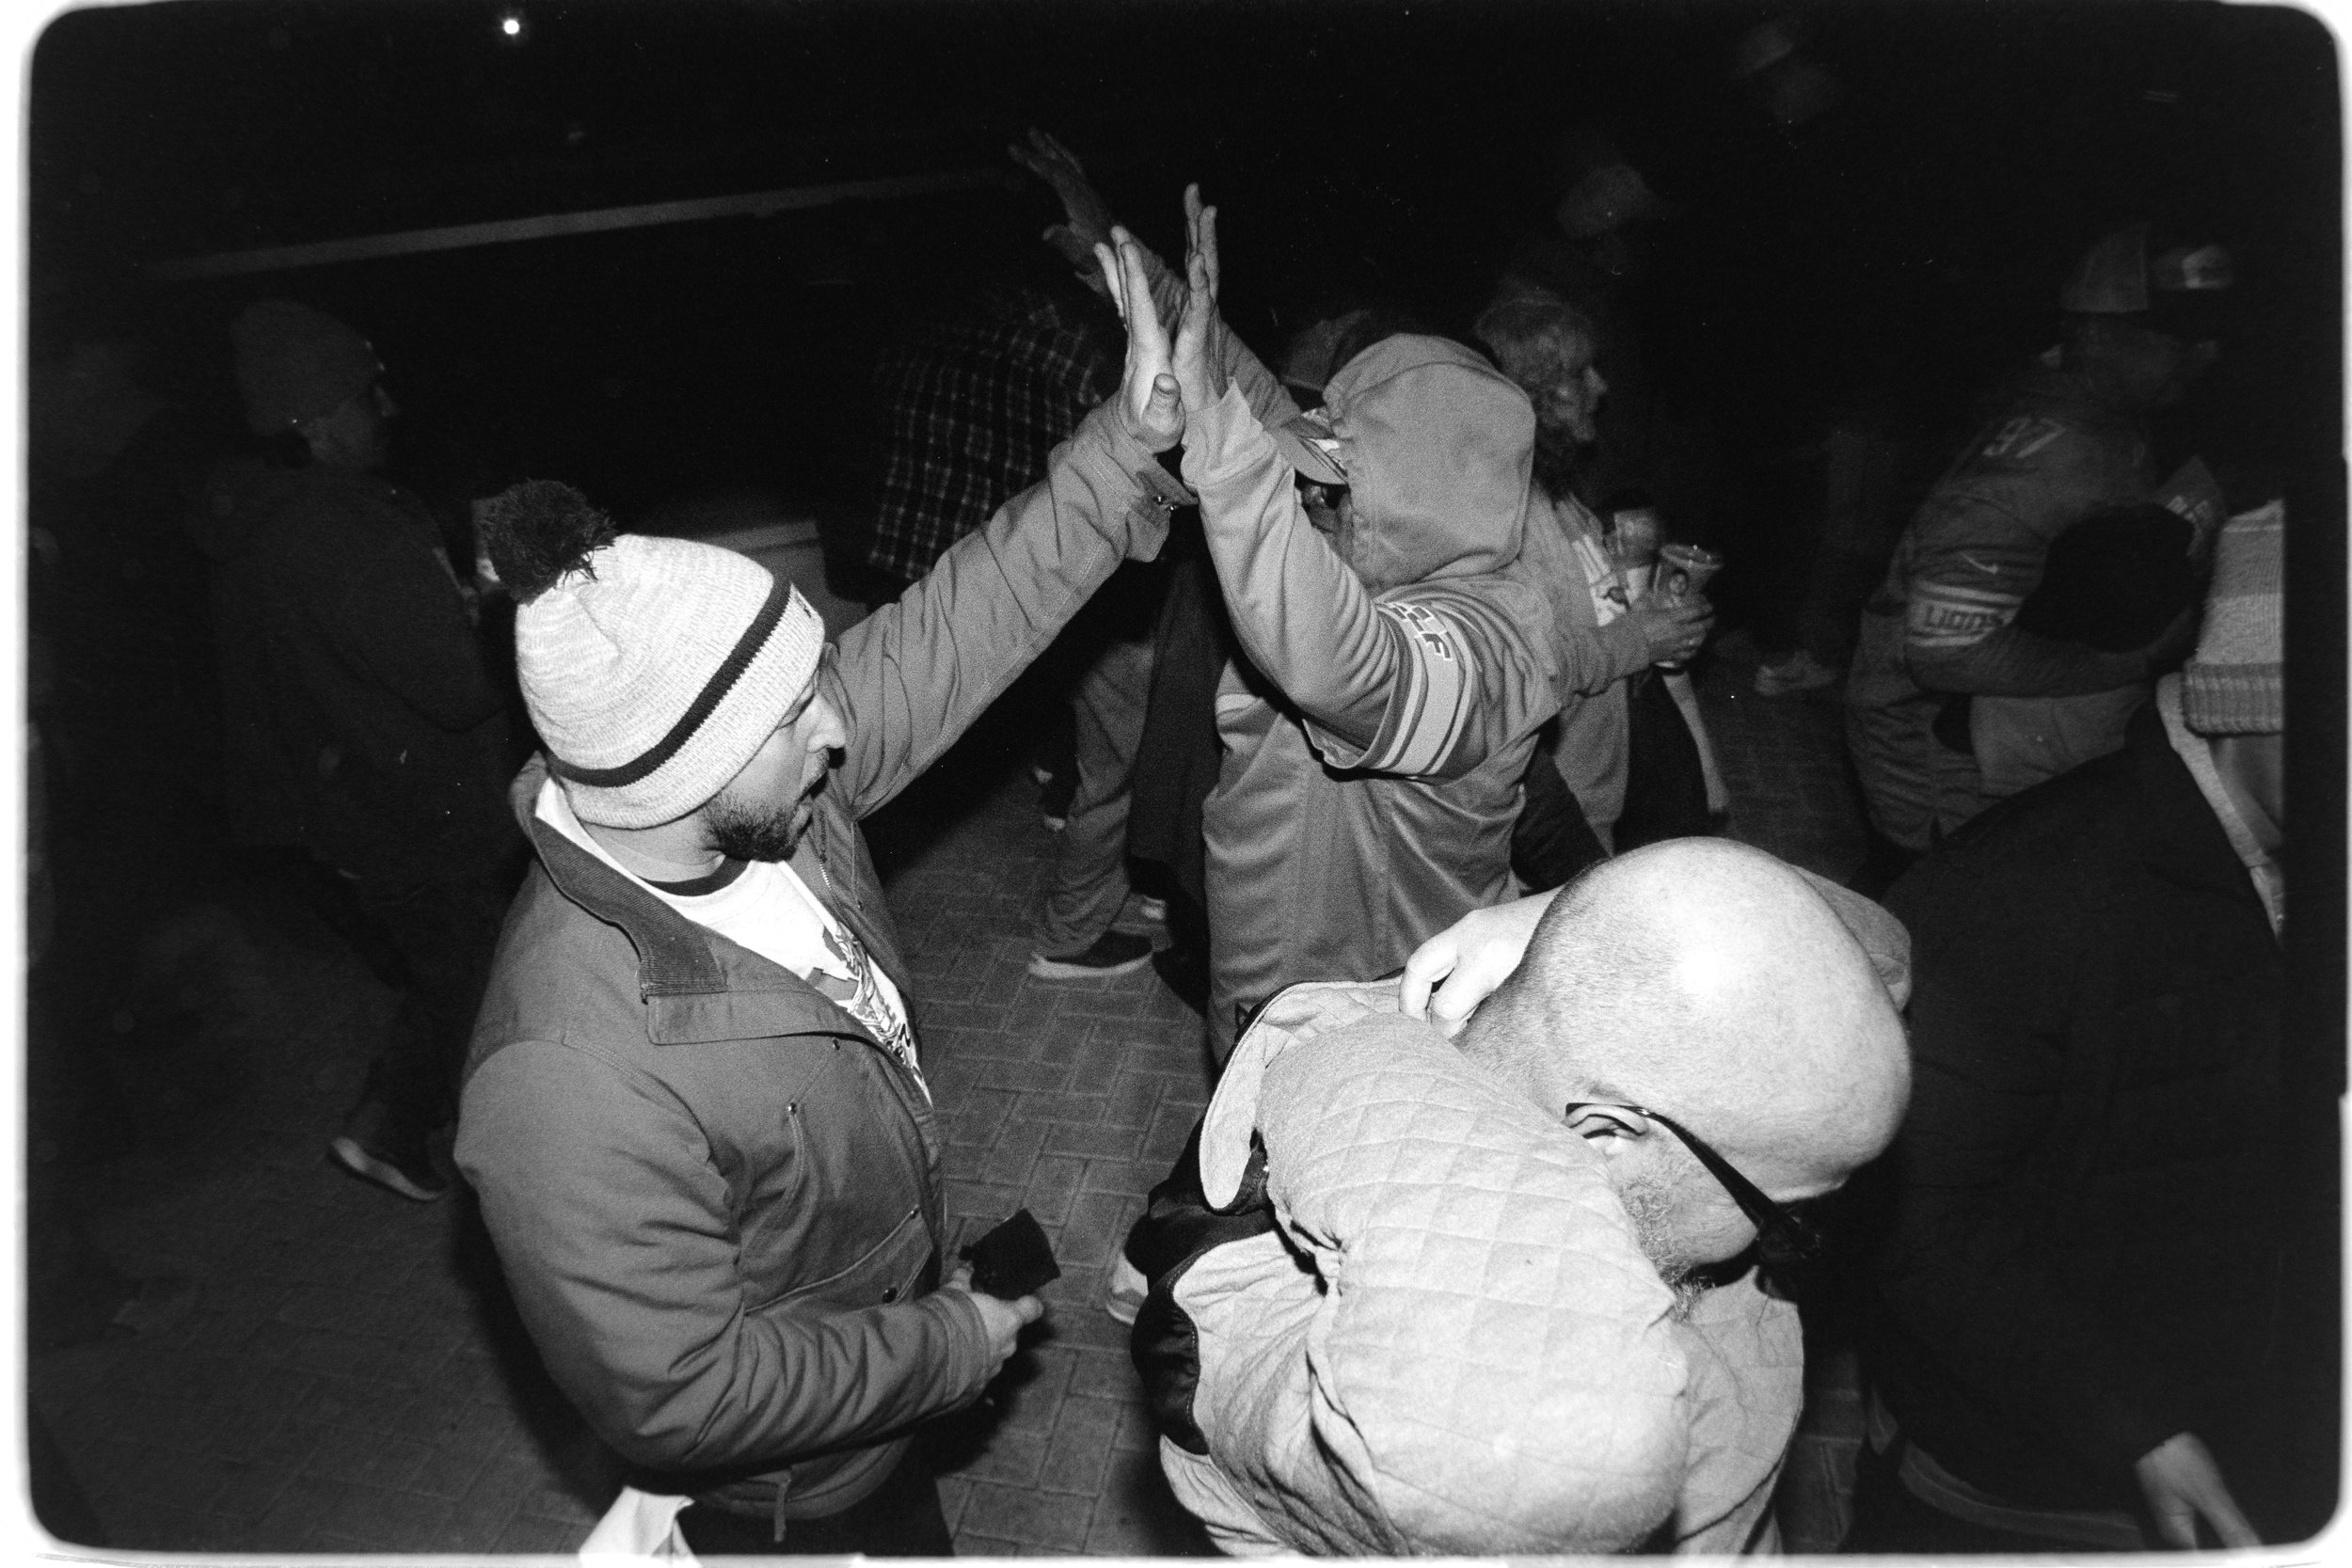
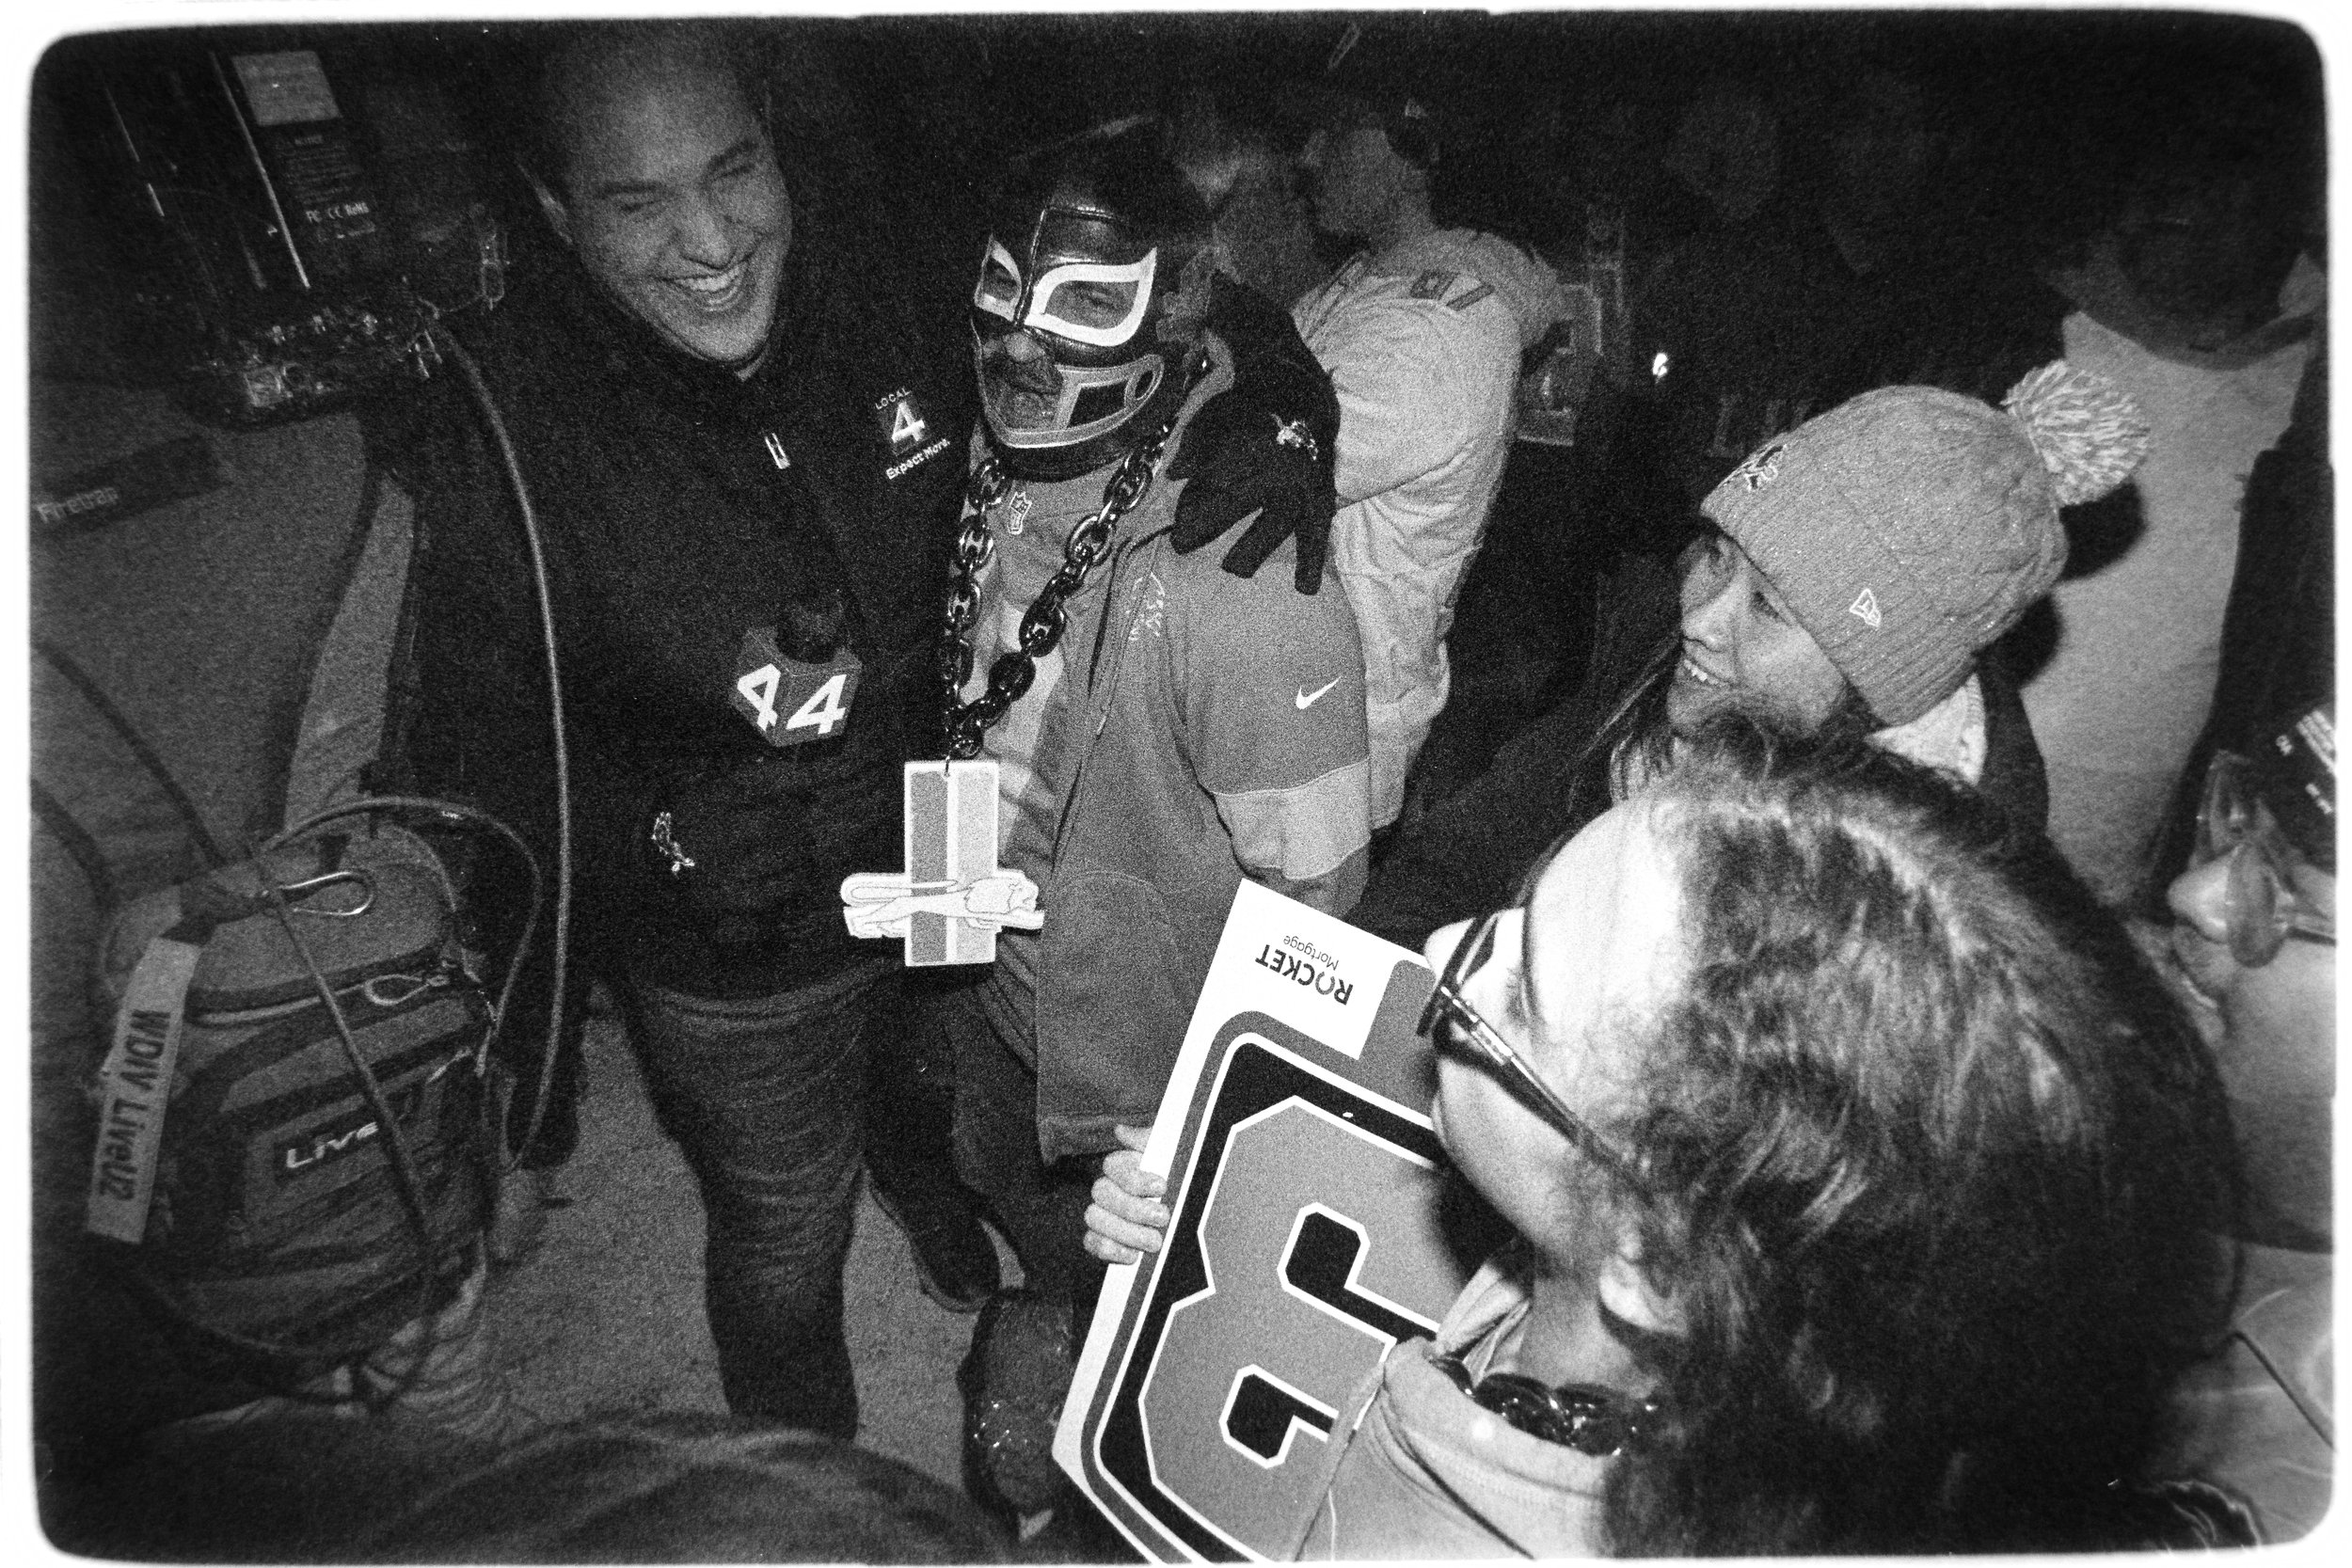
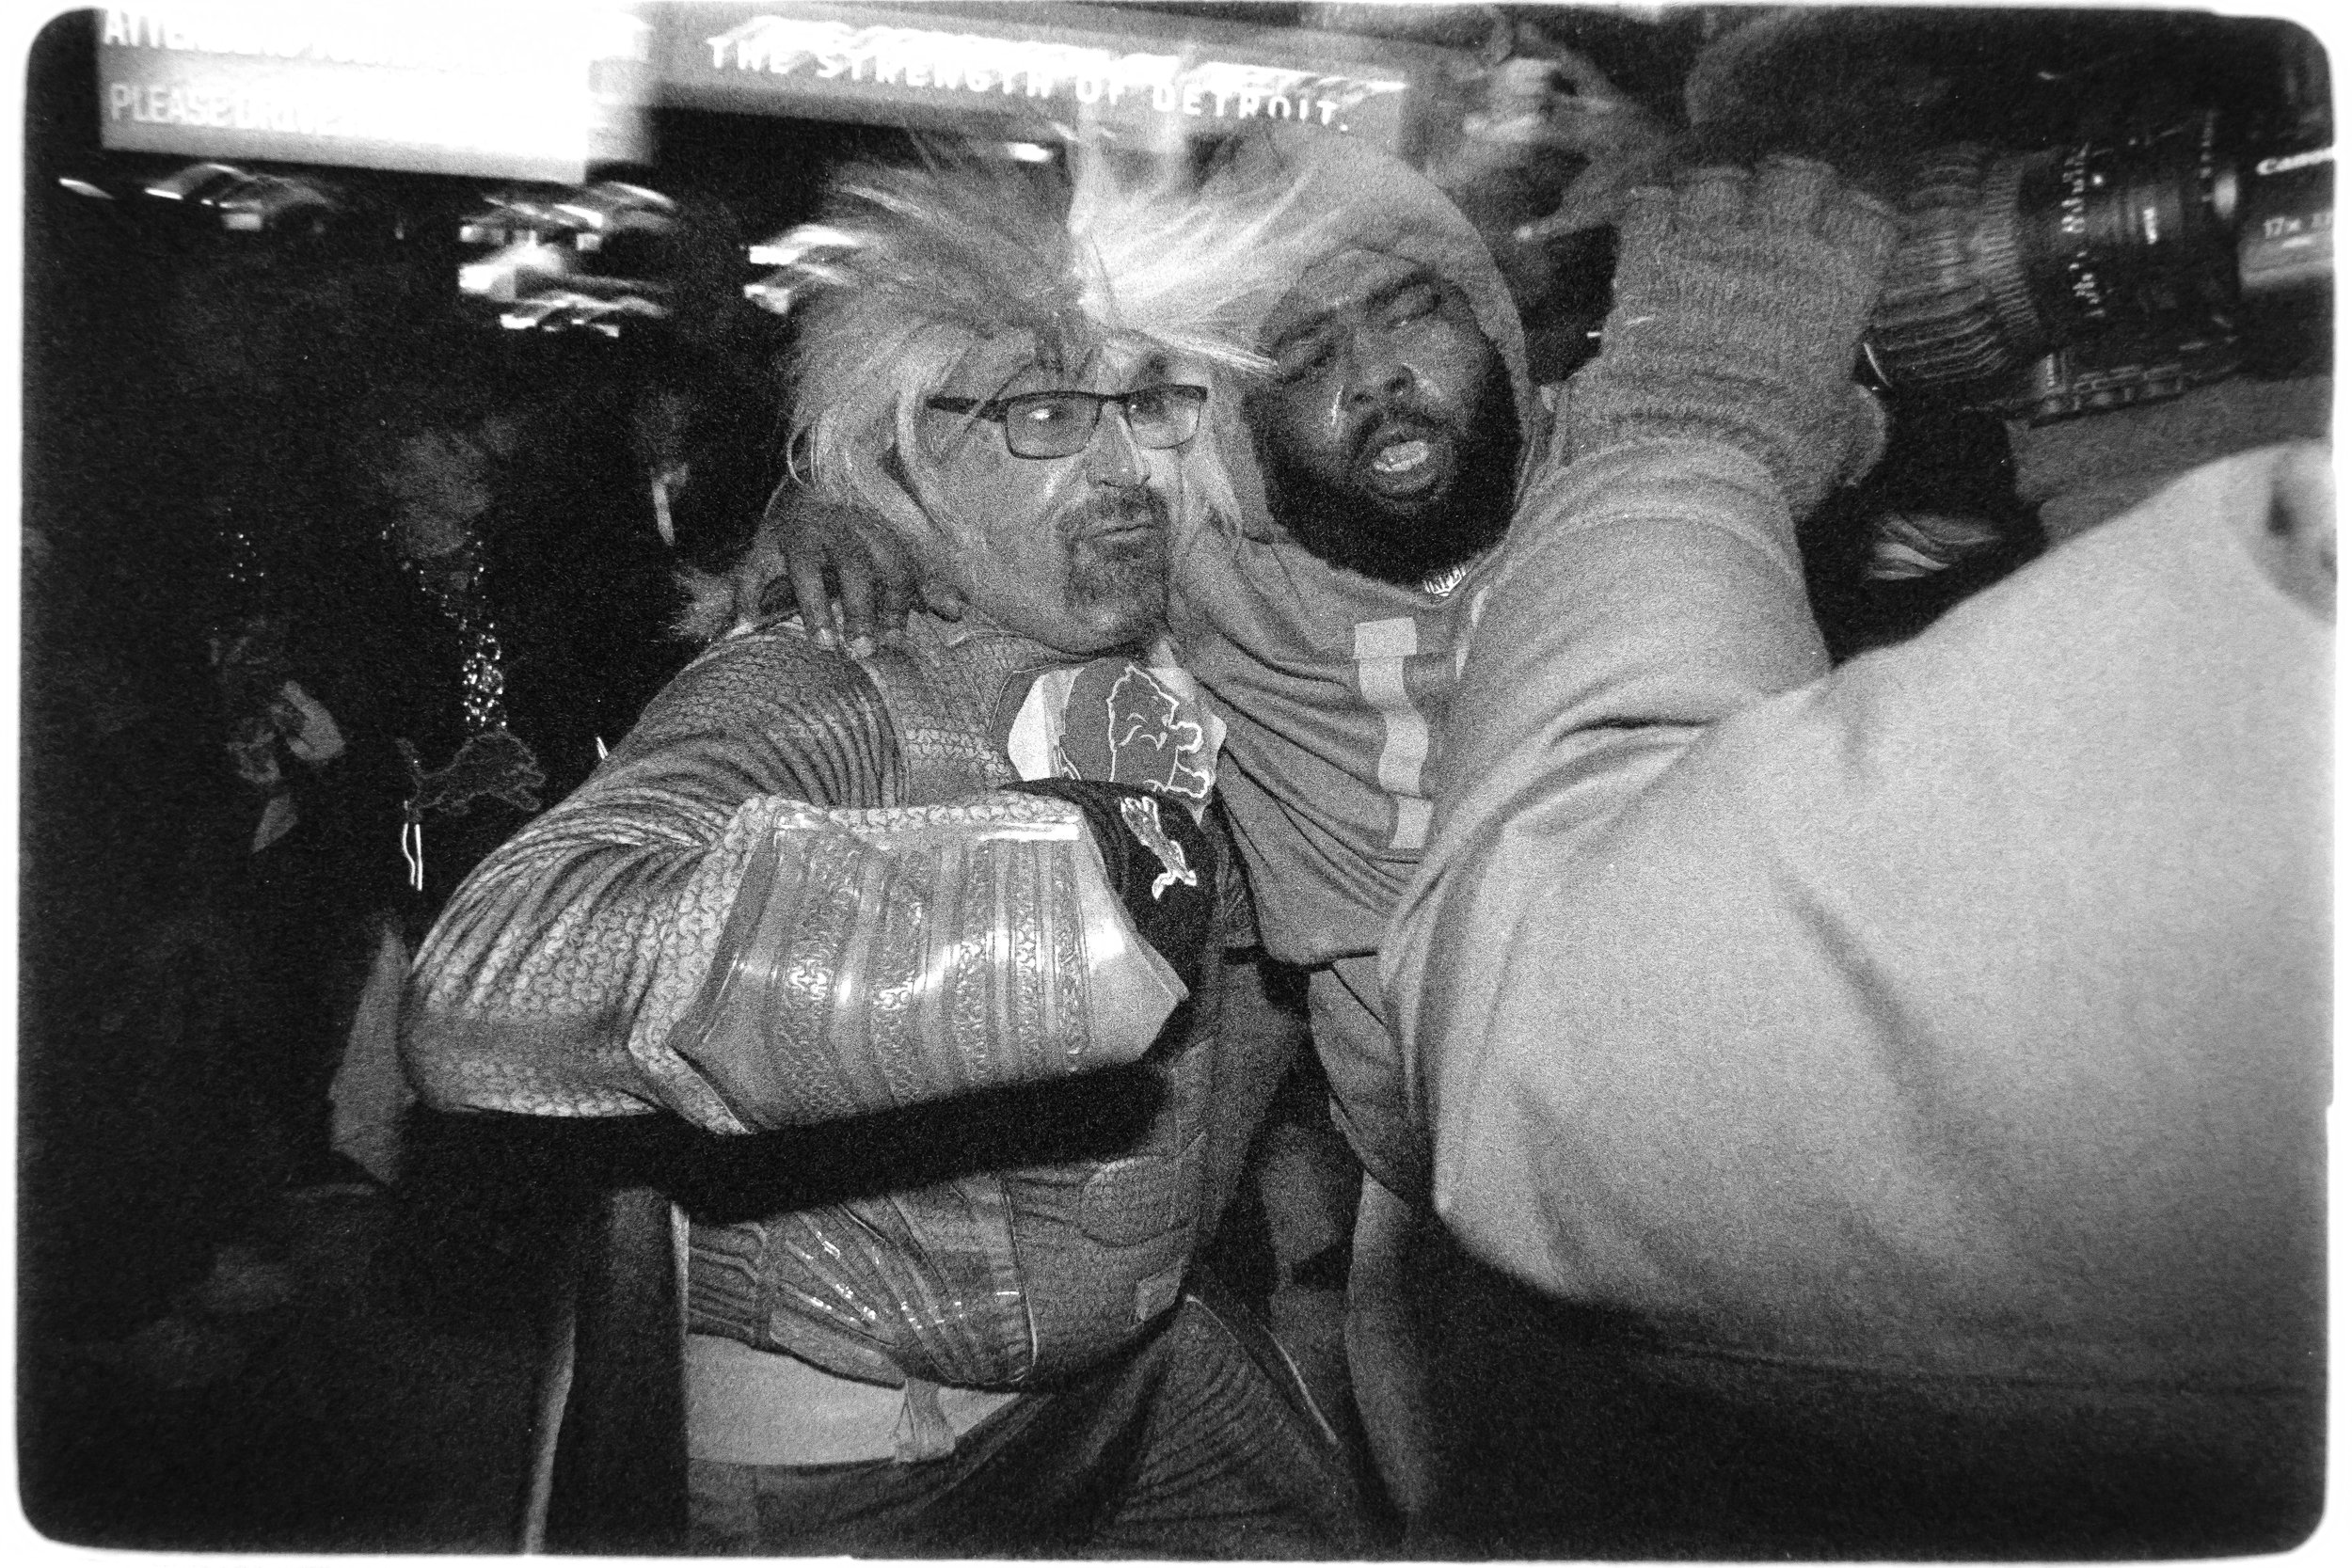
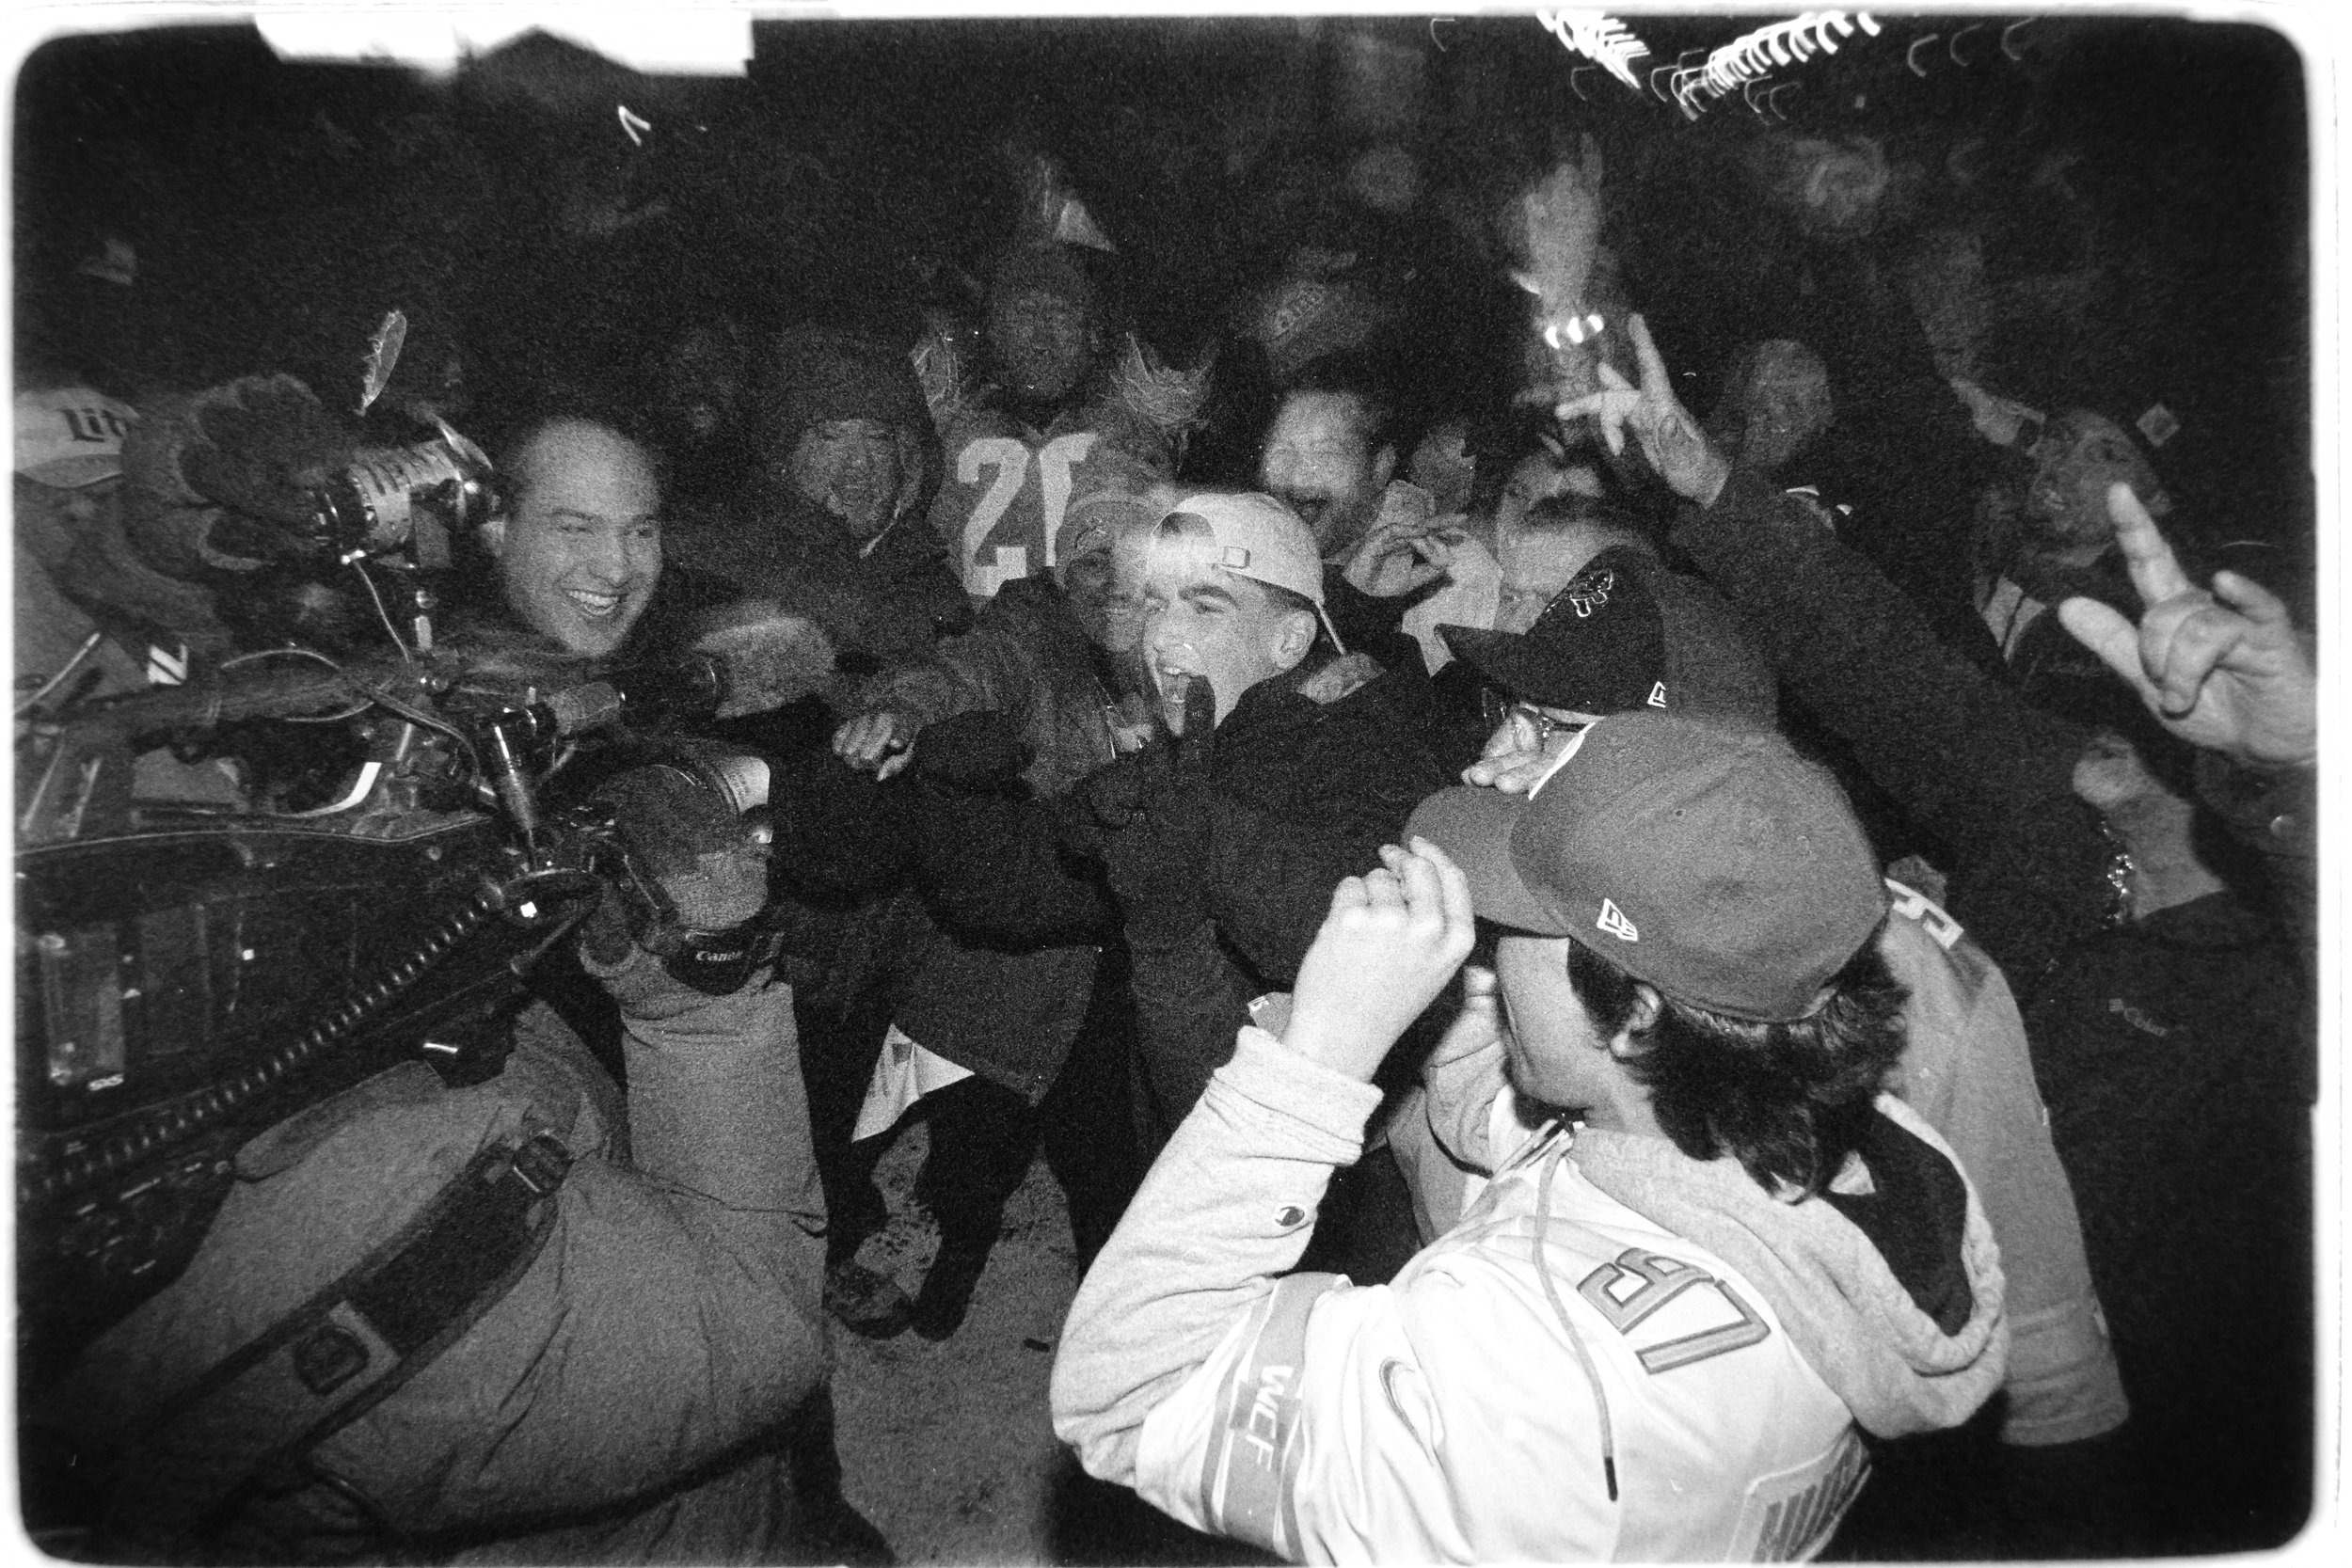
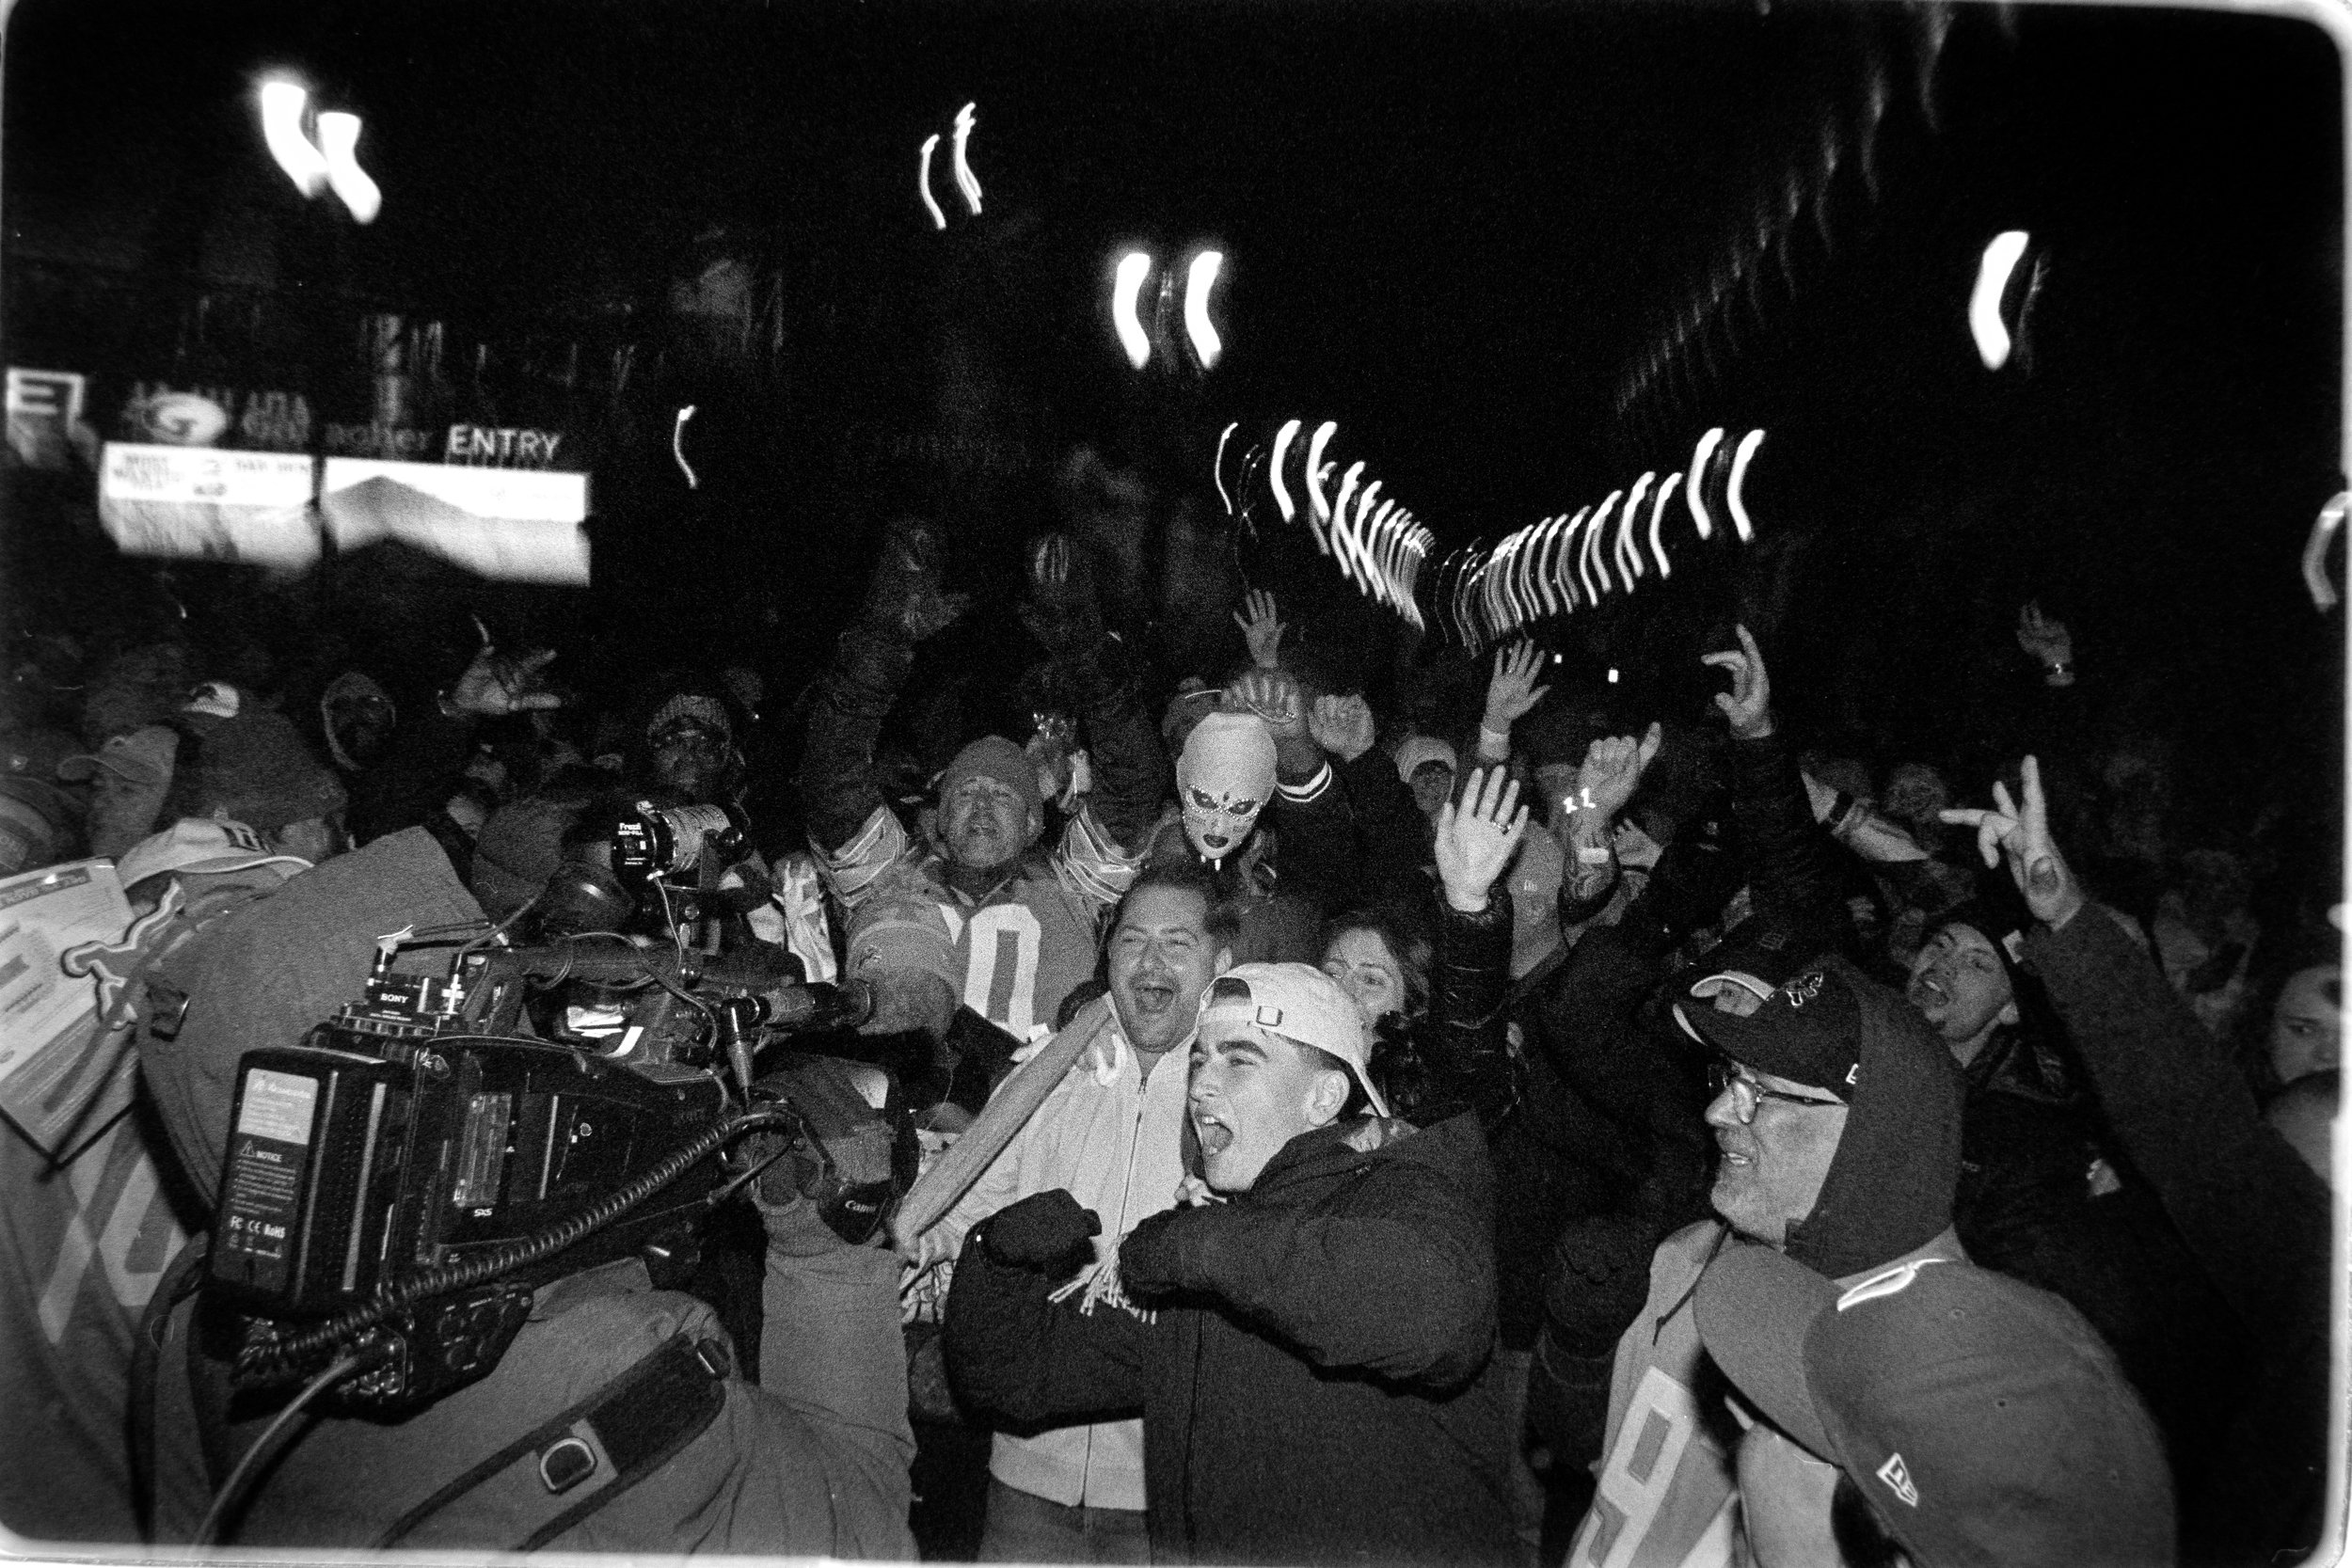
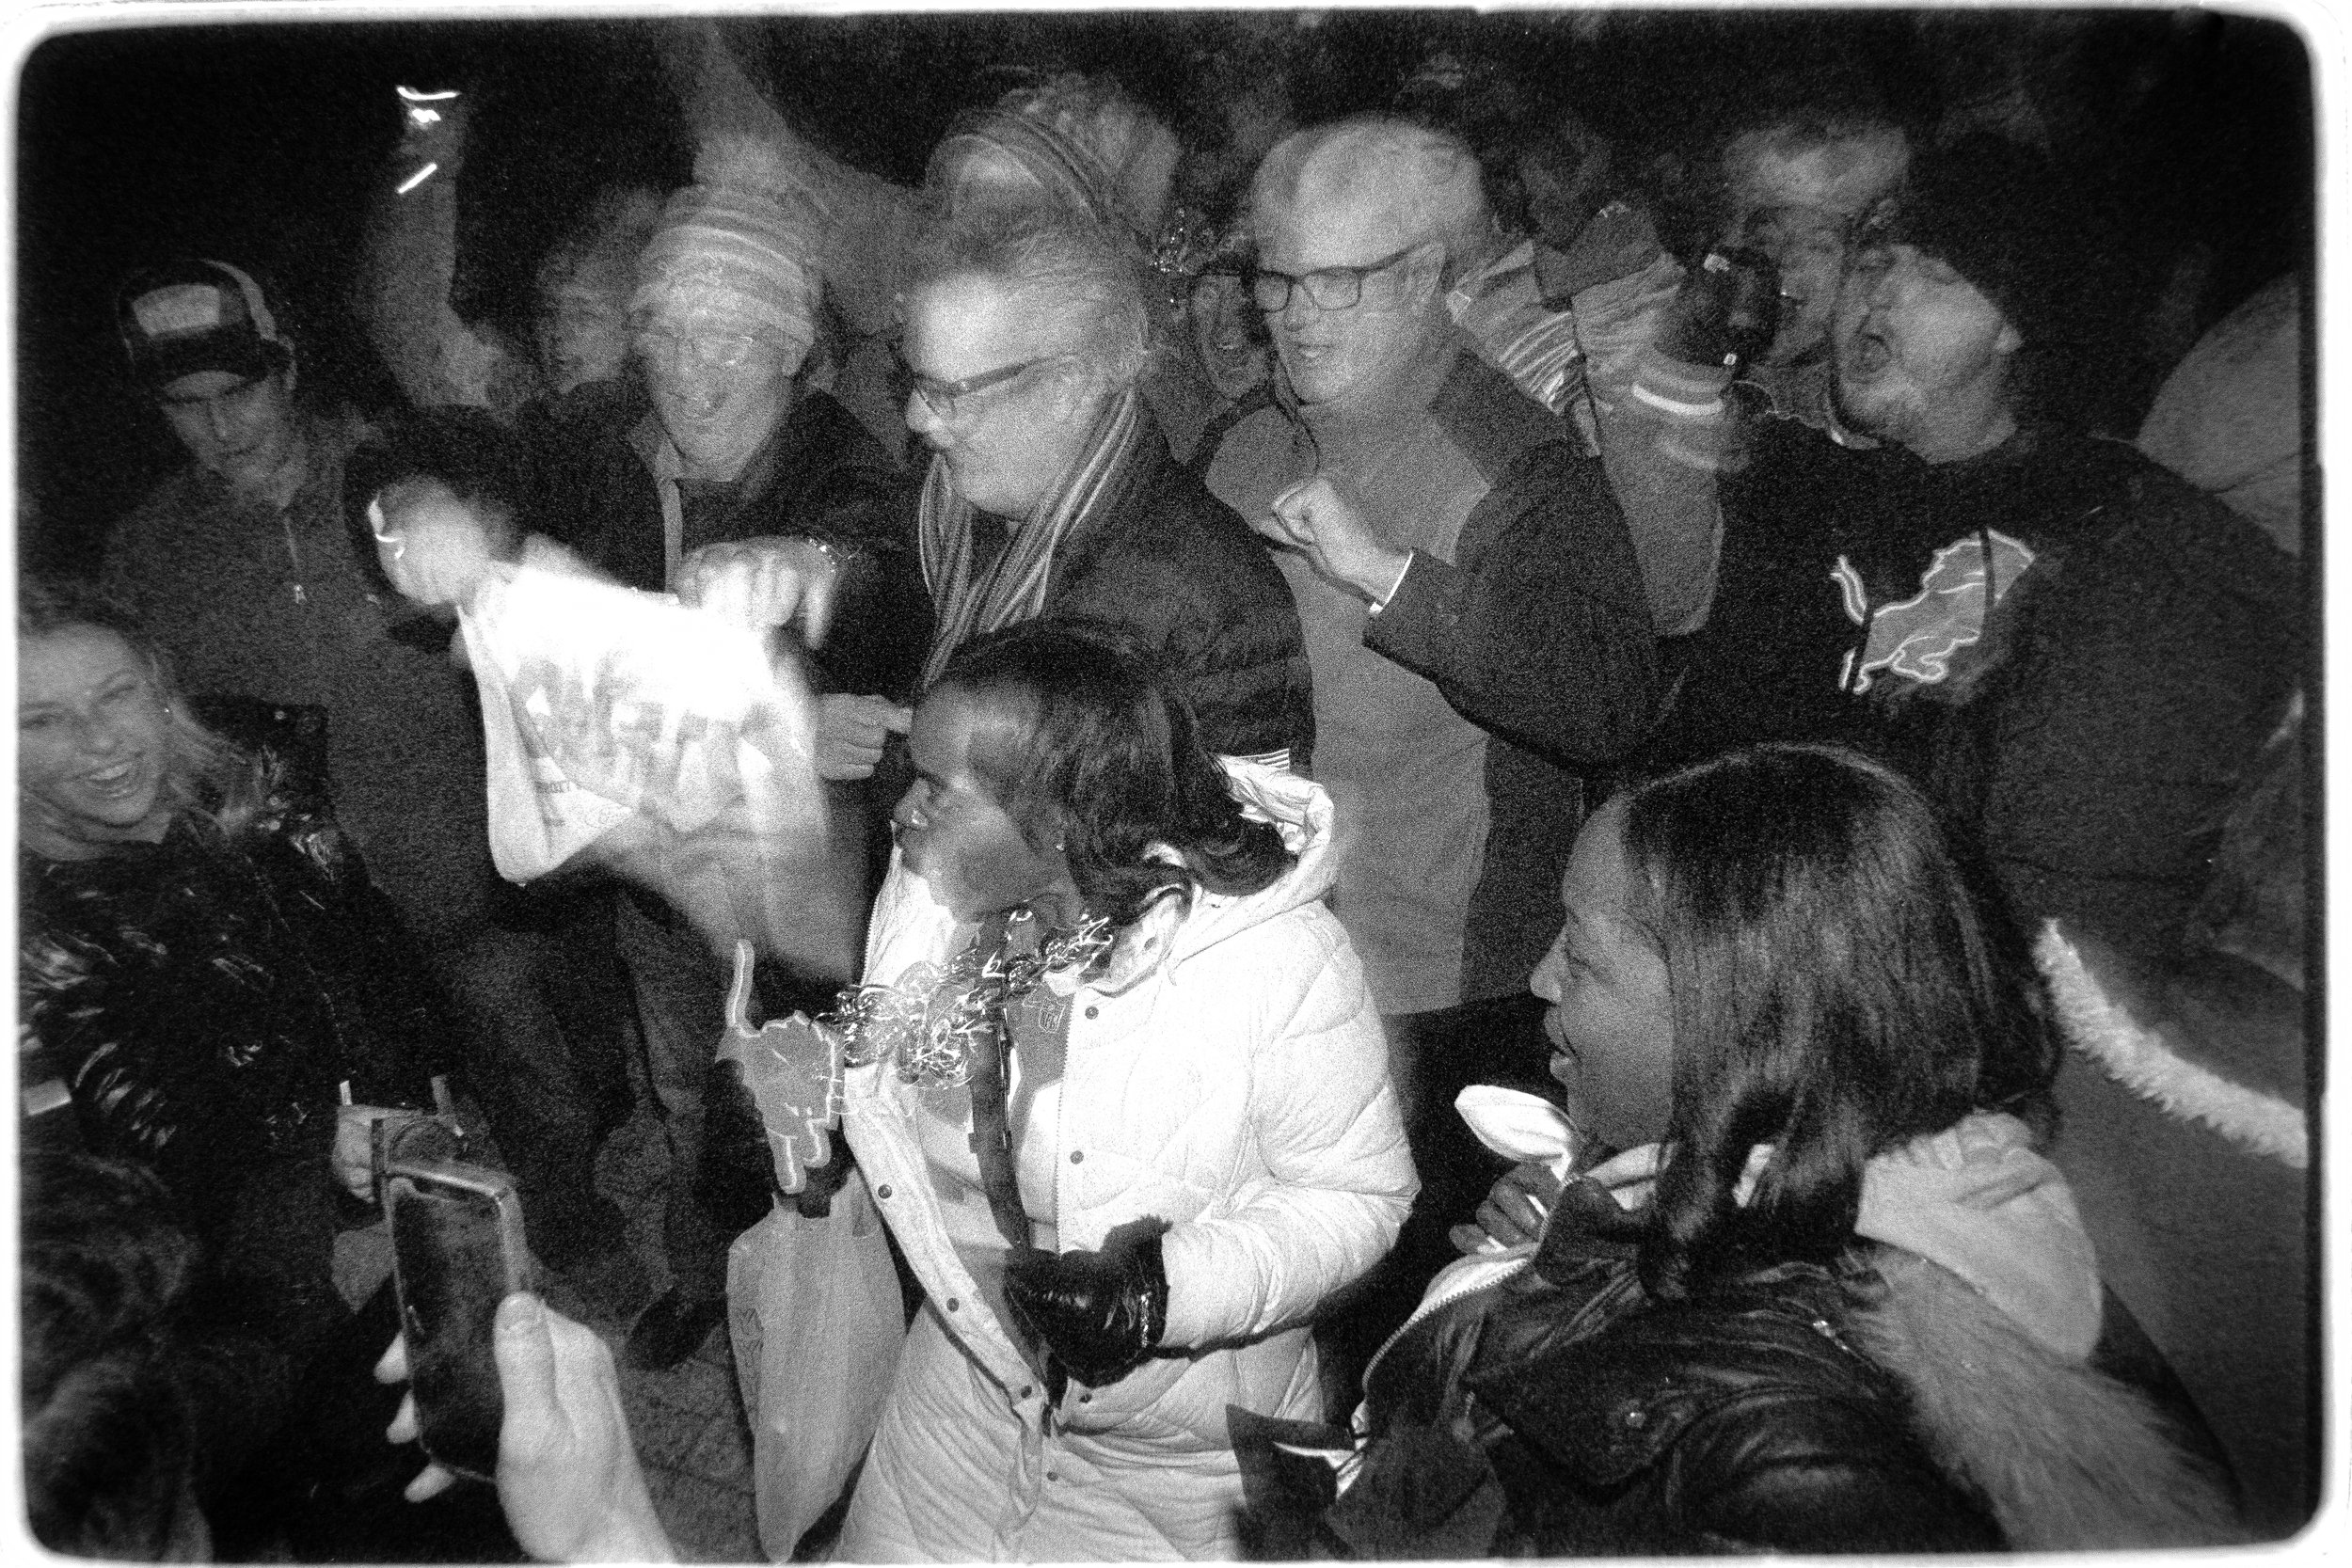
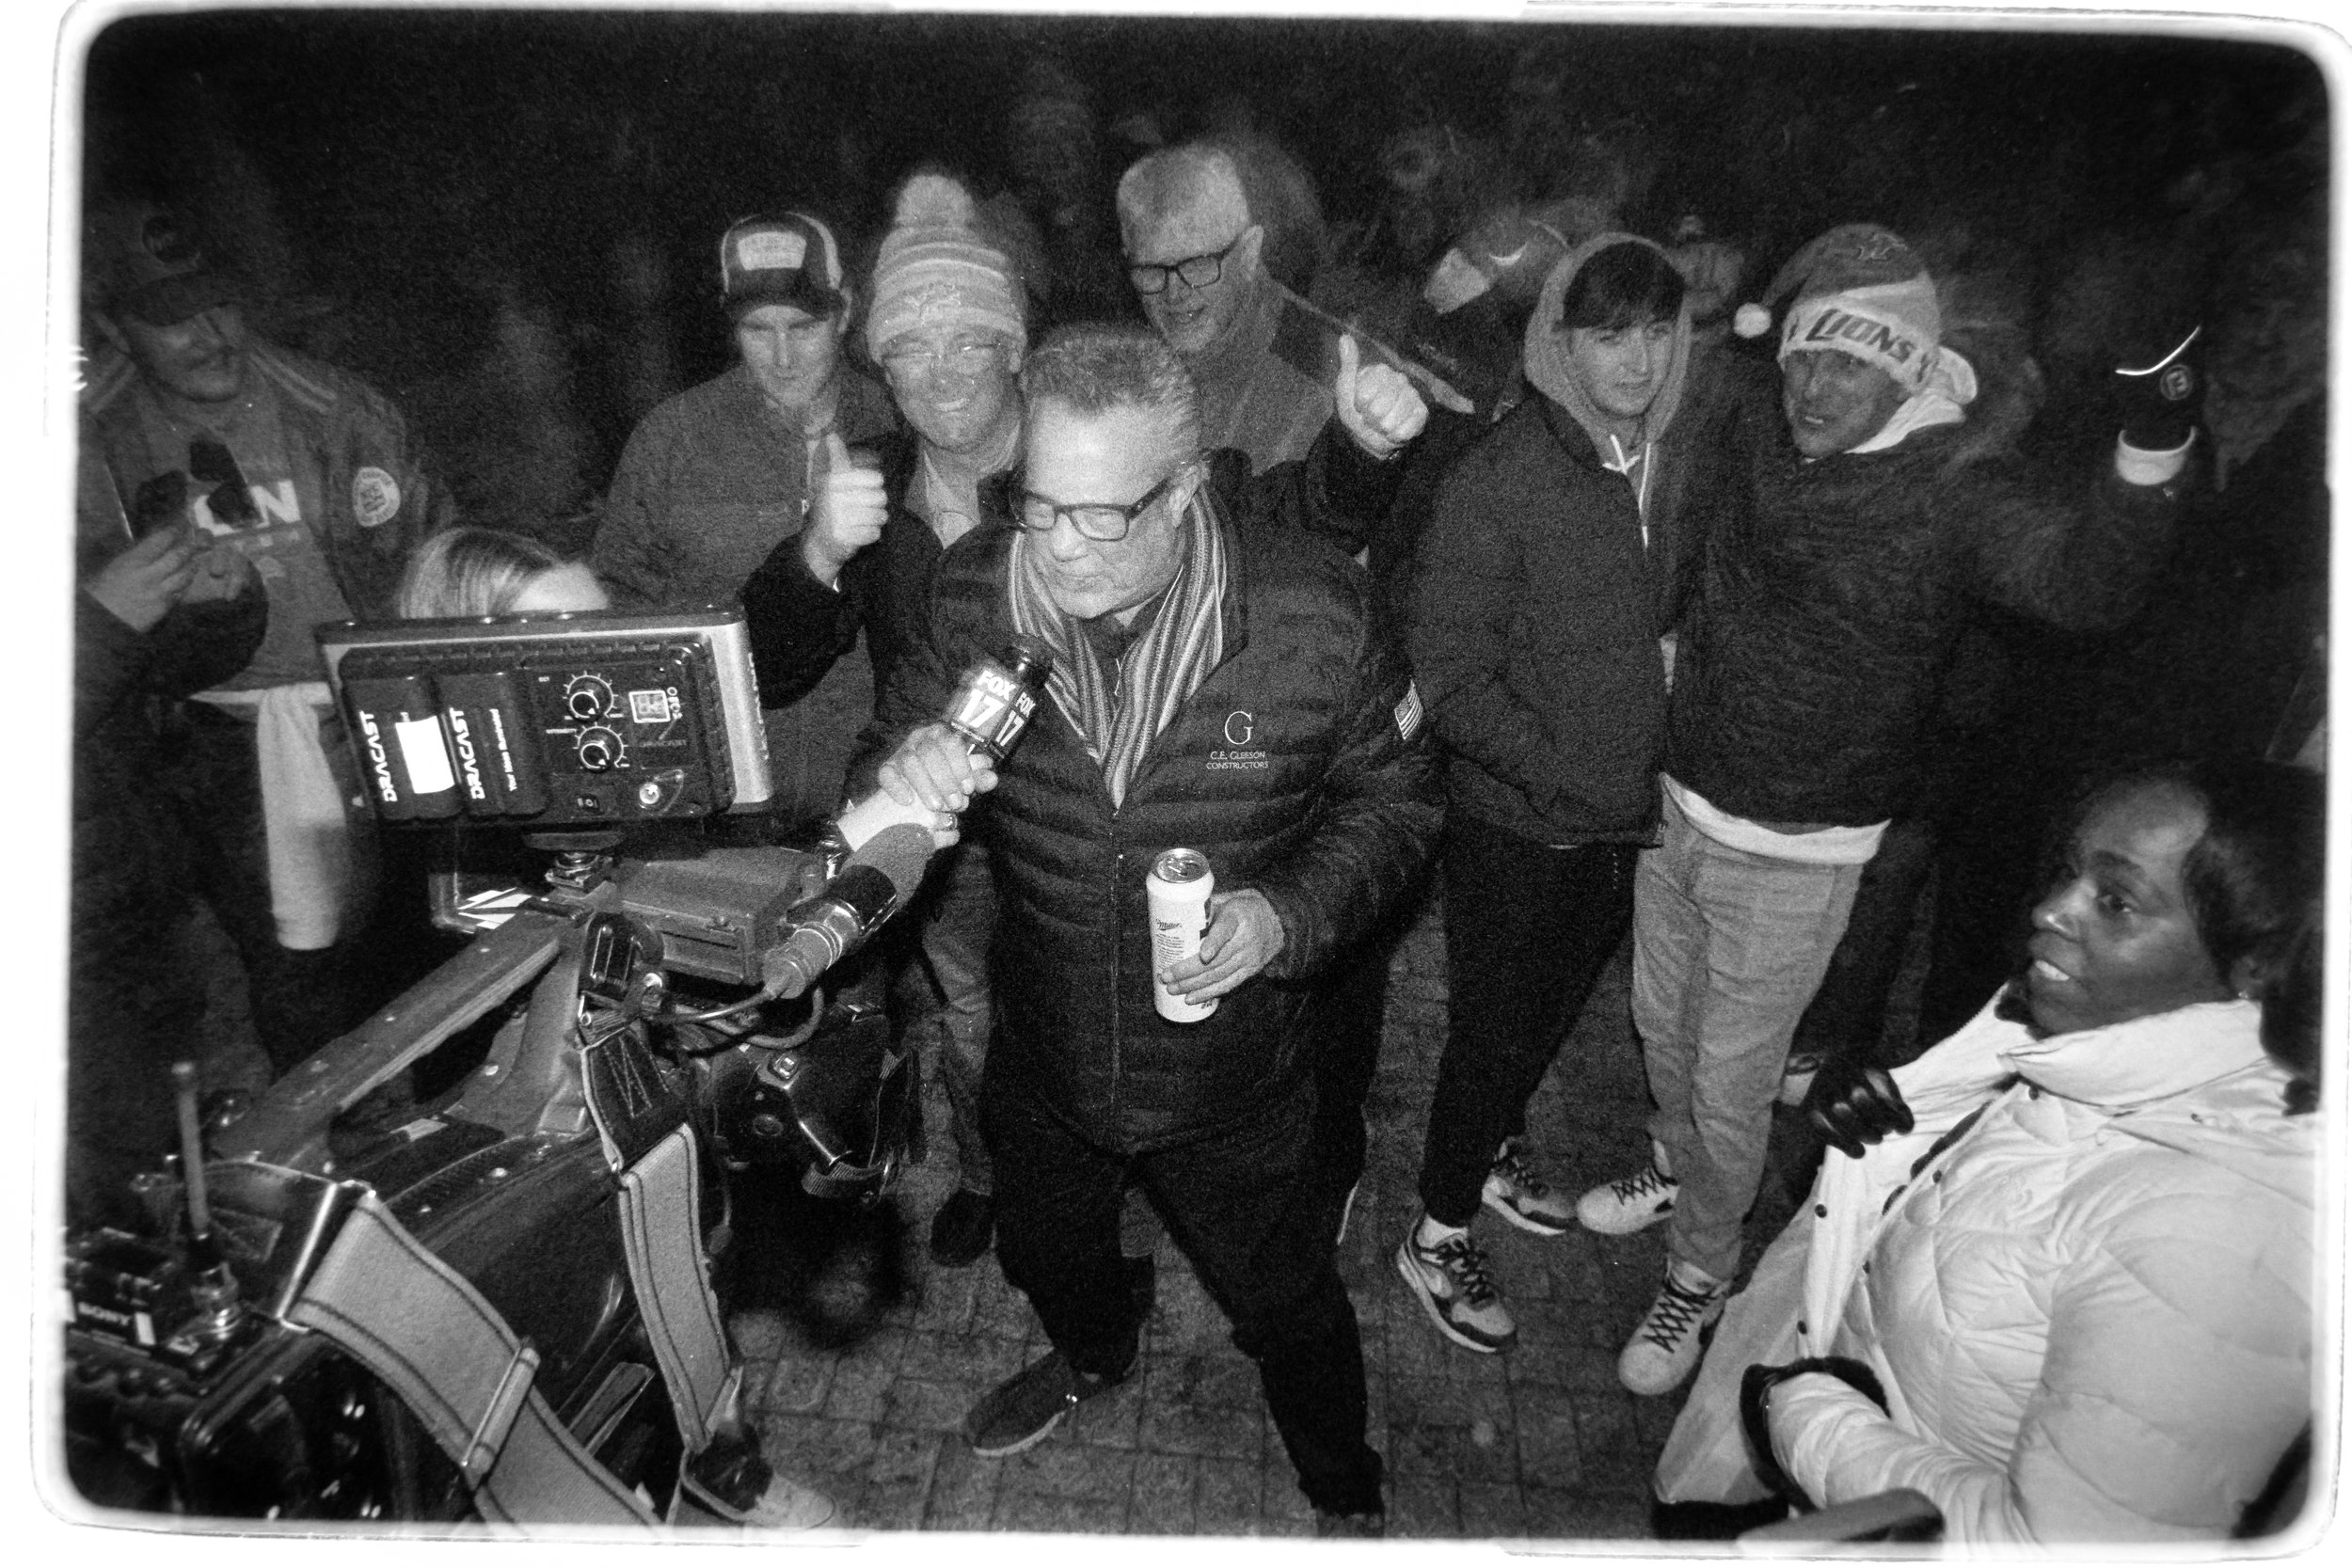
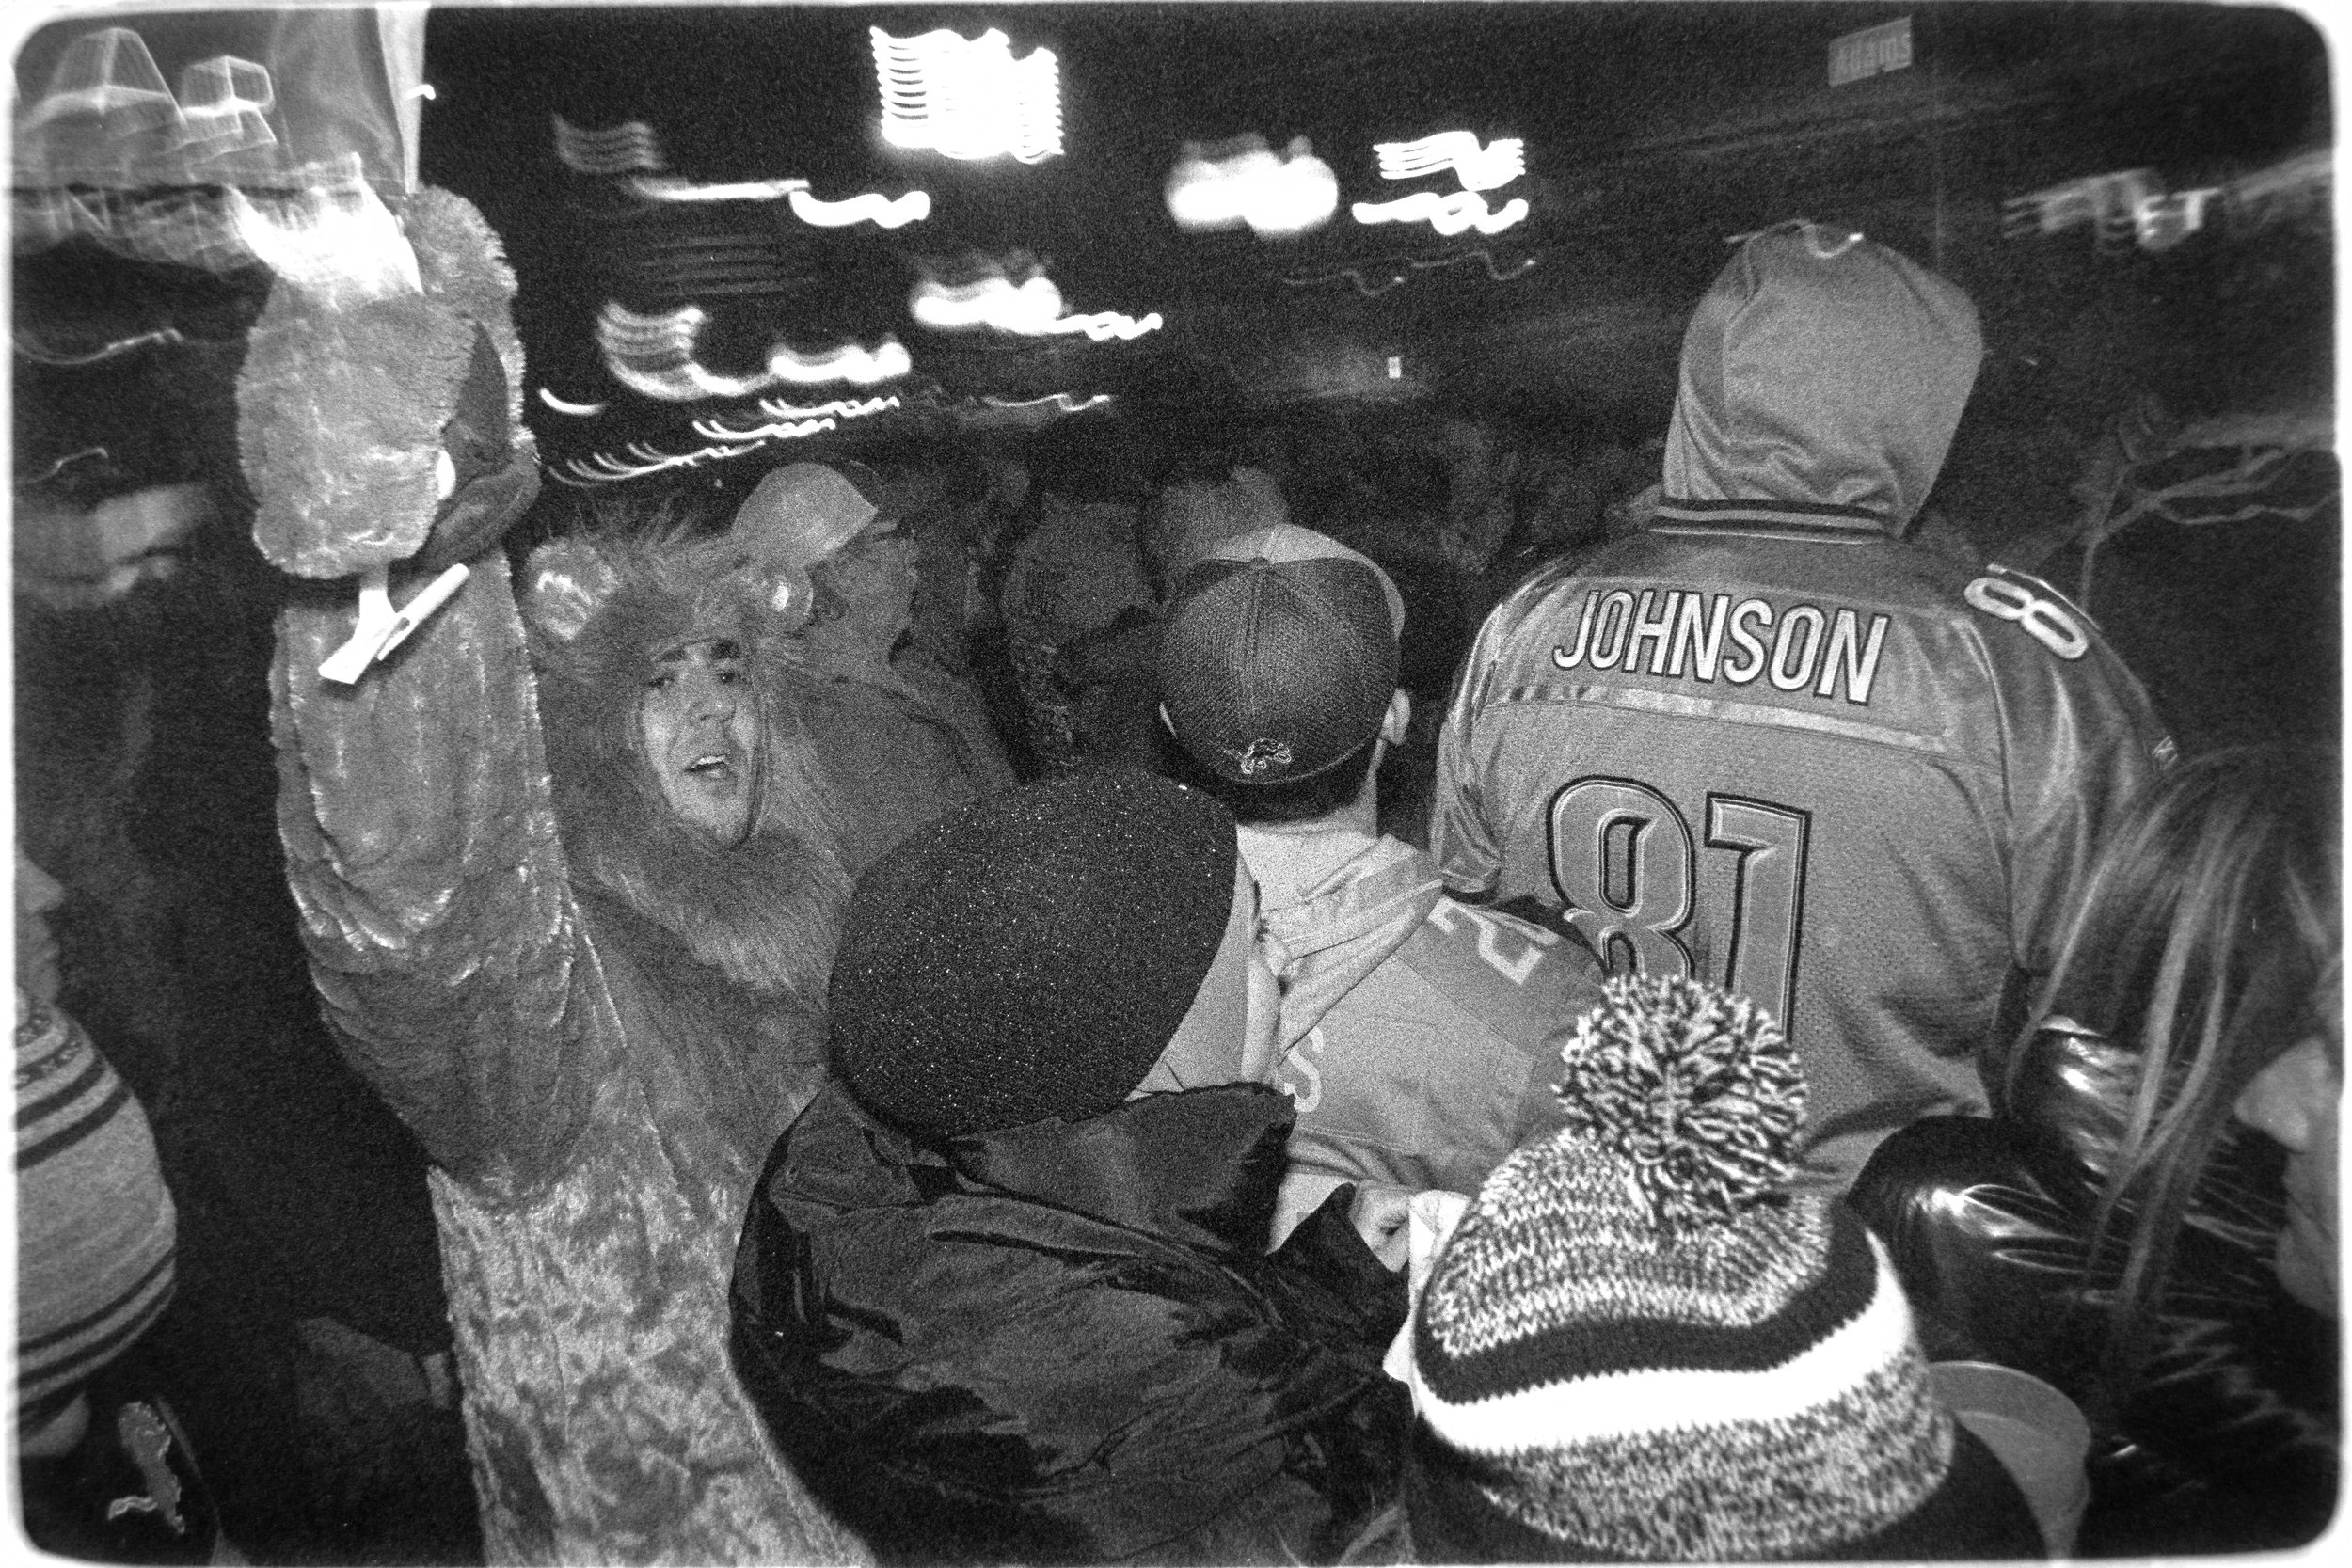
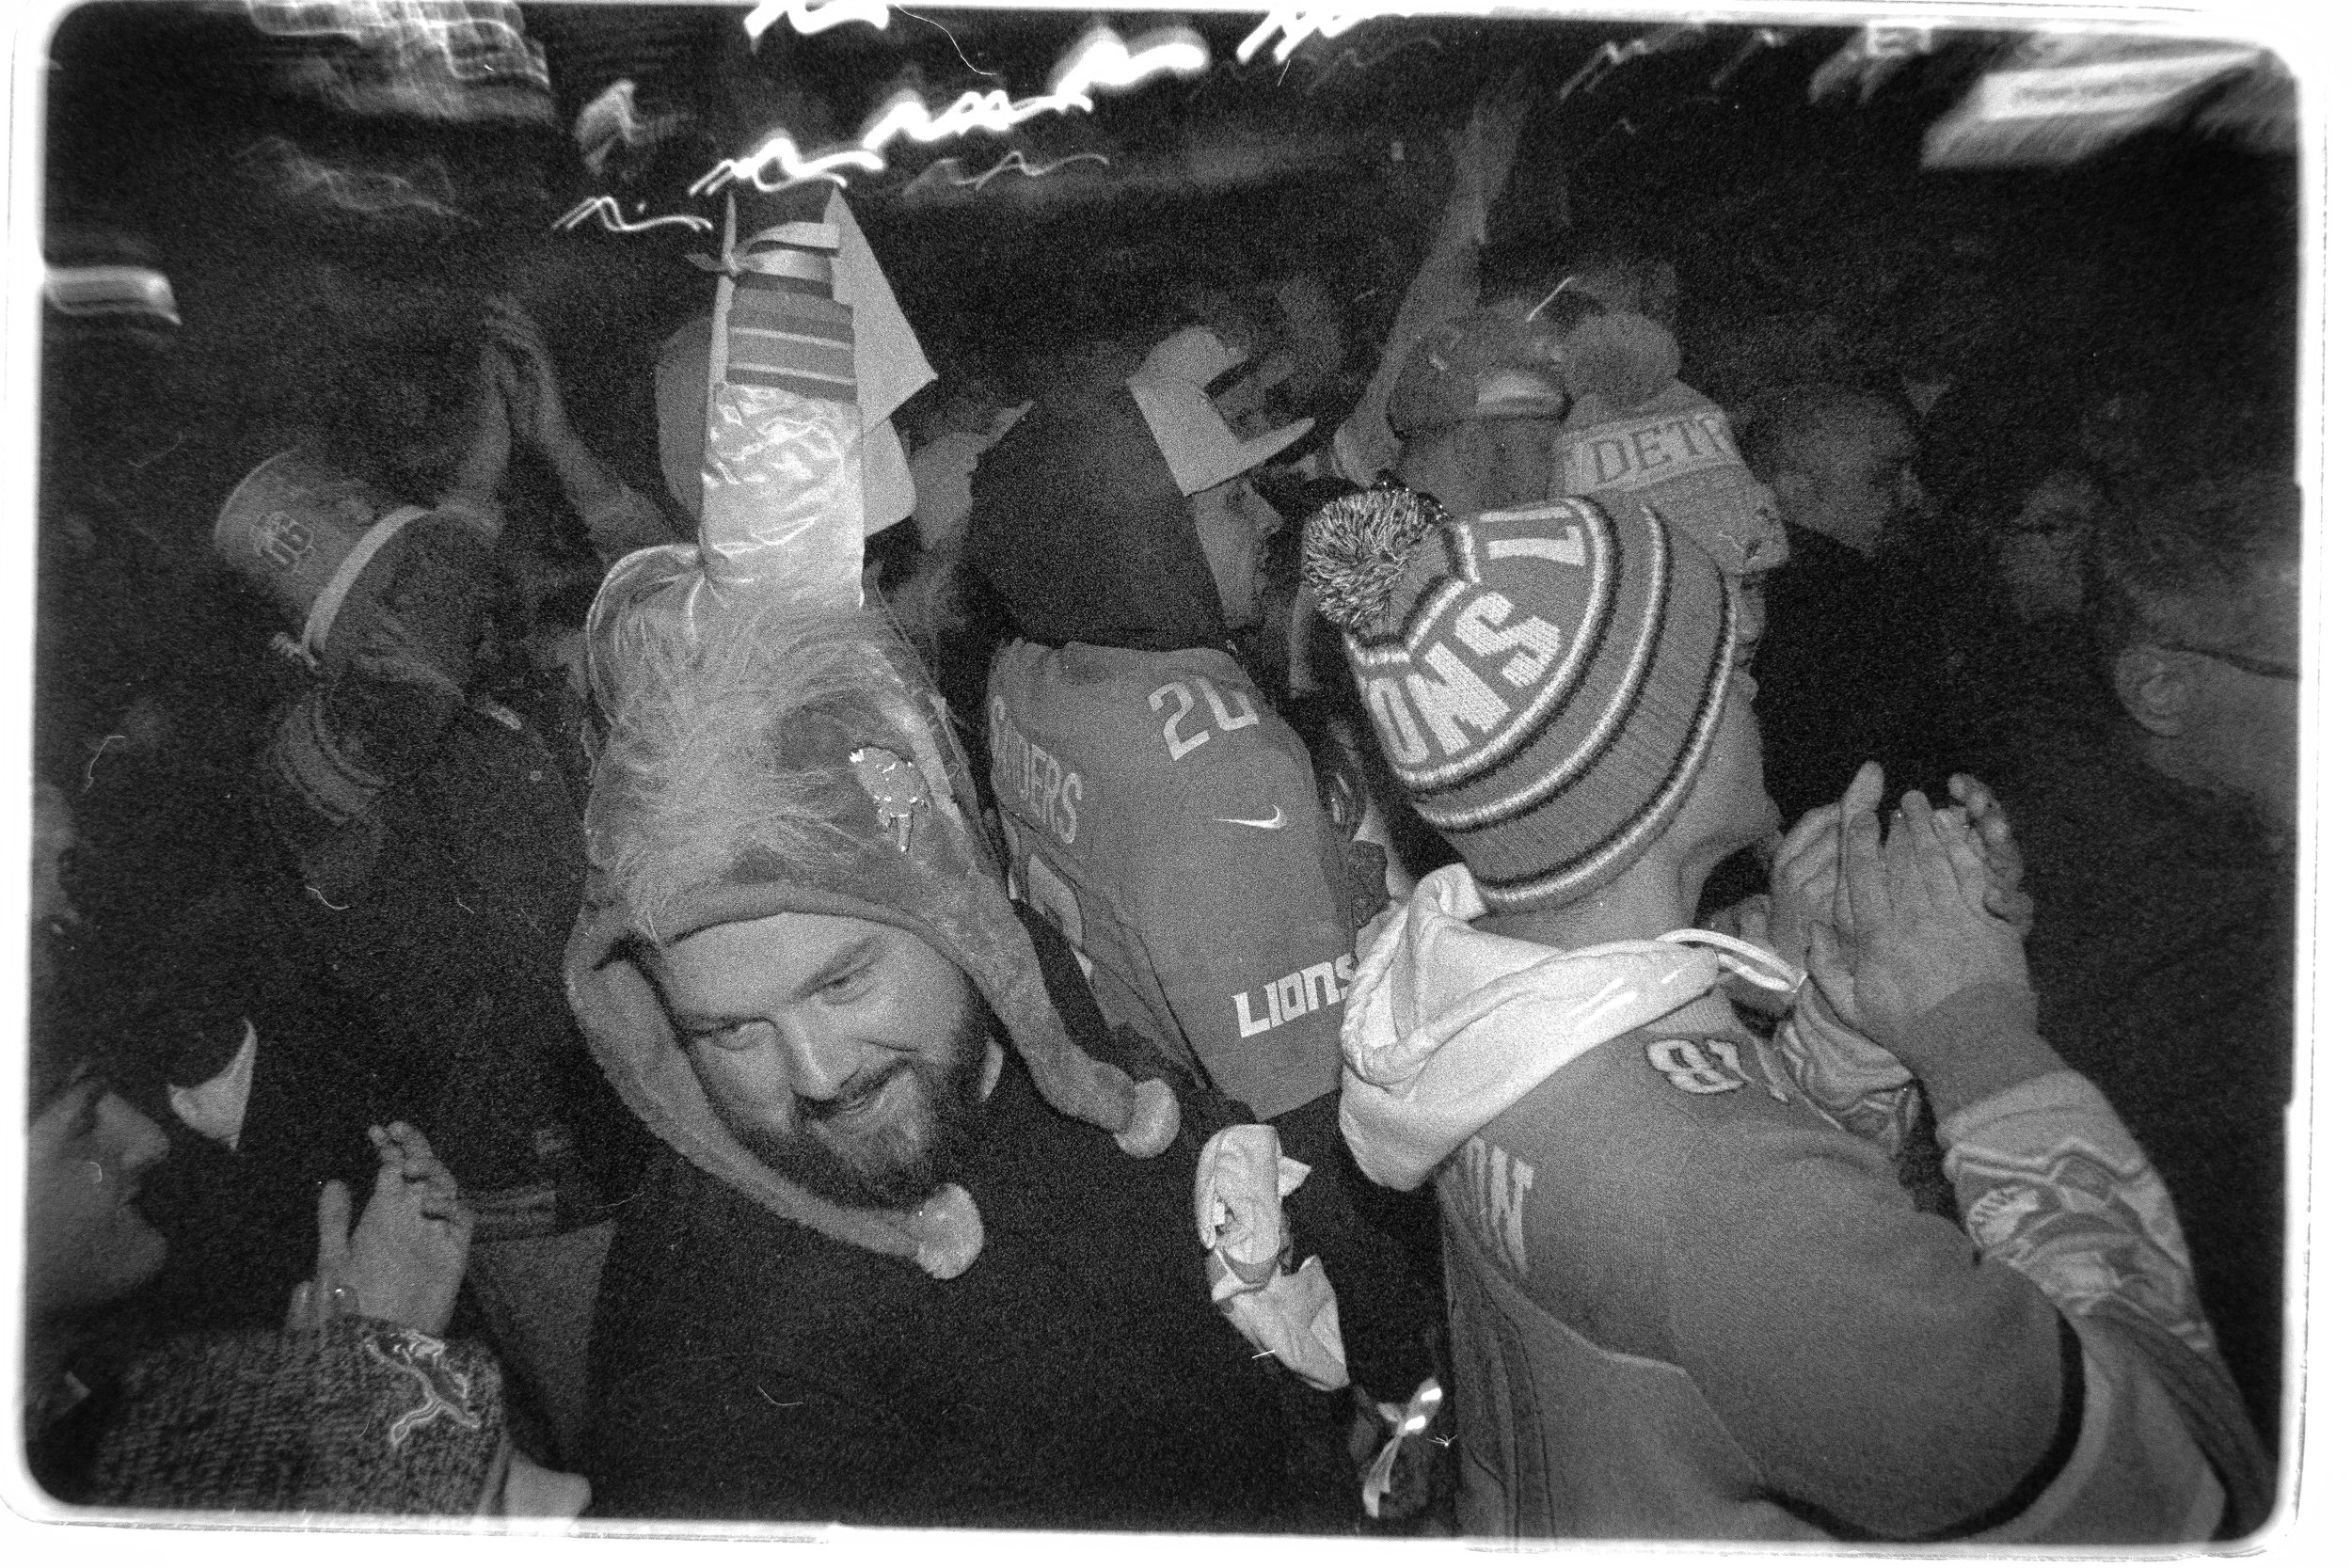
The Lions secured the win with an interception at the end of the 4th quarter and as the stadium began to empty out the scene was an incredible outpouring of joy. These fans and this city have been waiting 31 years for a Lions team to show up like this in the post-season.


This team still has a tough road ahead of them. Should they accomplish what would have been considered unthinkable 3 years ago when couch Campbell begun resuscitating this team, I'll be there to shoot the parade.

Photos made with Ilford Pan F 50 and Kodak Plus-X 125 35mm black and white films developed in HC-110 dilution B